As an Amazon Associate, we earn from qualifying purchases. Some links on this site are affiliate links at no extra cost to you. Our recommendations are based on thorough research and editorial judgment.
How to Eliminate WiFi Dead Zones in Your Home
All right, here’s the thing: dead zones usually aren’t your router’s fault—they’re placement problems. Move your router to a central, elevated spot away from walls and metal objects, then check if that fixes it. If you’ve still got trouble spots, try adjusting your antennas or updating your firmware first. Still struggling? Small homes might just need a cheap extender, but bigger layouts usually demand a mesh system that actually redesigns your coverage instead of patching holes. The real solution depends on your space and budget, so stick around to figure out which one’s right for you.
Key Takeaways
- Map dead zones using WiFi analyzer tools, then test with video calls to pinpoint problem areas before implementing solutions.
- Reposition your router to a central, elevated location away from walls, metal objects, and electronic interference for optimal coverage.
- Enable band steering in router settings and install firmware updates to improve signal processing and device switching between frequencies.
- Use WiFi extenders for small homes under 2,500 sq ft with one or two dead zones placed strategically between router and problem area.
- Deploy mesh WiFi systems for multiple floors or sprawling layouts to create overlapping coverage zones without bandwidth loss from repeaters.
Identify Dead Zones in Your Home
Before you can fix your WiFi dead zones—those frustrating spots where your signal just vanishes like socks in the dryer—you’ve got to actually find them first.
Start with a simple device survey: walk through your home with your phone or laptop, checking signal strength as you move. You’ll notice bars dropping in certain rooms. That’s your cue. For more precise signal mapping, try WiFi Analyzer on Android or inSSIDer on your computer—they create heat maps showing exactly where trouble spots hide.
Here’s the thing: video chat testing works too. Call someone and wander around. When audio cuts out or video freezes, you’ve found a dead zone. It’s low-tech but honestly reliable. Take notes on problem areas. You’re building a map of your home’s WiFi personality, and that intel matters when you’re deciding what solution actually fixes things.
Move Your Router to Eliminate Dead Zones
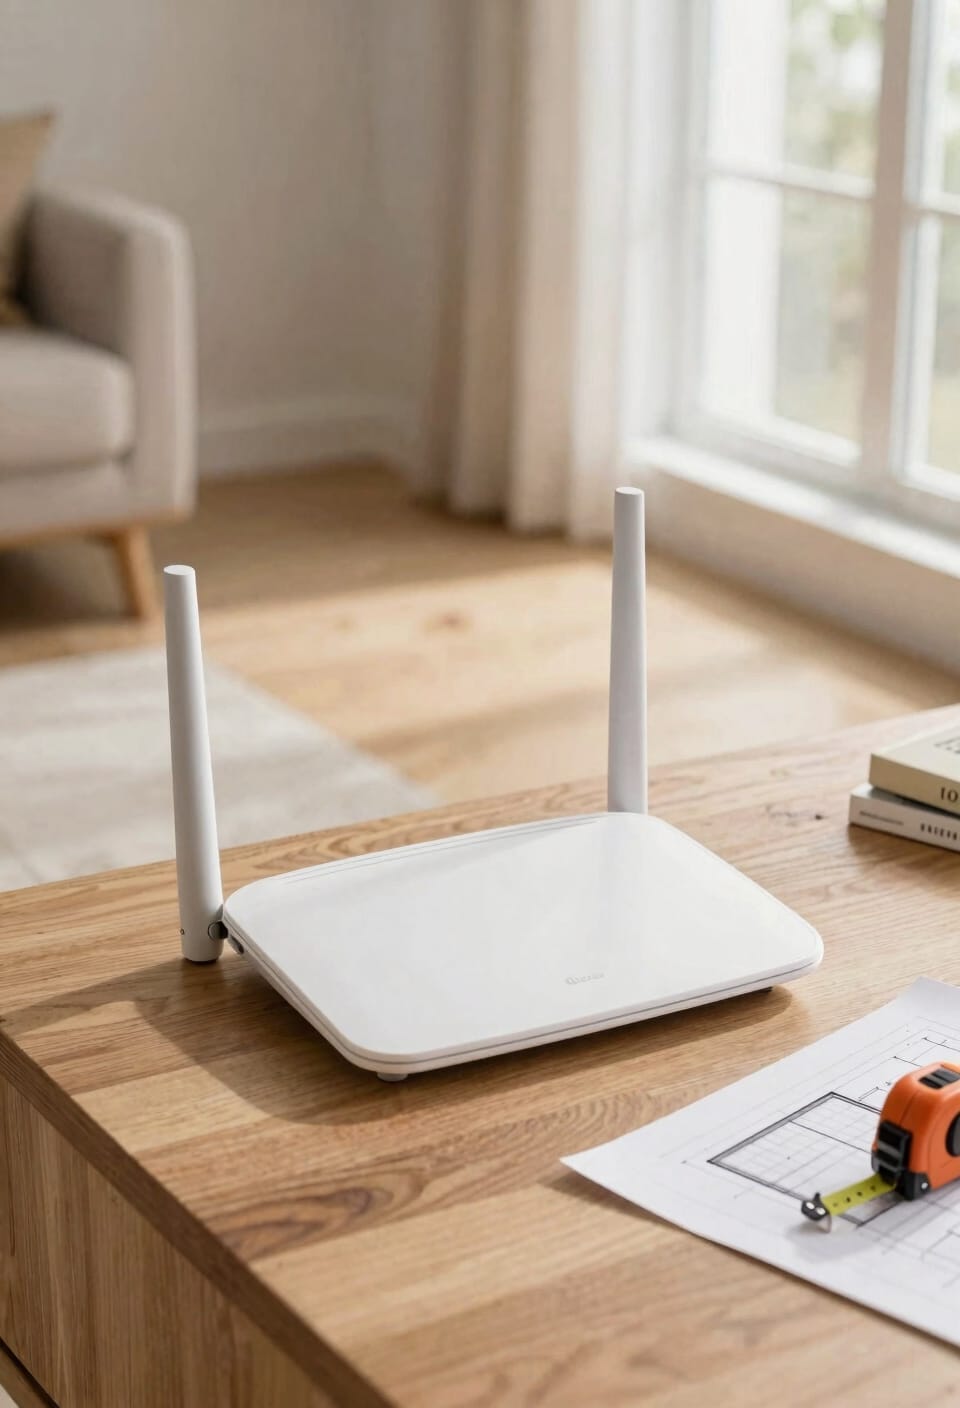
Now that you’ve mapped your dead zones, it’s time to try the easiest fix first: moving your router. I’m talking central placement—stick it somewhere in the middle of your home rather than tucked in a corner. Think living room or hallway, not the bedroom closet.
Elevated positioning matters too. Get that router off the floor and onto a shelf or table. Height lets the signal spread more evenly throughout your space. Avoid walls, enclosed spaces, and keep it away from metal objects and electronics that’ll mess with the broadcast.
You’d be surprised how often this simple repositioning kills dead zones entirely. It costs nothing and takes minutes. Before you buy expensive equipment, try moving your router first.
Reposition Your Router’s Antennas and Bands
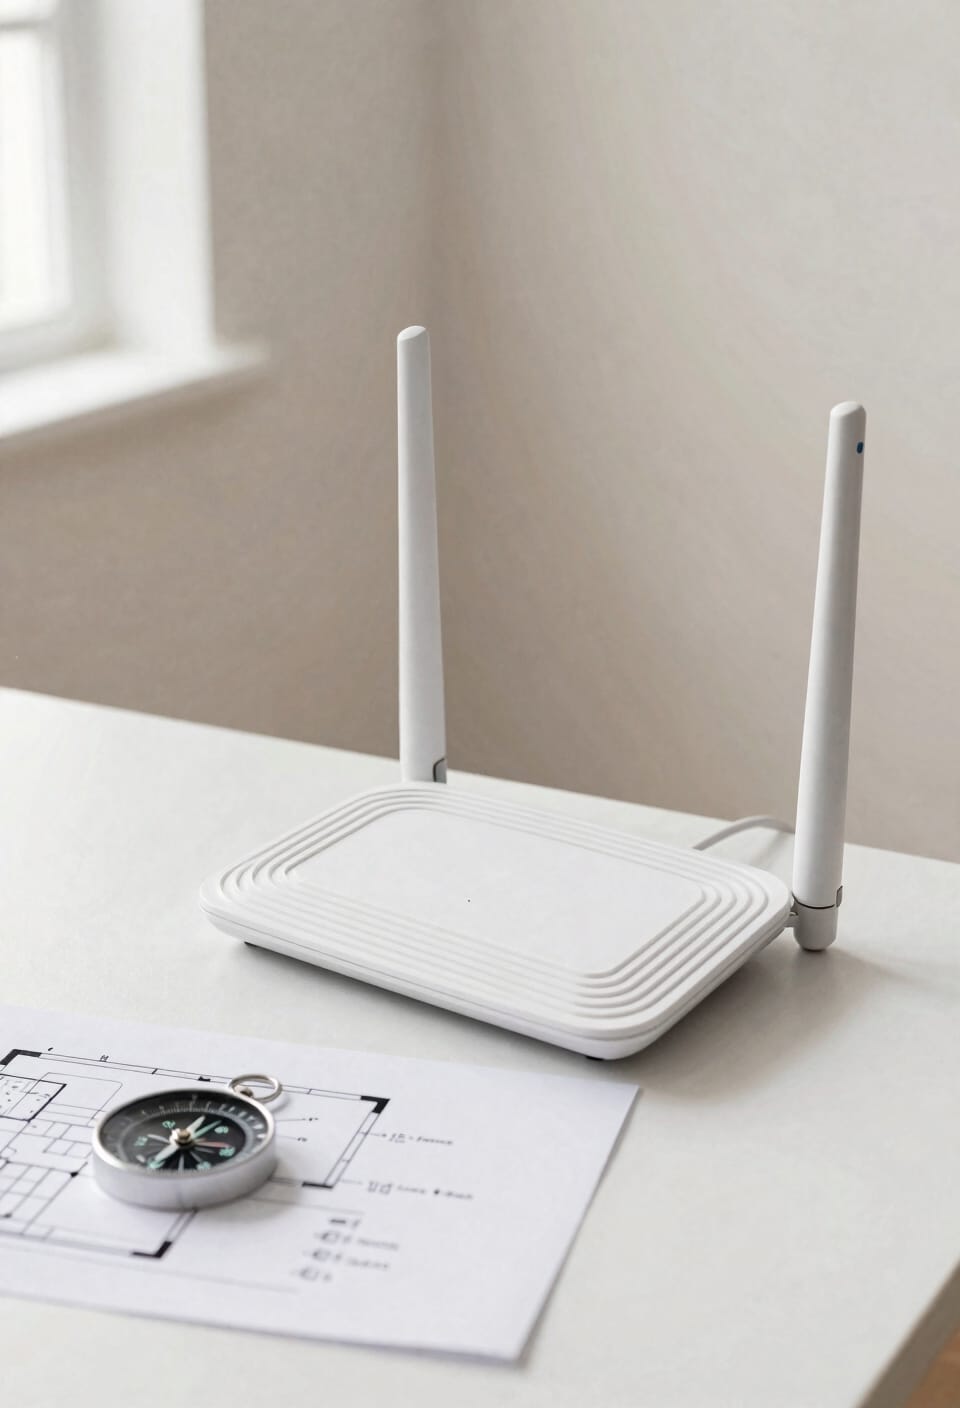
If your router’s still leaving you with spotty coverage after the move, don’t worry—there’s more tweaking you can do without spending a dime.
Start with antenna orientation. Most routers have adjustable antennas, and positioning them vertically typically gives you better overall coverage than horizontal or diagonal angles. It’s one of those simple fixes that actually works.
Next, try band steering—that’s your router’s ability to automatically switch between 2.4 GHz (which travels farther but slower) and 5 GHz (which is faster but shorter range). Enabling this feature helps your devices connect to whichever frequency works best for their location.
If your router has detachable antennas, you can even swap them for higher-quality alternatives. These small adjustments often eliminate weak spots without any additional investment.
Update Firmware to Fix WiFi Coverage Issues
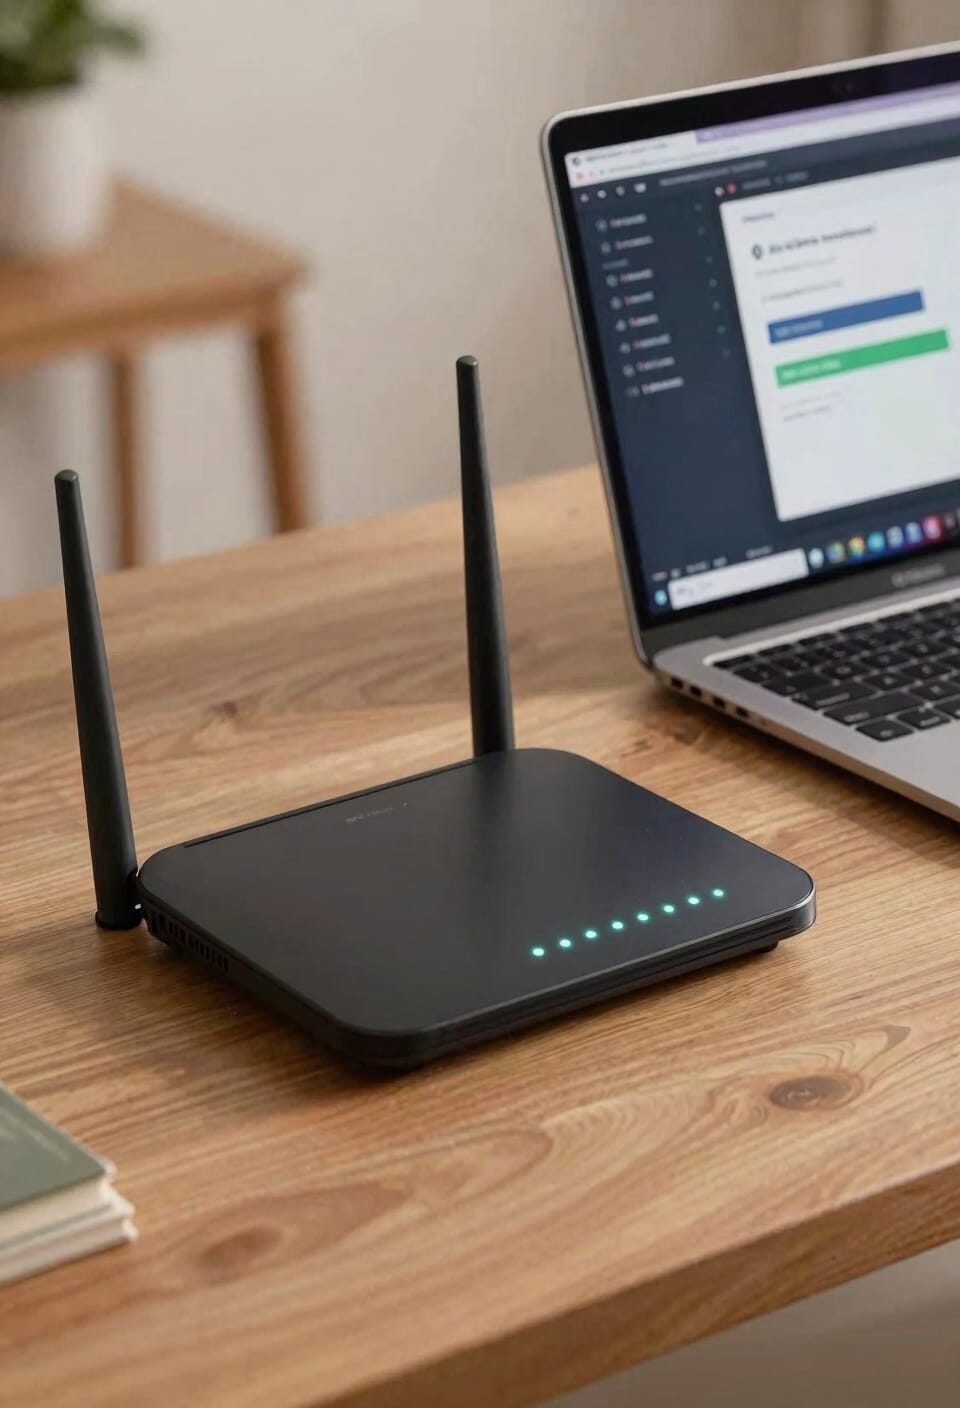
While you’re tweaking antenna angles and band settings, there’s one more thing lurking in your router that you’ve probably never thought about—and I get it, because it’s boring as watching paint dry. Your router’s firmware is basically the software running the show behind the scenes. Manufacturers regularly release updates that improve signal processing, boost range, and fix security issues you didn’t know existed. Check your router’s admin panel for available updates. Before installing, do a quick changelog review to see what’s actually changing. If something goes wrong, most routers let you perform a firmware rollback to get back where you started. Honestly, this one step fixes dead zones more often than you’d expect. Set it and forget it.
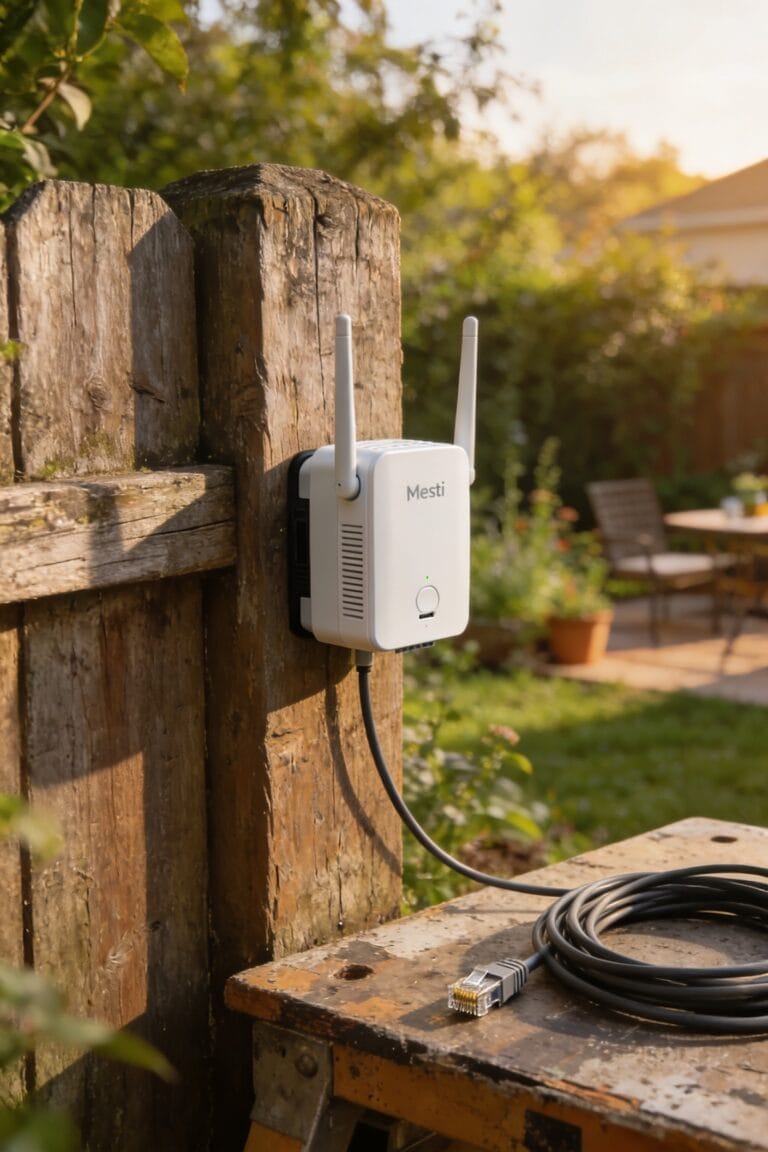
Pick the Right Booster: Extenders, Boosters, or Repeaters?
So you’ve updated your firmware and tweaked your antennas, but you’re still stuck with dead zones the size of a closet—or worse, an entire bedroom. Time to bring in reinforcements.
Here’s the thing: repeaters, extenders, and boosters all do signal amplification, but they work slightly differently. Repeaters grab your existing signal and rebroadcast it, which sounds great until you realize they cut your bandwidth in half. Extenders do basically the same thing but with better network compatibility across different router brands. Boosters? They’re honestly just marketing speak for repeaters with better PR.
For most homes under 2,500 square feet with one or two dead zones, a quality extender beats out the alternatives. Just place it halfway between your router and the problem area, and you’ll actually notice the difference.
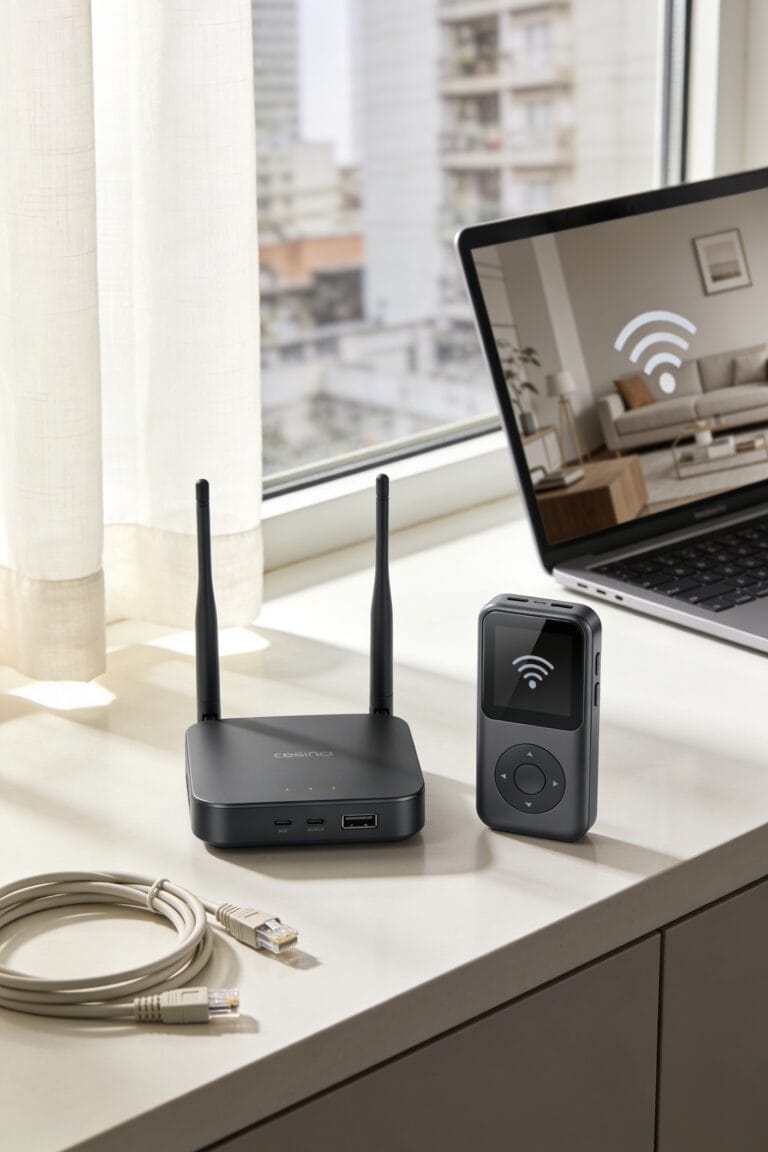
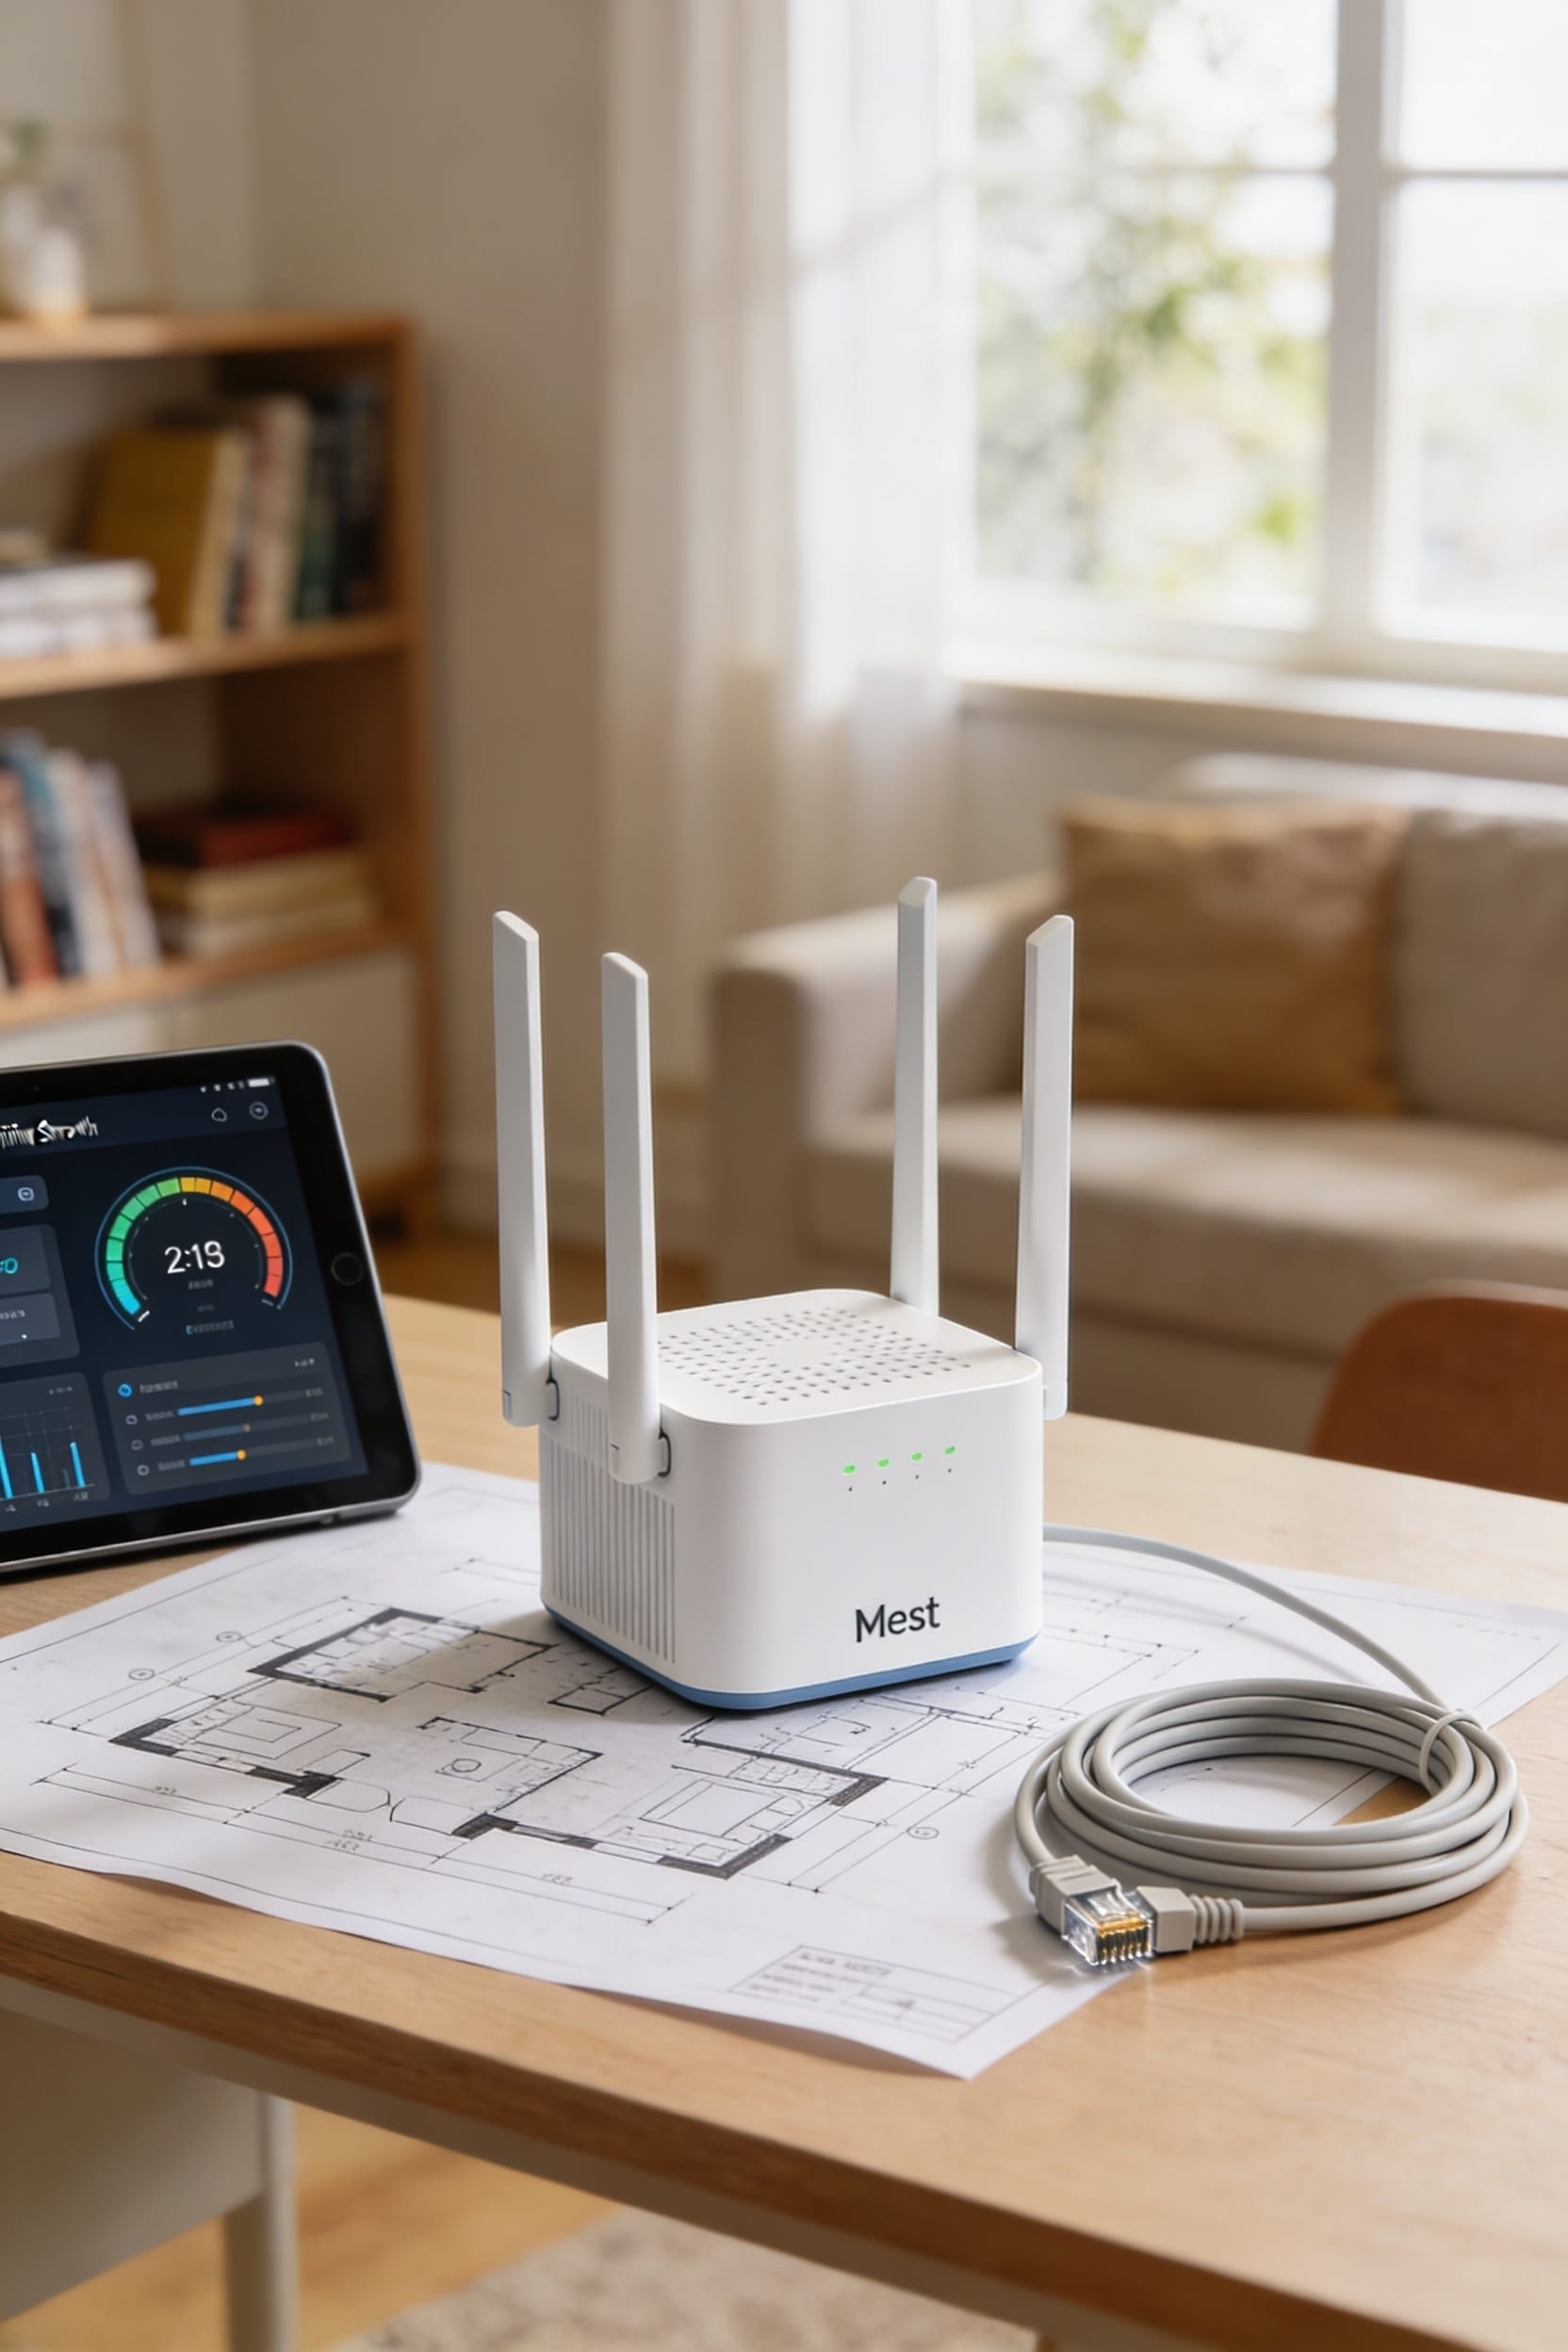
Go Mesh if You Want Seamless Coverage Everywhere
When extenders and boosters stop cutting it, mesh WiFi systems step up to eliminate dead zones by trading the single-router-plus-repeater approach for something way smarter: multiple access points (nodes, in the lingo—basically satellite routers) that work together as one unified network. You’re looking at two to three nodes strategically placed throughout your home, and here’s where mesh placement matters most: they create overlapping coverage zones that blanket everything evenly. What makes mesh genuinely different is node roaming—your devices automatically hop between the closest node without dropping connection. You get seamless coverage everywhere, rock-solid stability, and none of that annoying handoff lag that makes extenders feel janky. Yeah, mesh costs more upfront, but if you’ve got a larger home or you’re tired of dead zones winning, it’s genuinely the move.
Extend Wifi to Dead Zones With Powerline Adapters
If mesh networks feel like overkill for your situation, here’s another angle worth considering: powerline adapters, which are these clever little devices that piggyback on your home’s existing electrical wiring to extend internet connectivity. Basically, you plug one into an outlet near your router, connect it with an Ethernet cable, then place another adapter in the dead zone and plug it in. The internet signal travels through your walls’ electrical lines—no new wires needed.
Now, here’s the catch: older wiring and electrical noise can interfere with performance. That’s where noise mitigation matters; better adapters filter out interference automatically. Some models offer Ethernet passthrough, meaning you get a standard outlet back so you’re not losing plugs. They’re reliable for homes under 2,500 square feet with one or two stubborn dead zones.
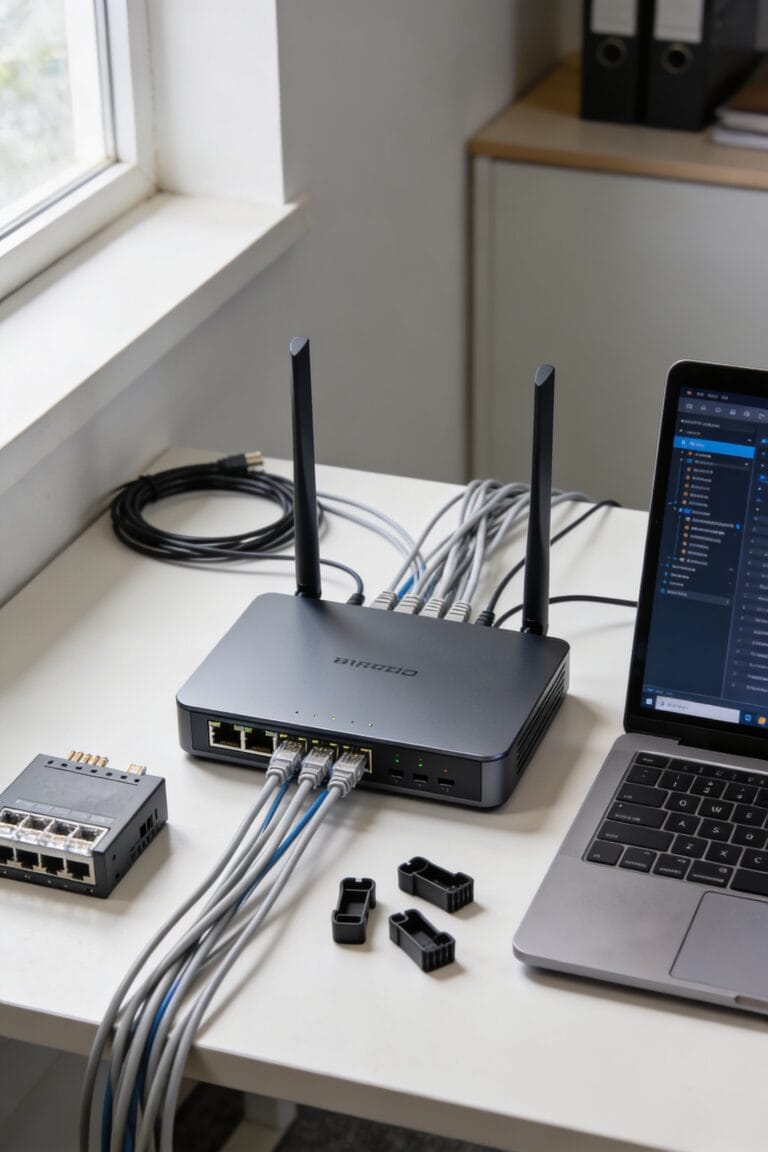
Use Access Points to Fill WiFi Coverage Gaps
Access points—essentially additional routers that connect back to your main router through an Ethernet cable—offer a straightforward way to blanket your home in WiFi without the complexity of a full mesh system.
Here’s the thing: you’re building what’s called a wired backbone, which means your access points get their internet through a physical cable rather than wirelessly. That stability matters. I’d recommend ceiling mounting them whenever possible to maximize coverage reach downward throughout your rooms.
Now, access points work best when you’ve got existing Ethernet lines running through your walls or can route cables discreetly. They’re not wireless repeaters—they’re actual routers sitting quietly in the background. You get consistent signal strength without the performance hit you’d take with a repeater. It’s a solid middle ground between simple extenders and expensive mesh systems.
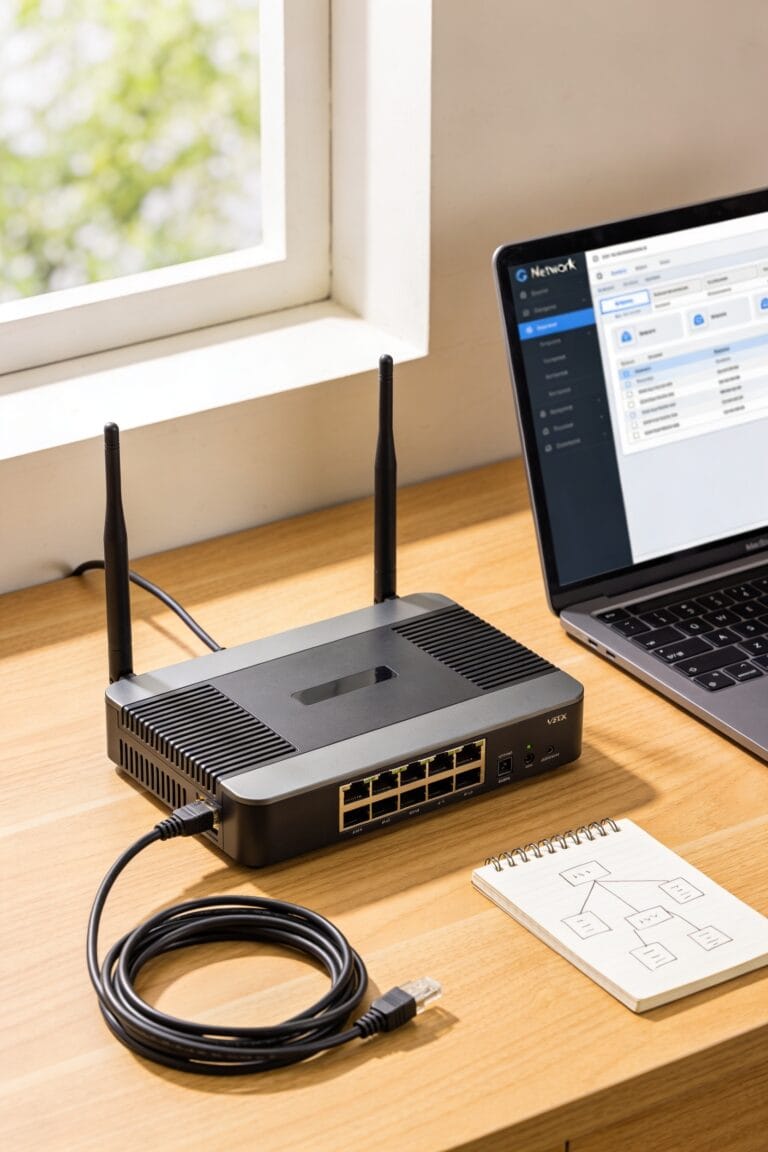
Assess Whether Your Router Needs Replacement
Your router’s age might be the real culprit behind those dead zones you’ve been chasing. Most routers last about five to seven years before their performance starts tanking. Look for ageing indicators like frequent disconnections, slowdowns, or that burnt plastic smell—yeah, that’s bad.
Check your warranty status too. If it’s expired and your router’s ancient, replacement makes more sense than throwing money at extenders or mesh systems that’ll just mask the real problem. A decade-old router trying to handle today’s demands is like asking a flip phone to stream Netflix.
Now, if your router’s relatively new but still struggling, the issue’s probably placement or interference, not the hardware itself. But if it’s creeping past that five-year mark? Time to upgrade.
Match Your Home Size and Layout to a Coverage Solution
Once you’ve ruled out an aging router, the real work begins: matching the right solution to your actual home. Here’s the thing: your square footage and floor plan matter way more than you’d think. A small apartment under 2,500 square feet? A range extender—basically a device that catches your WiFi signal and rebroadcasts it—probably does the job fine. But if you’ve got multiple floors or a sprawling layout, you’re looking at mesh systems instead. These use multiple access points working together to blanket your entire space. Think of it like this: extenders patch one or two problem spots, while mesh systems redesign your whole coverage game. Now, budget matters too, but going cheap on coverage usually means frustration later. Pick based on what you actually need to fix.
Frequently Asked Questions
Can I Use Multiple Wifi Extenders Together Without Creating Network Interference Issues?
You can use multiple extenders, but I’d recommend mesh WiFi systems instead. They offer better mesh compatibility and automatic channel planning, eliminating interference issues that multiple extenders often create in your home.
What’s the Typical Cost Difference Between Mesh Systems and Traditional Router-Extender Setups?
Mesh systems typically demand higher upfront costs—$300-$1,000 versus $50-$150 for extenders—yet require no ongoing fees. I’ve found they’re worthwhile investments if you’re seeking whole-home coverage without subscription complications.
How Long Does It Take to Notice Wifi Improvements After Making Configuration Changes?
You’ll typically notice WiFi improvements within minutes after configuration changes. Propagation delay is minimal, so your user perception of better connectivity should be immediate once the router restarts and broadcasts optimized settings.
Are Wifi Dead Zones Caused by My Internet Service Provider’s Connection Quality?
Dead zones aren’t caused by your ISP’s quality—they’re created by signal attenuation within your home. I’ve found that physical obstacles, router placement, and distance limitations generate weak spots, not your internet connection itself.
Which Devices Consume the Most Bandwidth and Degrade Overall Network Performance?
Studies show 4K video streaming consumes 25 Mbps alone. I’d monitor streaming devices and cloud backups—they’re your biggest bandwidth hogs. They’ll degrade performance if you’re not managing network load carefully across connected devices.
Conclusion
You’ve got options now—more than you probably expected. But here’s what I’ve learned: the best solution isn’t always the fanciest one. Sometimes it’s just moving your router. Sometimes it’s a mesh system. The real victory? You’ll know which one fits your space because you’ve actually diagnosed the problem instead of guessing. That’s half the battle won already.