As an Amazon Associate, we earn from qualifying purchases. Some links on this site are affiliate links at no extra cost to you. Our recommendations are based on thorough research and editorial judgment.
How to Run Ethernet Cable Through Walls (Step-by-Step)
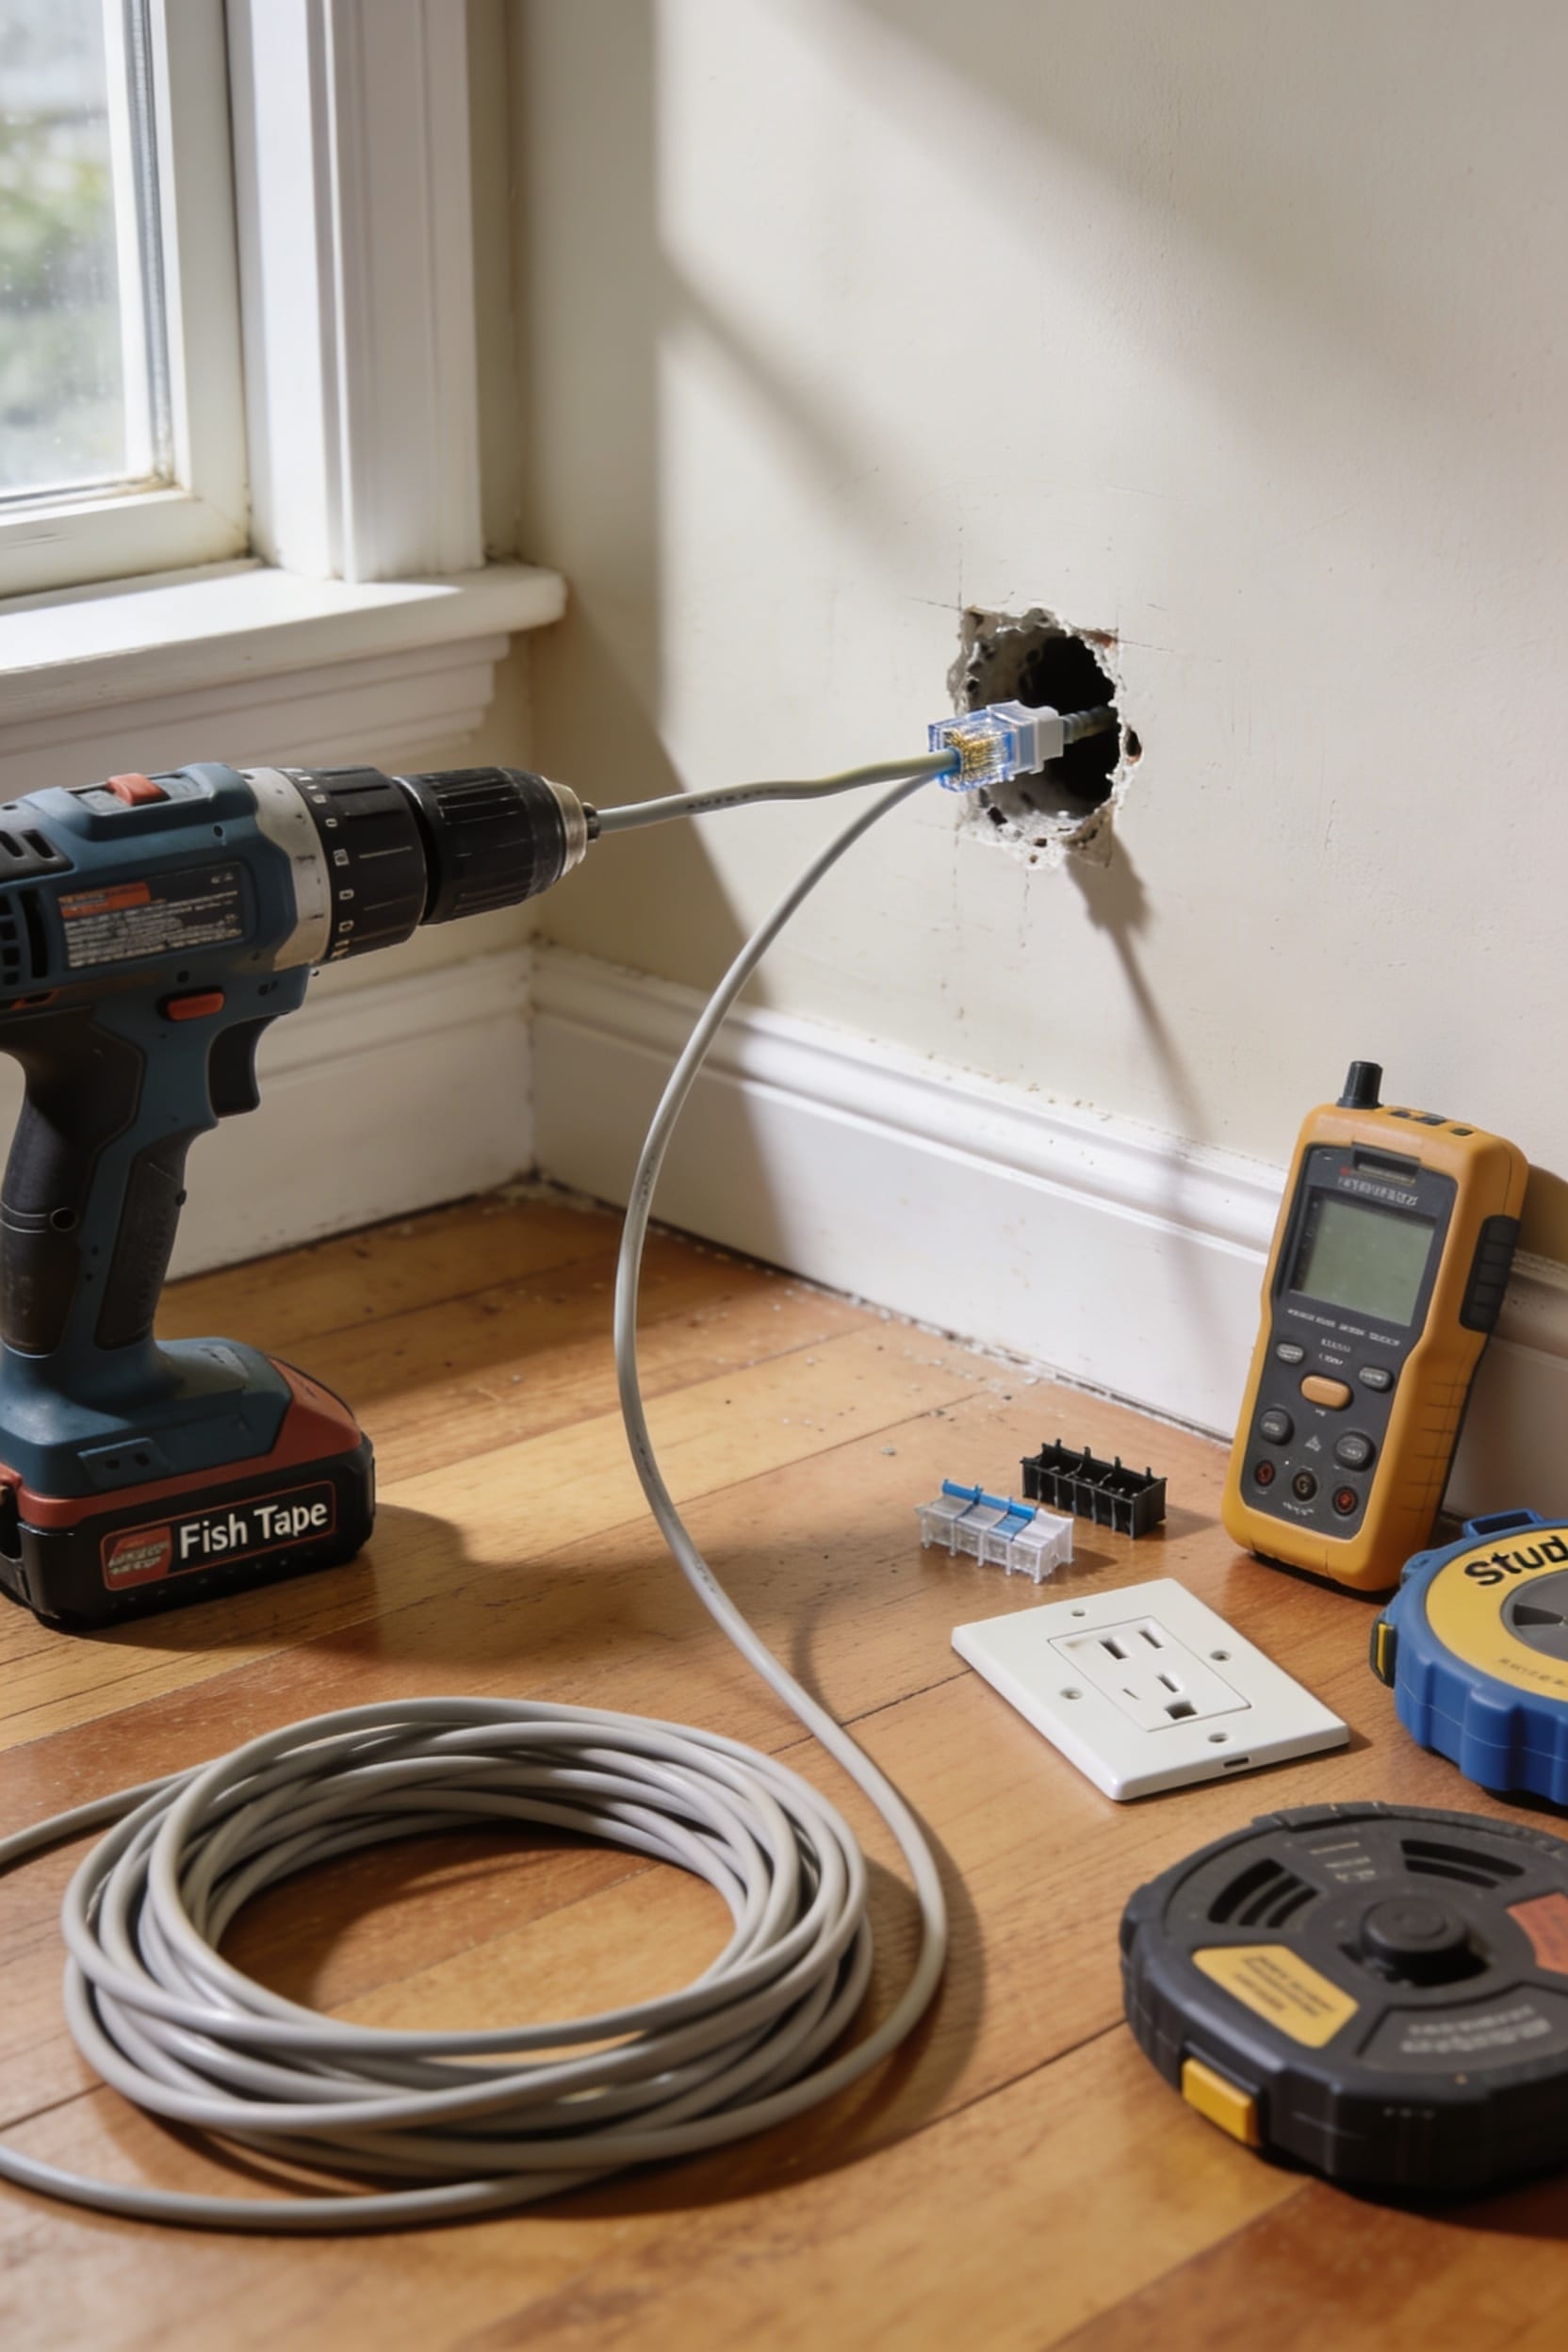
running Ethernet cable through walls beats WiFi hands down, but you’ll need to plan your route first, shut off power in those areas, and locate any existing wiring. Grab a power drill, fish tape, and cable clips, then drill appropriately-sized holes through studs, route your cable using glow rods or flexible bits to navigate tight spots, and secure everything with clips every twelve to sixteen inches. Finally, strip the cable jacket, punch down those eight colored wires into your wall jack, and test your connection. Stick around to find out exactly which tools’ll save you the most headaches.
Key Takeaways
- Plan your route by sketching paths through attic or basement and locating electrical wiring and plumbing beforehand.
- Drill appropriately sized holes: half-inch for single cables or seven-eighths inch for future-proofing multiple cables.
- Use fish tape, glow rods, or flexible drill bits to guide cables through wall cavities safely.
- Pull cables slowly and steadily while applying lubricant to reduce friction and prevent internal wire damage.
- Strip the cable jacket, connect wires to wall jack using color-coded sequence, and test your connection.
Plan Your Route and Gather Tools
Before you pick up a drill and start making holes in your walls, you’ve got to map things out—otherwise you’ll end up with more holes than a golf course and a cable running through your insulation like it’s trying to find the exit.
Start with a safety checklist: shut off power to any areas you’ll be drilling near, and locate electrical wiring and plumbing before you begin. Sketch your route from your router to each room, deciding whether you’ll run cable through the attic or basement.
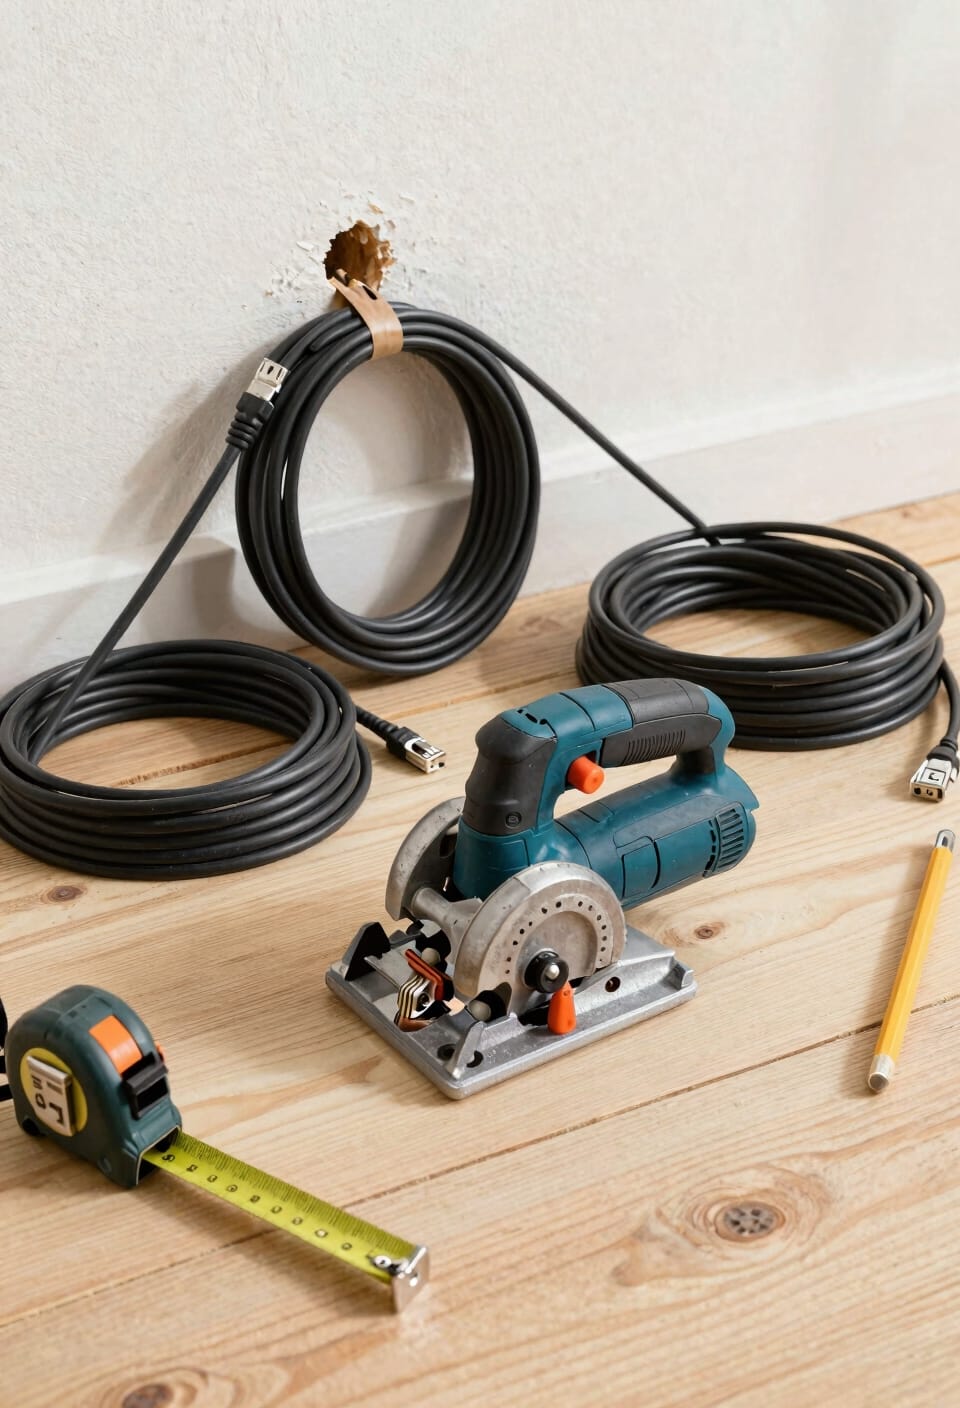
Gather your tools and material estimates: a power drill, 7/8-inch bits, fish tape, drywall saw, cable clips, and enough Ethernet cable for your route plus extra. Knowing exactly what you need means fewer trips to the hardware store and fewer surprises mid-project.
Determine Hole Size Based on Cable Count
Sizing your access holes correctly saves you from the frustrating middle-ground problem of holes too small for the job or embarrassingly large ones that require patching later. Here’s the thing: if you’re running just one Ethernet cable through a wall, a half-inch hole does the job fine. But if you’re thinking about cable capacity and future proofing your setup, go with seven-eighths of an inch instead. That extra space lets you add cables down the road without drilling new holes. Think of it like building a closet—you’ll always find reasons to install more equipment eventually. Plan ahead, and your future self running mesh nodes or additional access points will thank you. Measure twice, drill once.
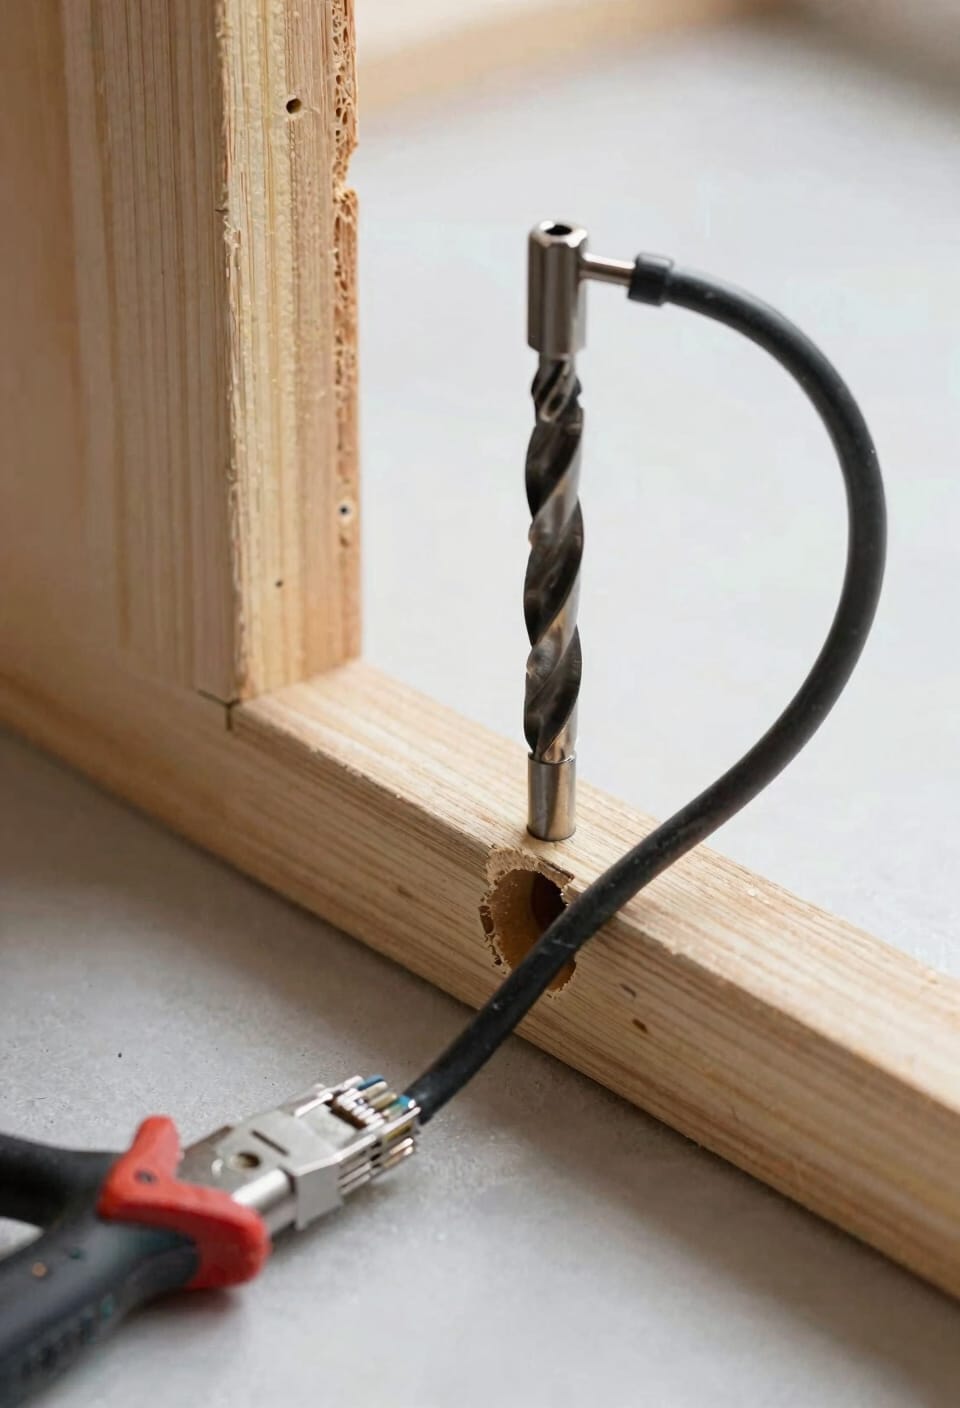
Create Access Points Through Walls and Studs
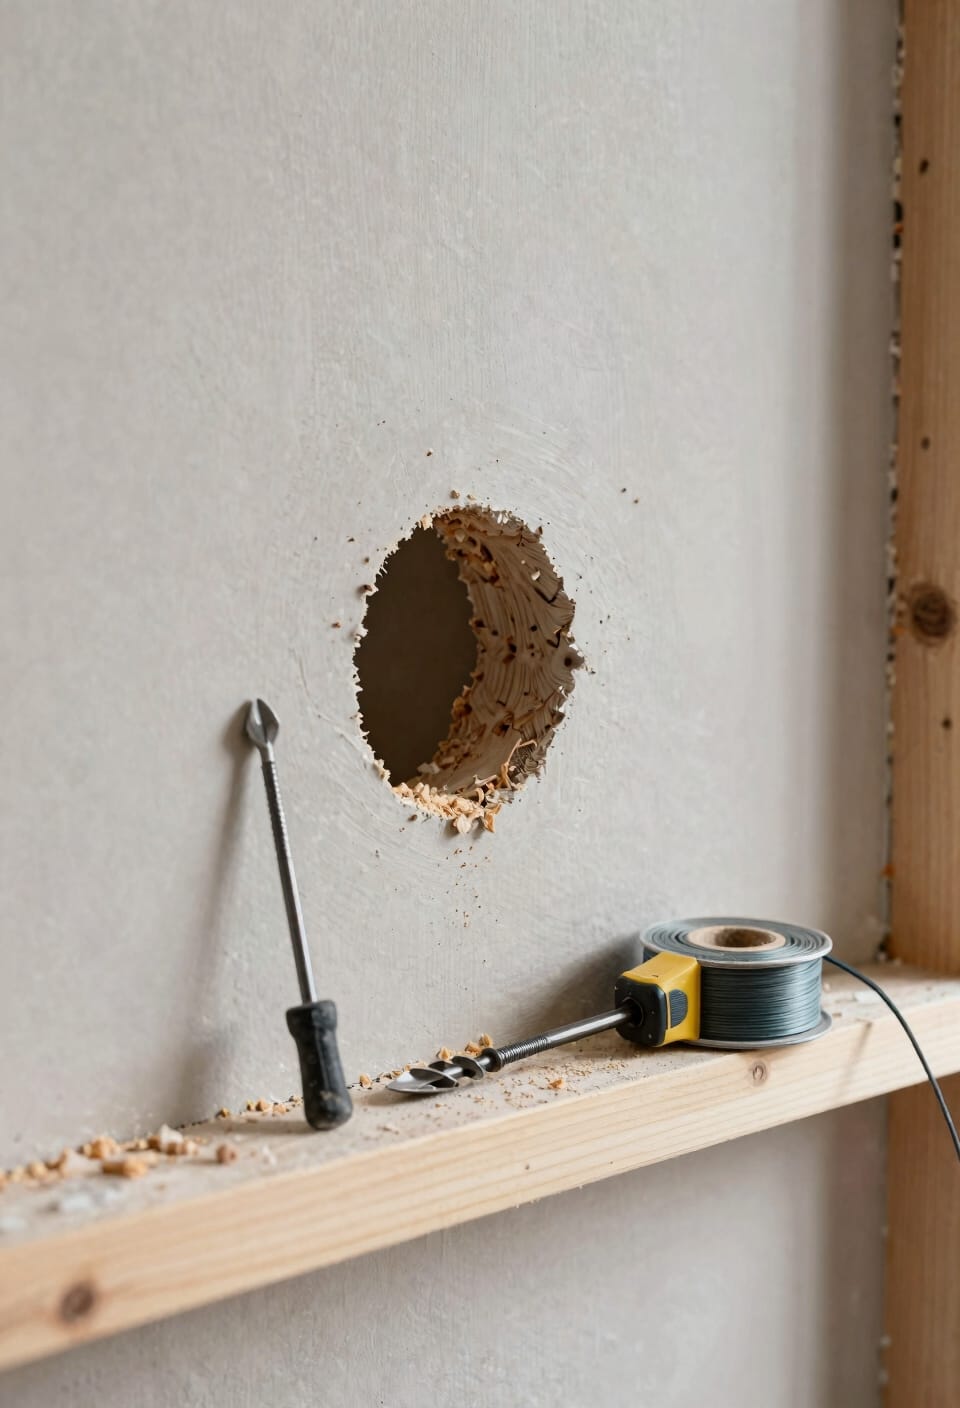
Now that you’ve sized your holes, it’s time to actually make them—and this is where things get real. Start by drilling pilot holes through the top or bottom plate, depending on whether you’re running cable down from the attic or up from the basement. When you hit exterior walls, watch out for fire blocking—those horizontal boards installed between studs specifically to stop flames from traveling. You might need to drill around them or carefully remove insulation to locate your path through the cavity.
Use the right drill bit for your wall material. Take your time. Drywall saws work great for larger openings, but don’t punch through accidentally. One embarrassing hole per project is plenty.
Route Ethernet Cable Using Glow Rods, Fish Tape, or Flexible Bits
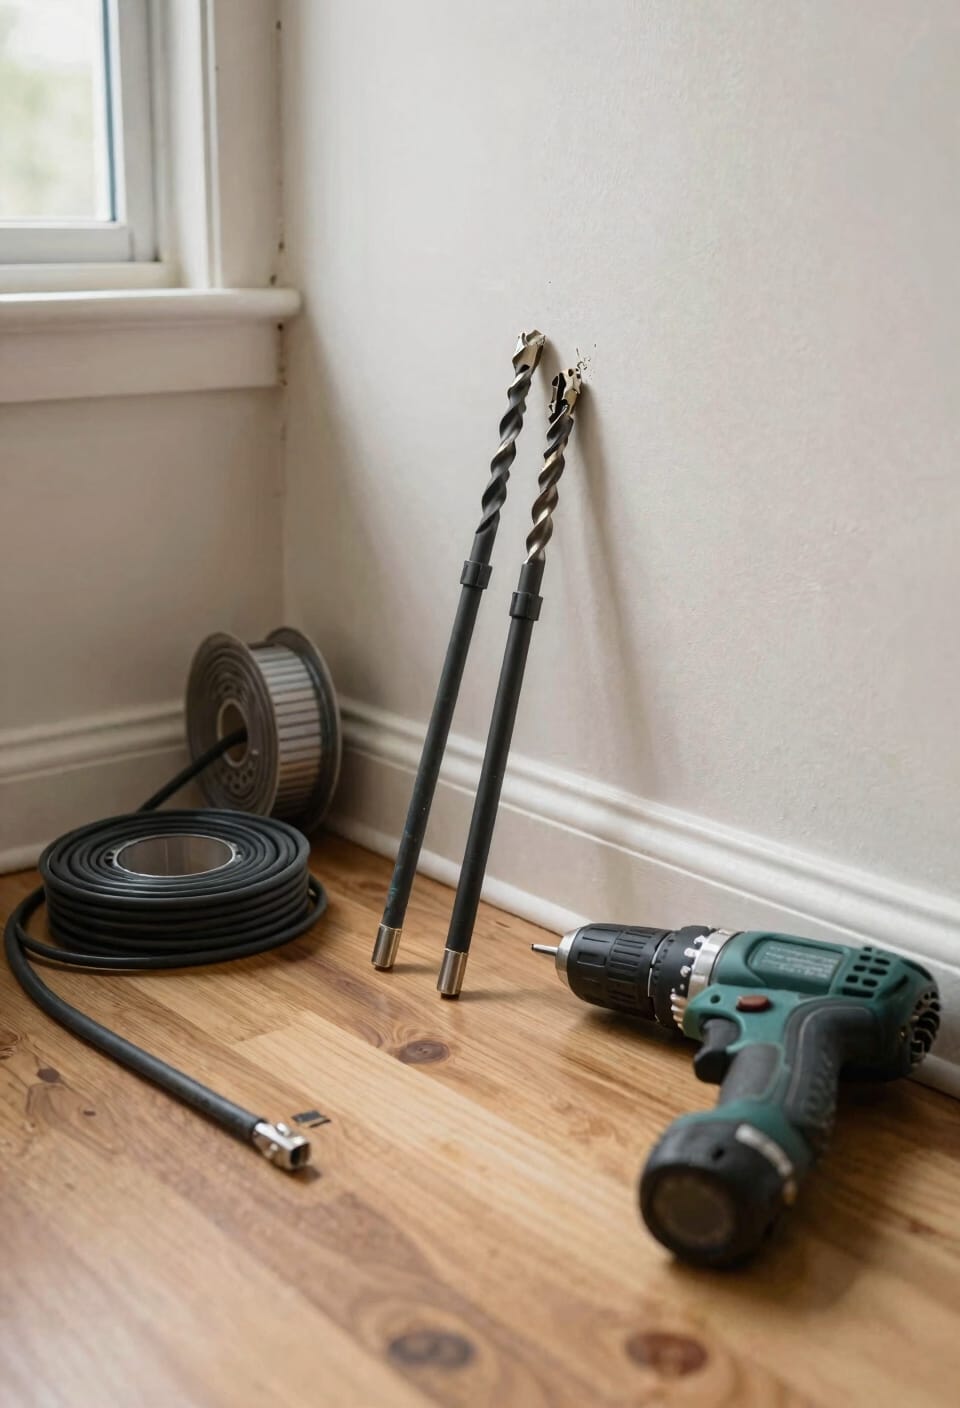
Once you’ve drilled your holes and mapped out your path, you’ll need something to actually pull the cable through those wall cavities—and that’s where glow rods, fish tape, and flexible drill bits come in.
Glow rods are your best friend here. These flexible rods glow in the dark, making them easy to spot inside walls. You’ll tie your cable to a pull string attached to the rod, then push it through from one access point toward your outlet opening. Use a magnetic retriever or long-nosed pliers to grab it from the other side.
Fish tape works similarly—it’s a flat, flexible steel ribbon that you feed through spaces. For tighter spots, apply cable lubricant to help everything slide smoothly.
Flexible drill bits bend downward through holes and help guide cables when you’re working vertically through floors or studs.
Navigate Tight Spaces With the Flexible Drill Bit Method
When you’re dealing with wall cavities that’d make a contortionist nervous, the flexible drill bit method is your secret weapon. You’ll bend the bit downward through your hole until it hits the sole plate—that’s the bottom horizontal beam in your wall. Wear heavy gloves to support the shaft while you’re working it. Once you’ve penetrated the floor, keep that bit steady and attach your Ethernet cable to its eye hole. Now pull everything upward through your outlet opening from above. This technique handles tight spaces beautifully while respecting heat management and insulation clearance around your cable. Your network stays safe, your walls stay intact, and you avoid the frustration of wrestling cables through impossible angles.
Pull Your Ethernet Cable Through Without Kinks
After you’ve got that drill bit and cable positioned, the real finesse comes in actually pulling everything through without creating kinks—those tight bends that can damage the cable’s internal wires and tank your internet speeds faster than you’d think. Pull slowly and steadily, letting the cable feed naturally without forcing it. If you’re hitting resistance, stop and reassess rather than yanking harder. A little cable lubricant designed for network installations can work wonders here, reducing friction as everything slides through. Maintain tension relief by keeping slack on both ends so you’re not fighting against the cable’s weight. The goal’s simple: patience over speed. You’ll know you’ve nailed it when the cable slides through smoothly and arrives at your outlet ready for termination—no crimps, no kinks, just clean installation.
Secure Ethernet Cable Along Walls With Clips
Now that your cable’s threaded through the walls without a single kink in sight, you’ve got to keep it looking clean and organized as it runs along your baseboards and walls—and that’s where cable clips come in. These little plastic holders grip your Ethernet cable securely and prevent it from sagging or getting tangled with other wires. I’d recommend spacing your clips every 12 to 16 inches along the run—close enough to keep things tidy, far enough apart that you’re not overdoing it. If you want to hide the cable entirely, decorative concealers slip right over the wire and blend seamlessly into your wall color. Either way, you’re locking in that professional installation look you’ve worked hard to achieve.
Expose and Connect Wires to the Wall Jack
Your cable’s finally in place and clipped down nice and tight, so here comes the part where all that routing work actually pays off—connecting those wires to the wall jack. Put on your safety gloves first—trust me, you don’t want a ground loop incident or accidental shock. Strip back the wire cover with scissors or a wire stripper, then break open the cable jacket to expose those eight individual colored wires inside. Now comes the satisfying part: you’ll push each wire into its corresponding groove on the wall jack according to the color-coded map. Grab your punch-down tool and firmly press each wire home until it clicks. Trim any excess, snap the cover plate on, and you’re done. Your network’s now running through your walls like a boss.
Test Your Connection
Once you’ve got those wires punched down and the cover plate snapped into place, it’s time to verify that all your wall-drilling, cable-routing, and wire-crimping actually worked—because nothing stings quite like finishing a project only to discover you’ve got a dead connection.
Plug an Ethernet cable into your new jack and connect it to your router or device. Now run a speed test using an online tool to check whether you’re getting the data transfer rates you’d expect. If something seems off, don’t panic. Start with signal troubleshooting by checking your connections are seated firmly, then verify your wall jack isn’t damaged. Sometimes a loose wire or a misaligned punch-down is all it takes to tank your connection. You’ve done the hard work—make sure it counts.
Frequently Asked Questions
What Precautions Should I Take When Drilling Through Exterior Walls With Fire Stops?
When I’m drilling through exterior walls, I’m careful to maintain firestop integrity by locating these barriers first and drilling around them when possible. If I must penetrate them, I reseal immediately to prevent thermal bridging and energy loss.
How Do I Avoid Damaging the Opposite Wall Side When Using Drywall Saws?
I’ll help you navigate this delicate process. You’ll want to use a studfinder first to locate framing, then carefully drill pilot holes before sawing. I’d recommend protecting the opposite side by placing tape or backing material there—it’s a gentle way to prevent unwanted punctures.
What Is the Proper Bend Radius for Ethernet Cables to Prevent Damage?
I recommend maintaining a minimum radius that avoids sharp 90-degree turns when routing your Ethernet cables. You’ll want to provide adequate cable slack to guarantee proper bend characteristics and prevent damage throughout installation.
Why Should I Use Old-Work Mounting Rings After Cutting Wallboard for Outlets?
I’ll use old-work mounting rings to protect your wall’s integrity and guarantee electrical safety. They’re essential for secure mounting, preventing sharp edges from damaging cables and creating a professional, finished appearance around your outlet openings.
How Do I Retrieve Glow Rods From Wall Cavities if Hands Won’t Fit?
When you can’t reach with your hands, I’ll tell you—use a coat-hanger hook, long-nosed pliers, or specialized tools like a magnet retriever or vacuum extractor to pull those glow rods through tight wall cavities efficiently.
Conclusion
You’ve just threaded the needle—literally. Now you’re sitting pretty with ethernet running through your walls like a hidden circulatory system keeping your network alive. Here’s the thing: you didn’t just run cable; you built infrastructure. Test that connection, celebrate the speeds, and enjoy the fact that you’ll never wonder why your WiFi died in the bedroom again. You’ve earned this.