As an Amazon Associate, we earn from qualifying purchases. Some links on this site are affiliate links at no extra cost to you. Our recommendations are based on thorough research and editorial judgment.
How to Use an Old Router as a WiFi Extender
Converting your old router into a WiFi extender—basically a device that rebroadcasts your main network’s signal—saves money and works surprisingly well. You’ll access its web interface, enable repeater mode (which copies your main router’s signal), match the network name and password exactly, then disable DHCP to prevent IP conflicts. Placement matters hugely; stick it roughly halfway between your main router and dead zones, avoid hiding it behind furniture, and test signal strength across your space. If you’re curious about the finer points of channel management and troubleshooting the inevitable hiccups, there’s plenty more to explore.
Key Takeaways
- Enable repeater mode on your old router to rebroadcast your main router’s WiFi signal wirelessly.
- Connect the old router via Ethernet cable to your main router’s LAN port for wired backhaul.
- Disable DHCP on the old router and match the main network’s SSID and security settings.
- Place the extender roughly halfway between your main router and WiFi dead zones for optimal coverage.
- Update firmware and adjust WiFi channels to avoid interference and maintain consistent signal strength.
Check Your Router Compatibility Before Starting
Before you dust off that old router and start imagining your whole house bathed in WiFi glory, you’ve got to figure out whether it’s actually capable of doing the job. Not every router supports the modes you’ll need—specifically WDS bridging, repeater mode, or access point mode. These are different ways a router can extend or relay your main signal.
Check your router’s manual or manufacturer website to see what it supports. While you’re at it, verify that firmware updates—the software that runs your router—are still available. An aging router with outdated firmware is like a car that hasn’t had an oil change; it’ll probably work, but you’re asking for trouble. Compatibility makes or breaks this whole project, so don’t skip it.
Gather Equipment to Set Up Your Router Extender
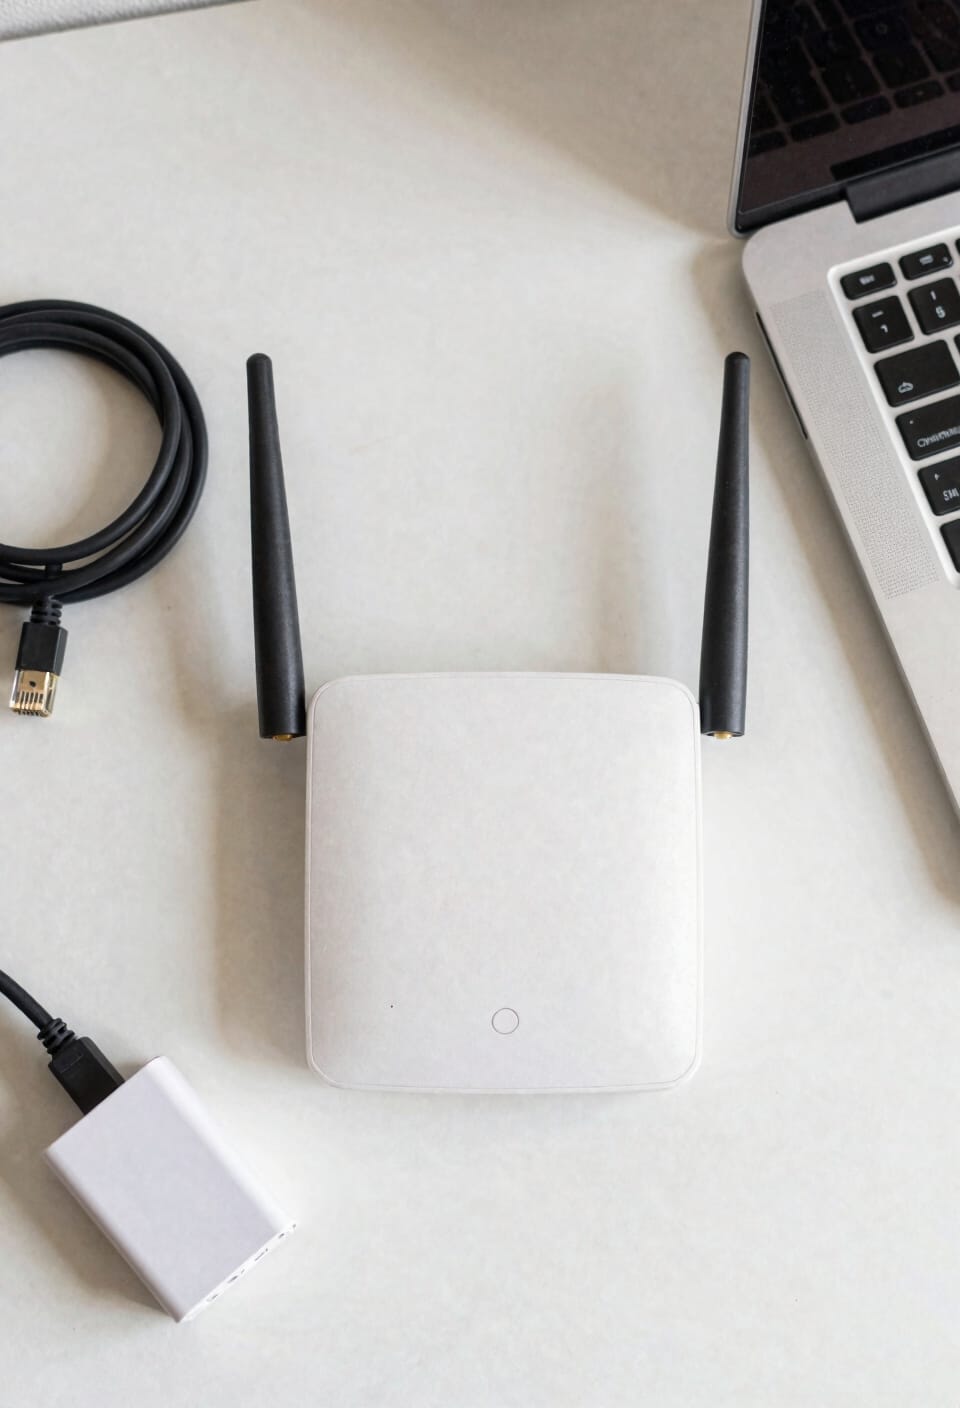
Now that you’ve confirmed your old router’s got the chops for this job, you’ll want to round up the actual gear you’ll need before diving in. First, grab an Ethernet cable—you’ll use this to connect your router directly to your computer during setup. You’ll also need the power adapter that came with your router, since you can’t exactly run it on hopes and dreams. If your router’s missing its original antennas, grab some spare antennas before you start. Make sure your main router’s nearby and working well in your target area. Finally, have your main router’s login credentials handy. That’s honestly it. Nothing fancy required here, just the basics to get rolling.
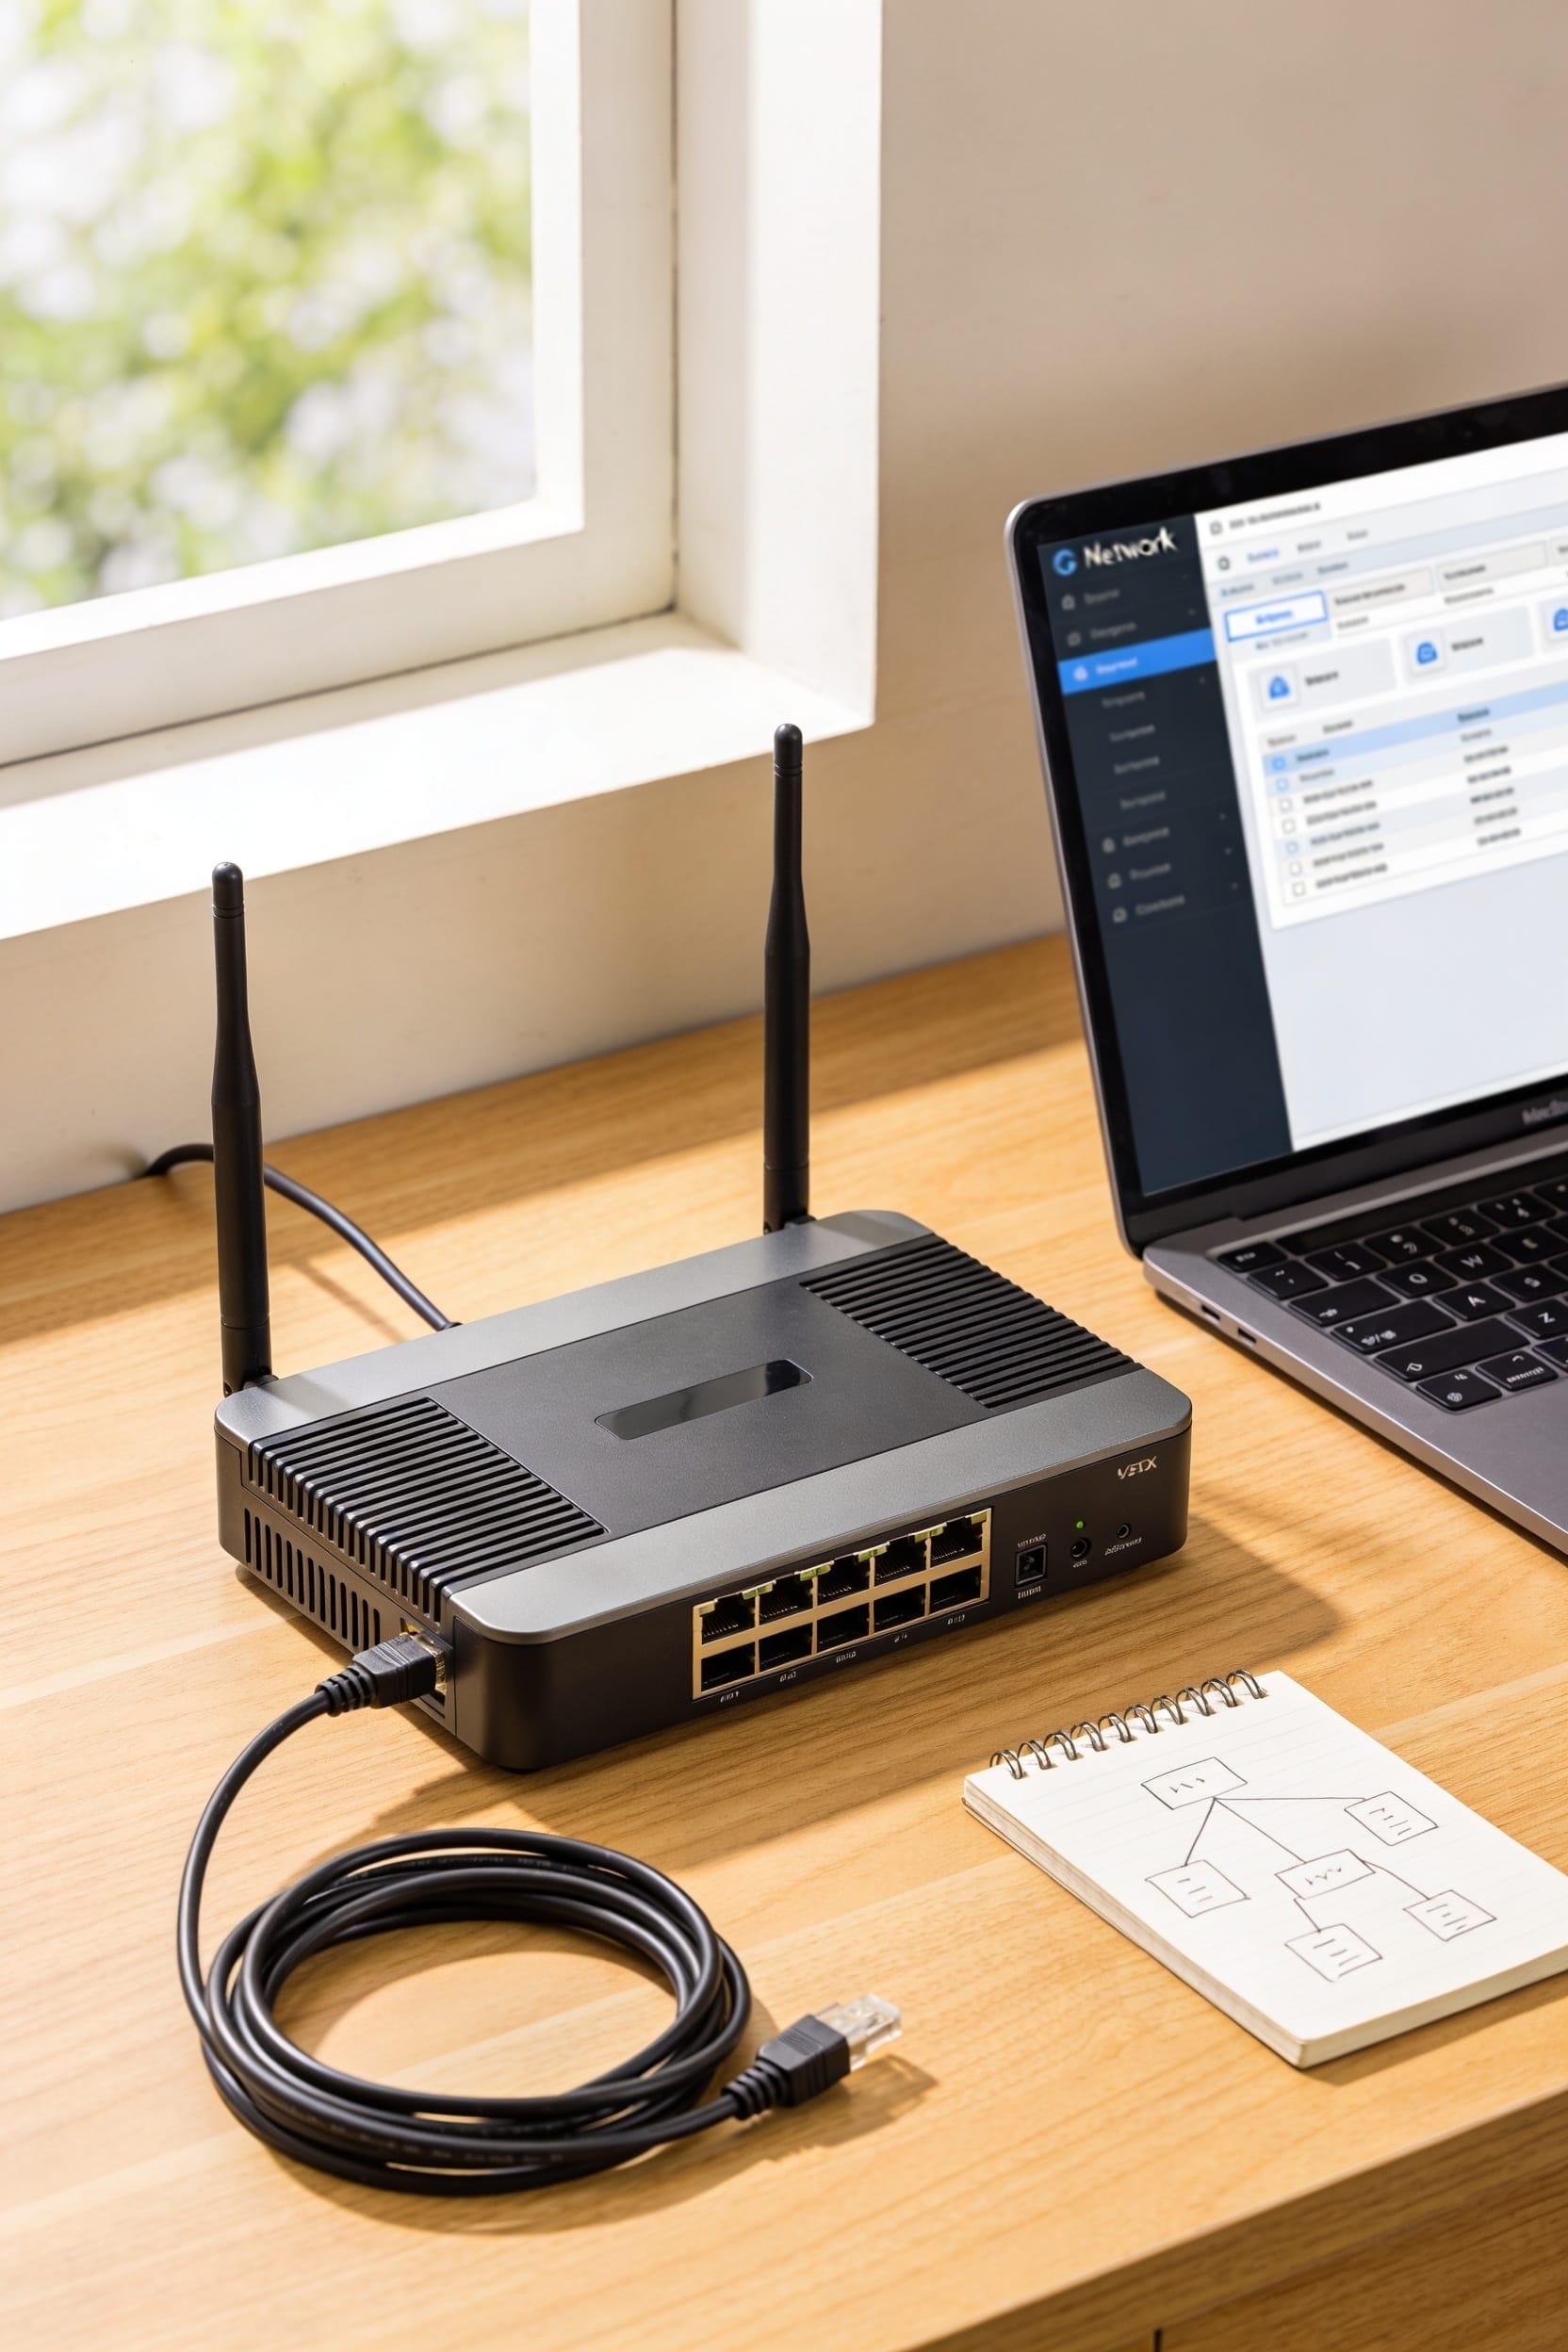
Access Your Old Router’s Web Interface
Once you’ve got your gear assembled, the next move is connecting that Ethernet cable between your old router and your computer—this is going to be your direct line of communication during setup. Open your browser and type the IP address from your router’s label, usually something like 192.168.0.1 or 192.168.1.1. You’ll see a login screen asking for default credentials, typically admin and admin. Browser compatibility rarely causes issues here, but if you’re using some ancient browser, try a different one. Log in, and you’re in. This direct connection bypasses WiFi entirely, which prevents interference while you’re configuring. Once you’re inside the web interface, change that default password immediately—seriously, do it now before you forget. Your future self will thank you.
Repeater Mode vs. Access Point Mode: Which Should You Choose?

With your router logged in and that password changed, you’re standing at a fork in the road: repeater mode or access point mode.
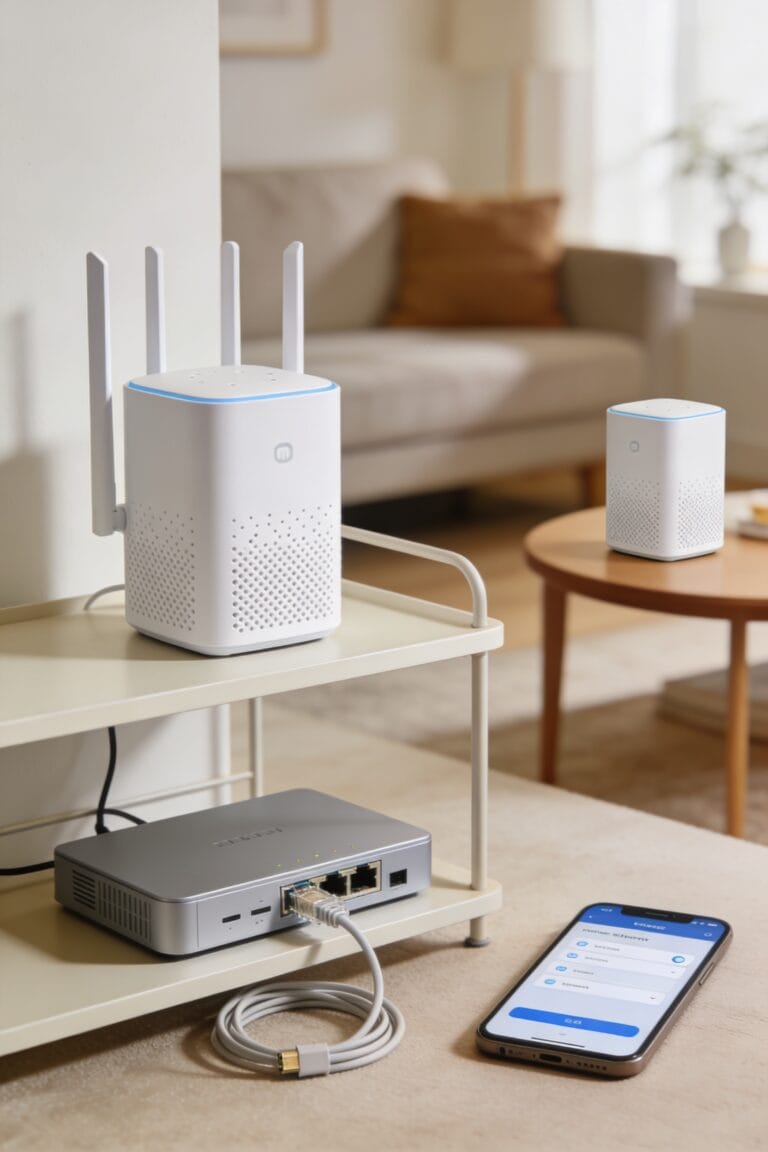
Here’s the thing: repeater mode is wireless—your old router grabs the signal from your main router and rebroadcasts it. Simple setup, no cables needed. But there’s a catch with bandwidth tradeoffs. You’re basically splitting the connection in half because the router’s receiving and transmitting simultaneously. Your roaming behavior suffers too; devices sometimes get confused about which router to connect to.
Access point mode’s different. You run an Ethernet cable from your main router, turning the old one into a wired extension. No bandwidth loss. Devices roam seamlessly between networks. It’s faster, more reliable, and honestly? Worth the cable run if you can manage it.
Configure Wireless Repeater Mode for Signal Extension

Let’s dig into repeater mode setup—you’re ready to teach that old router a new trick. First, hunt down the WiFi or wireless section in your router’s web interface. You’ll enable the repeater feature, which effectively makes your old router pick up your main router’s signal and rebroadcast it—think of it like a megaphone for your WiFi.
Select your main router’s network name and punch in its password. Now here’s where signal harmonization matters: match the security settings exactly with your main router. This keeps your devices from getting confused about which network they’re joining.
Don’t forget to disable DHCP on the old router—this prevents IP conflicts that’ll make you regret everything. If firmware troubleshooting pops up, update that software first. Save, reboot, and you’re golden.
Set Up Access Point Mode for Wired Performance
If you’re serious about squeezing every ounce of performance out of that old router, access point mode is where the magic happens. You’ll run an Ethernet cable from your main router’s LAN port directly to the old router’s WAN port, creating a wired performance setup that doesn’t lose signal strength bouncing through the air.
Switch your router to AP mode—check your manual for exact steps—then match the SSID to your main network. This gigabit backhaul connection means zero bandwidth sacrifice. You’ve effectively transformed that dusty box into a dumb switch with WiFi, which sounds insulting but actually works brilliantly for wired devices needing rock-solid connections. PoE deployment options exist too if you’re feeling fancy. Save, reboot, and you’re done.
Configure Your Extender to Prevent Network Conflicts
Network conflicts happen when two routers try to manage the same devices, and they’re basically the WiFi equivalent of two parents giving opposite instructions—total chaos. Here’s the thing: you’ll want to disable DHCP on your old router so it stops handing out IP addresses. That prevents IP conflicts where devices get confused about which router owns them.
Now, set your extender’s IP address outside your main router’s DHCP pool—basically, give it a number your main router won’t try to use. You should also grab any available firmware updates for your old router before configuration. Updated software patches security holes and improves stability.
Match your SSID names between routers so you can roam seamlessly. These small steps keep your network running smoothly instead of fighting itself.
Save Your Extender Settings and Test the Connection
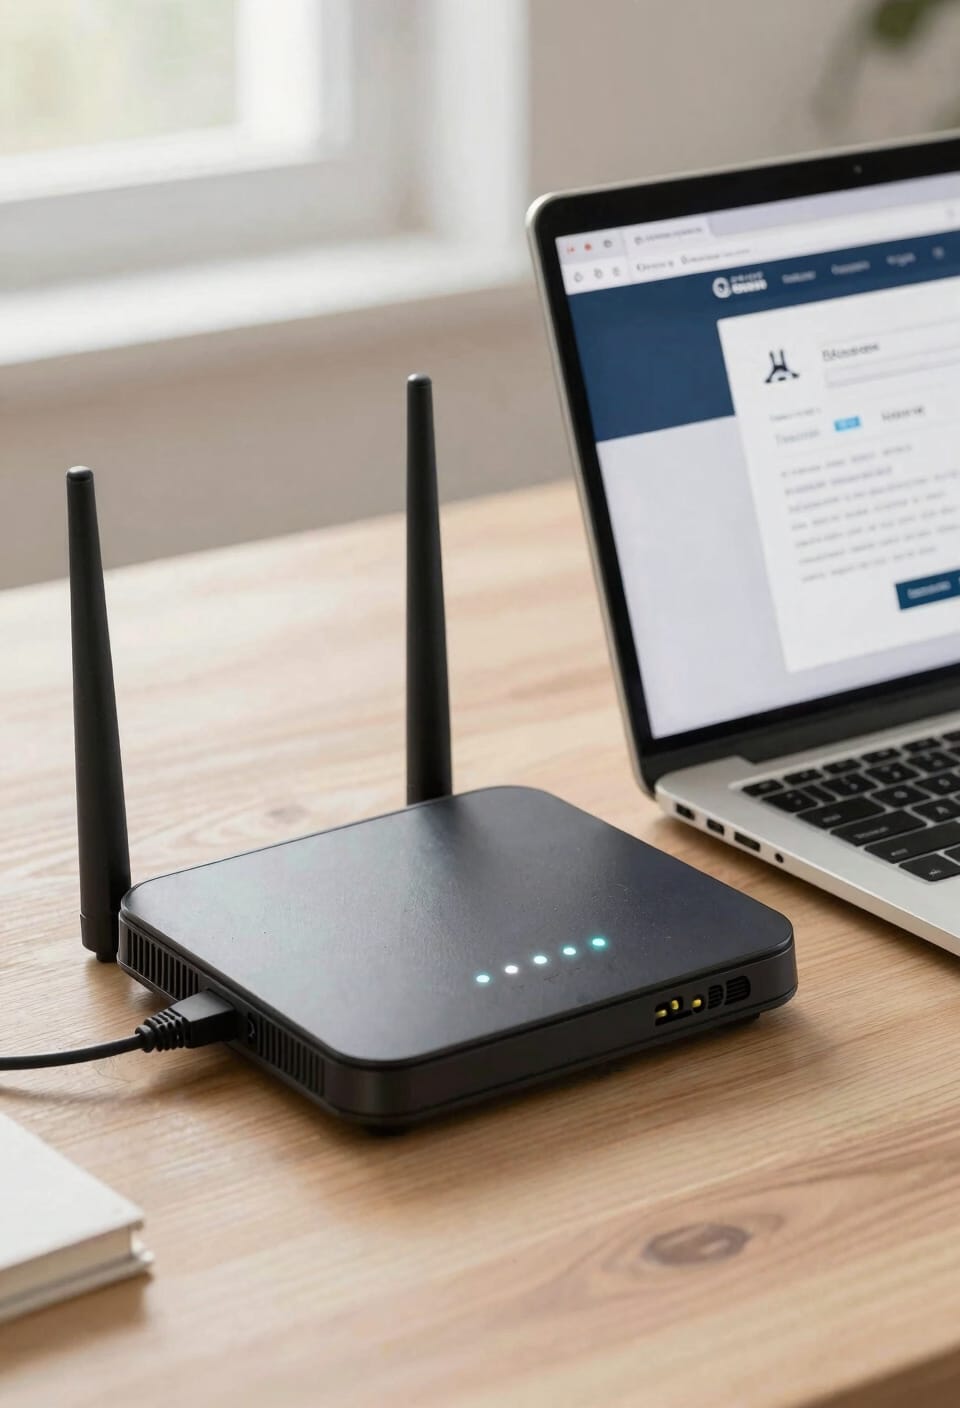
Saving your settings and actually testing whether this whole thing works is where the rubber meets the road, and honestly, it’s the step people skip right before calling me at midnight saying their WiFi extender isn’t doing anything. First, save those configuration changes you just made and reboot the router—this forces it to apply everything fresh. Once it boots up, look for that steady green light indicating repeater mode is active.
Now run connection diagnostics by testing signal strength in your extended areas. Walk around with your phone and see if you’re actually getting better coverage. Reconnect your devices to the new SSID (that’s your network name). Before you celebrate though, back up your configurations somewhere safe. You’ll thank yourself later when you need to troubleshoot or replicate this setup.
Fix Repeater Mode and Access Point Mode Problems
Even though you followed all the steps perfectly, sometimes your extender just decides to ghost you—and that’s where most people give up and buy a new router instead of troubleshooting what’s actually going wrong.
Look, most connection issues stem from a few predictable culprits. First, try firmware updates—that’s the software running your router. Outdated firmware causes compatibility headaches. Second, check your channel selection. Your main router and extender might be fighting for the same WiFi channel, like two people shouting over each other. Switch your extender to a different channel in the settings menu.
If repeater mode still fails, try access point mode instead. Sometimes hardware just prefers wired connections. Reset everything and start fresh if nothing clicks. Patience usually wins here.
Optimize Your Extender Placement After Testing
After you’ve finally got your extender talking to your main router without ghosting you, the real work begins—because placement is everything, and I’ve seen people put their extender in a closet and wonder why it’s not working miracles.
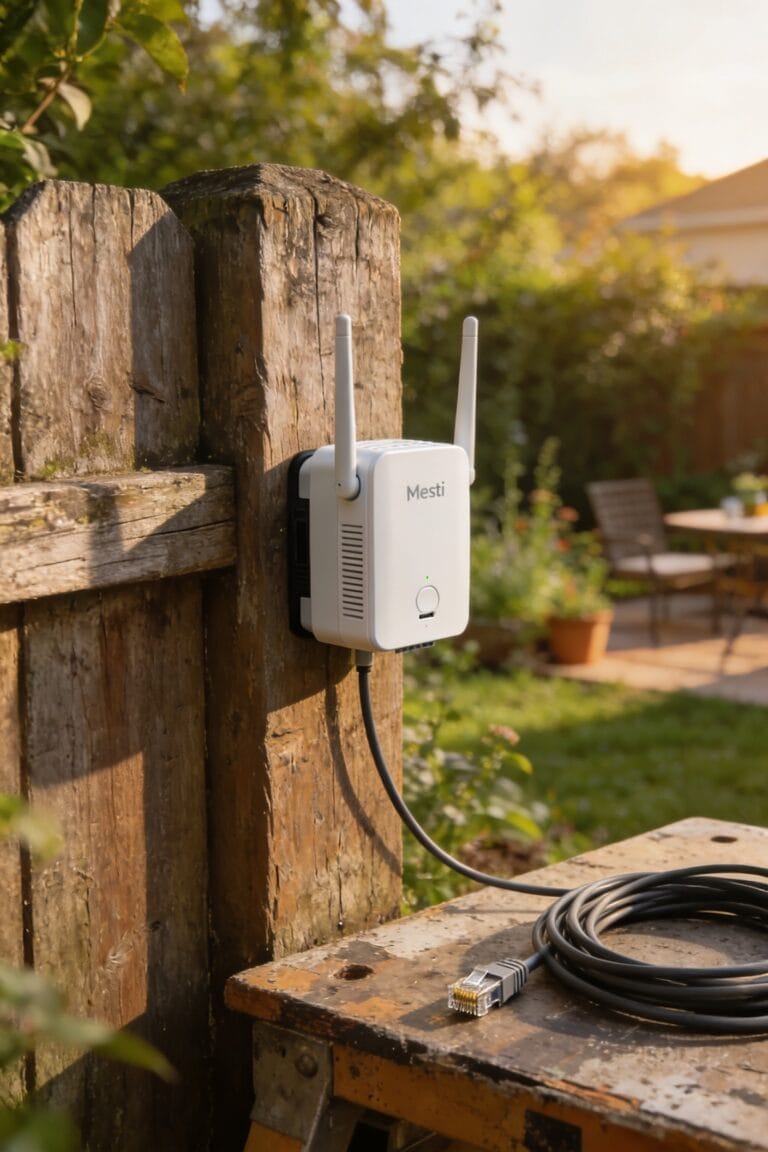
Now, signal mapping—basically checking where your WiFi signal’s actually strong versus weak—becomes your best friend. Walk around with your phone and note the dead zones. Your extender needs to sit roughly halfway between your main router and those weak spots, not tucked away behind furniture.
Here’s the thing: channel overlap, which means your extender broadcasting on the same frequency as your main router, tanks your speeds. Check your router settings and adjust channels if needed. Move your extender a few feet if signal drops suddenly. Small adjustments yield big results.
Frequently Asked Questions
Can I Use a Wifi Extender With a Router From a Different Manufacturer Than My Main Router?
Yes, I can use a cross vendor extender with my main router, though you’ll face security implications. Different manufacturers may lack seamless compatibility, potentially exposing your network to vulnerabilities and configuration conflicts.
How Long Does It Typically Take to Set up an Old Router as a Wifi Extender?
I’d say you’re looking at 15-30 minutes typically. The setup steps are straightforward—accessing the interface, enabling repeater mode, and configuring settings. Firmware updates and troubleshooting tips might extend it slightly longer depending on your router’s compatibility.
Will Using an Old Router as a Repeater Significantly Impact My Internet Speed and Performance?
Yes, I’m afraid repeater mode’s not magic—it’ll halve your bandwidth through signal degradation and create latency increases. I’d recommend wired AP mode instead if you’re serious about performance.
Can I Extend the Signal From a 5GHZ Wifi Network Using an Older Dual-Band Router?
Yes, I can extend your 5GHz network using an older dual-band router, but I’d check dual band compatibility first. Firmware limitations might prevent seamless 5GHz repeating, so verify your model supports it before attempting configuration.
What Should I Do if My Old Router Keeps Disconnecting From the Main Router’s Signal?
I’d first check for signal interference by moving your extender closer to the main router, ensuring no more than two walls between them. Then I’d update your old router’s firmware, as outdated software often causes disconnections.
Conclusion
Look, you’ve just breathed new life into hardware that’d otherwise gather dust. Studies show that 60% of people still struggle with dead zones in their homes, so you’re already ahead of the game. Your old router’s now pulling double duty, extending coverage where you needed it most. Sure, it’s not a mesh system, but it works, it’s free, and that’s pretty solid.