As an Amazon Associate, we earn from qualifying purchases. Some links on this site are affiliate links at no extra cost to you. Our recommendations are based on thorough research and editorial judgment.
How to Access Your Router Settings (Any Brand)
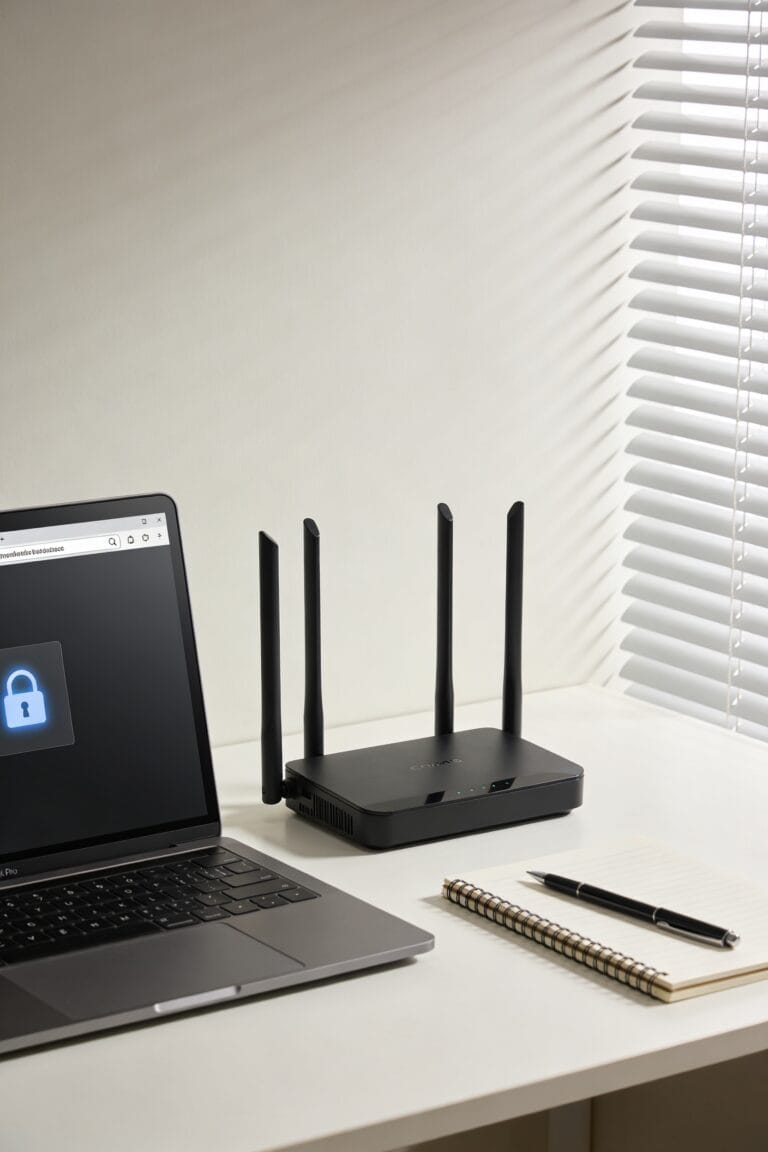
To access your router settings, find its IP address—usually 192.168.1.1 or 192.168.0.1—by checking the sticker on the back or running ipconfig in Command Prompt. Enter that address in your browser, then log in with the default credentials (typically “admin” and “admin” or “password”). Once you’re in, change that default password immediately, update your Wi-Fi name and password to something strong, and enable WPA2 or WPA3 encryption. A few quick tweaks here’ll lock down your network so nobody’s freeloading off your bandwidth.
Key Takeaways
- Find your router’s IP address by checking the sticker, using ipconfig (Windows), or inspecting network settings on your device.
- Locate default login credentials printed on the router sticker, typically “admin” for username with “admin” or “password” as password.
- Enter the router IP address in your browser’s address bar to access the login page from any connected device.
- Enter your username and password exactly as listed, then change default credentials immediately after successful authentication for security.
- Update firmware, enable WPA2/WPA3 encryption, and create a strong custom SSID password after accessing router settings.
Find Your Router’s IP Address
Before you can log into your router—that’s the device that broadcasts your WiFi signal and manages all your internet traffic—you need to find its IP address, which is basically its home phone number on your network.
The easiest method? Check your router itself. Most have a sticker on the bottom or back displaying the IP address right there. If that doesn’t work, I’d use network discovery on your computer. Open Command Prompt (Windows + R, type cmd), then enter ipconfig. Look for “Default Gateway”—that’s your router’s address, usually something like 192.168.1.1 or 192.168.0.1.
Mac users can run arp scanning through Terminal, though that’s getting a bit technical. You can also dig through Network Settings on your phone or computer. Either way, you’ll have that number in seconds.
Locate Your Default Router Login Credentials
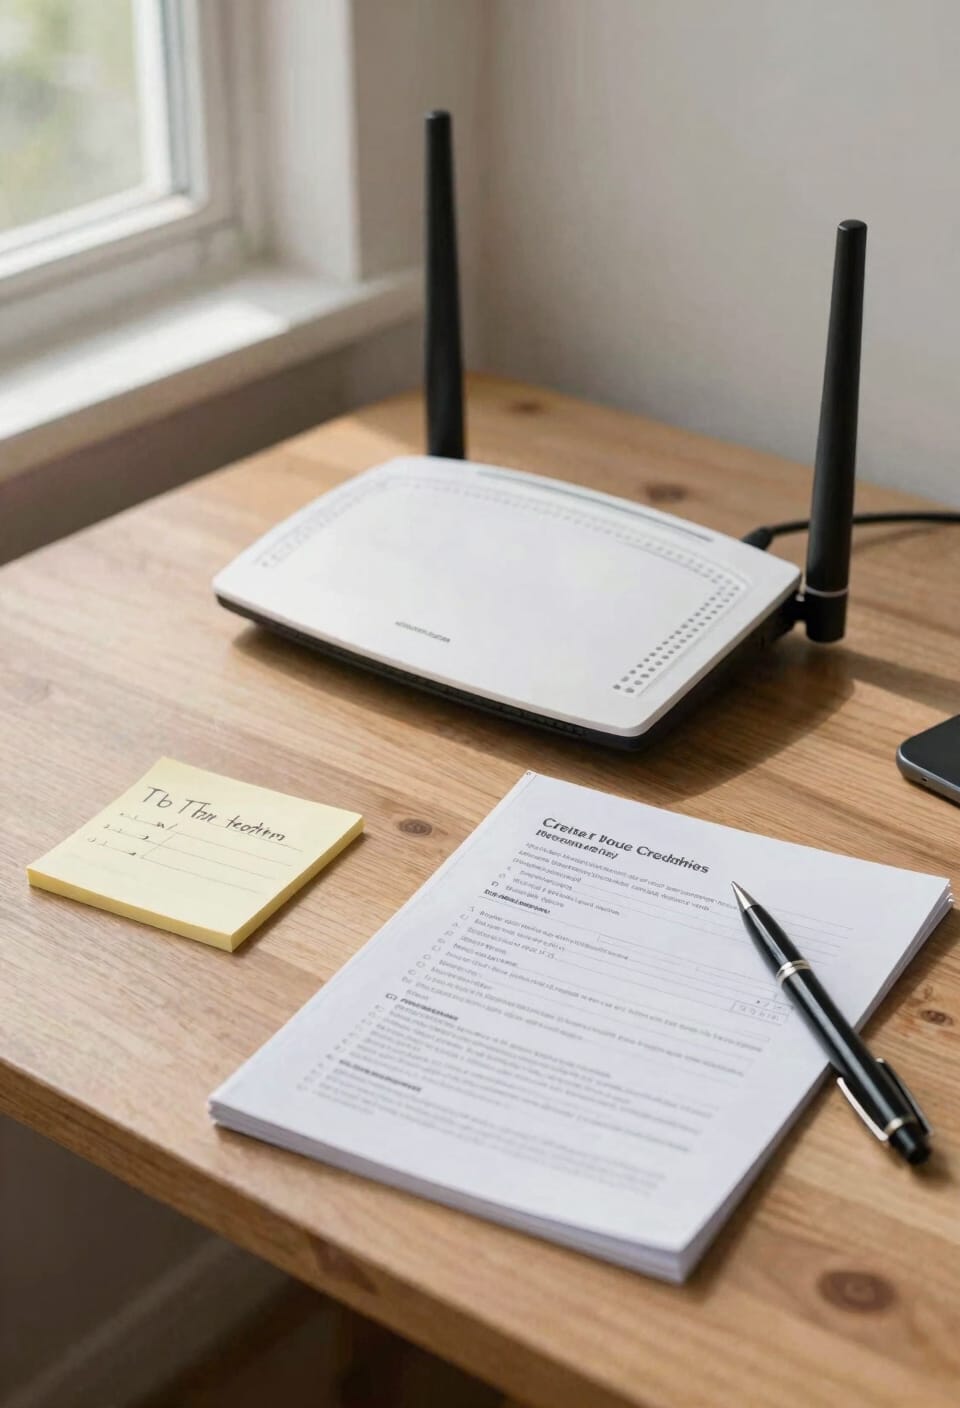
Now that you’ve got your router’s IP address locked down, you’ll need to dig up the login credentials—basically the username and password that’ll get you into the router’s control panel. Here’s the thing: most routers ship with default credentials printed right on a sticker affixed to the device itself. Flip your router over or check the back panel. You’re hunting for something like “admin” as the username paired with “admin” or “password” as the default credentials. If you’ve already changed these before and forgot them, check your router’s manual or contact your internet provider. Some newer models use a WPS PIN instead—that’s a security code you’ll find on the same sticker location. Write everything down. You’ll need it in about two minutes.
Open Your Router’s Settings Page
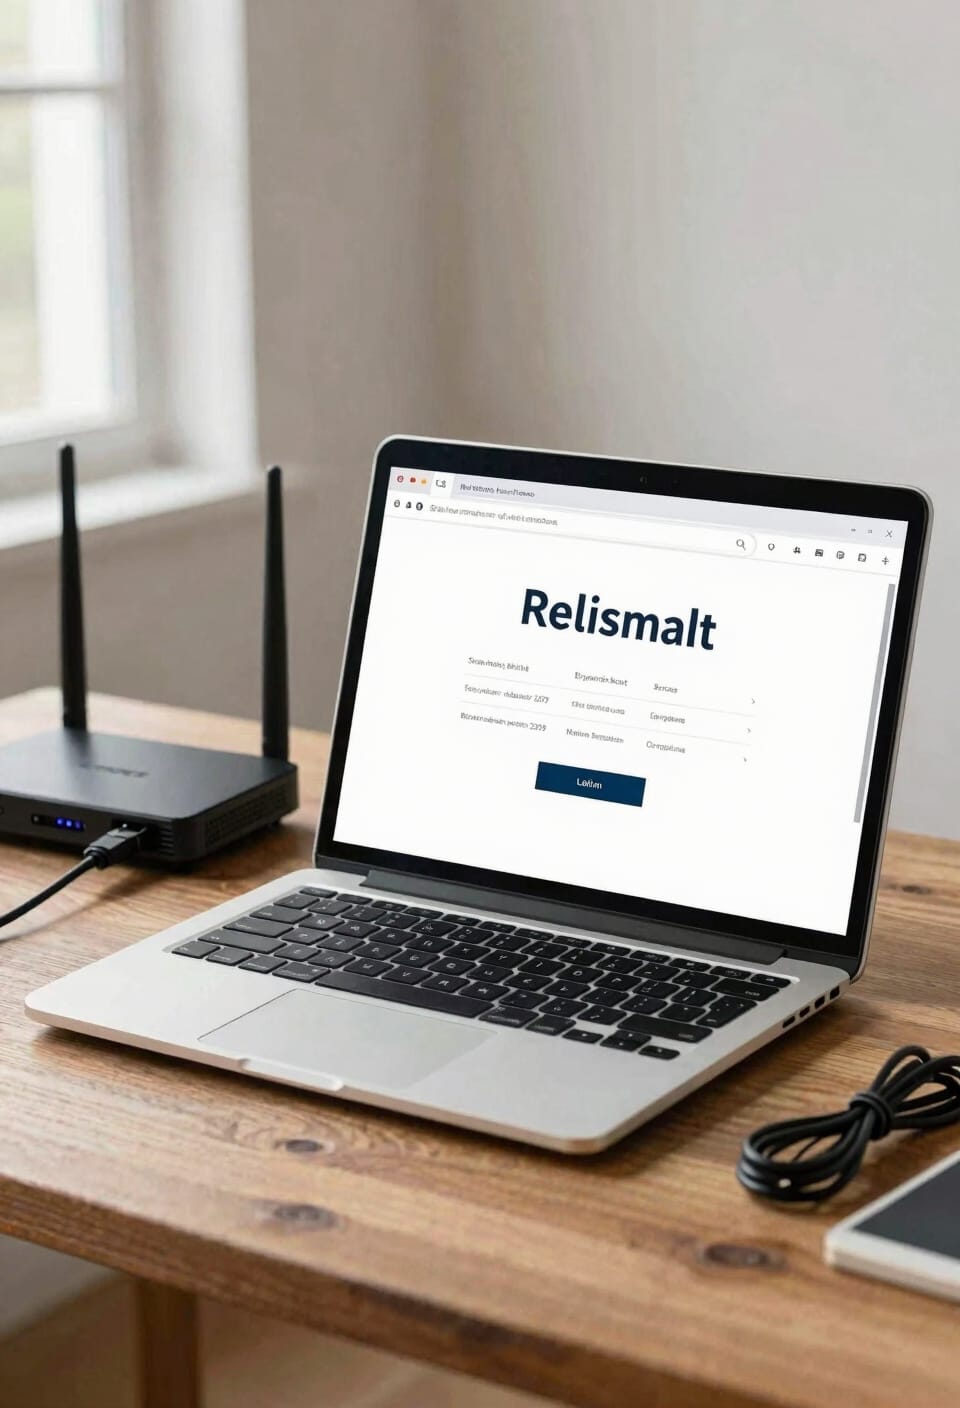
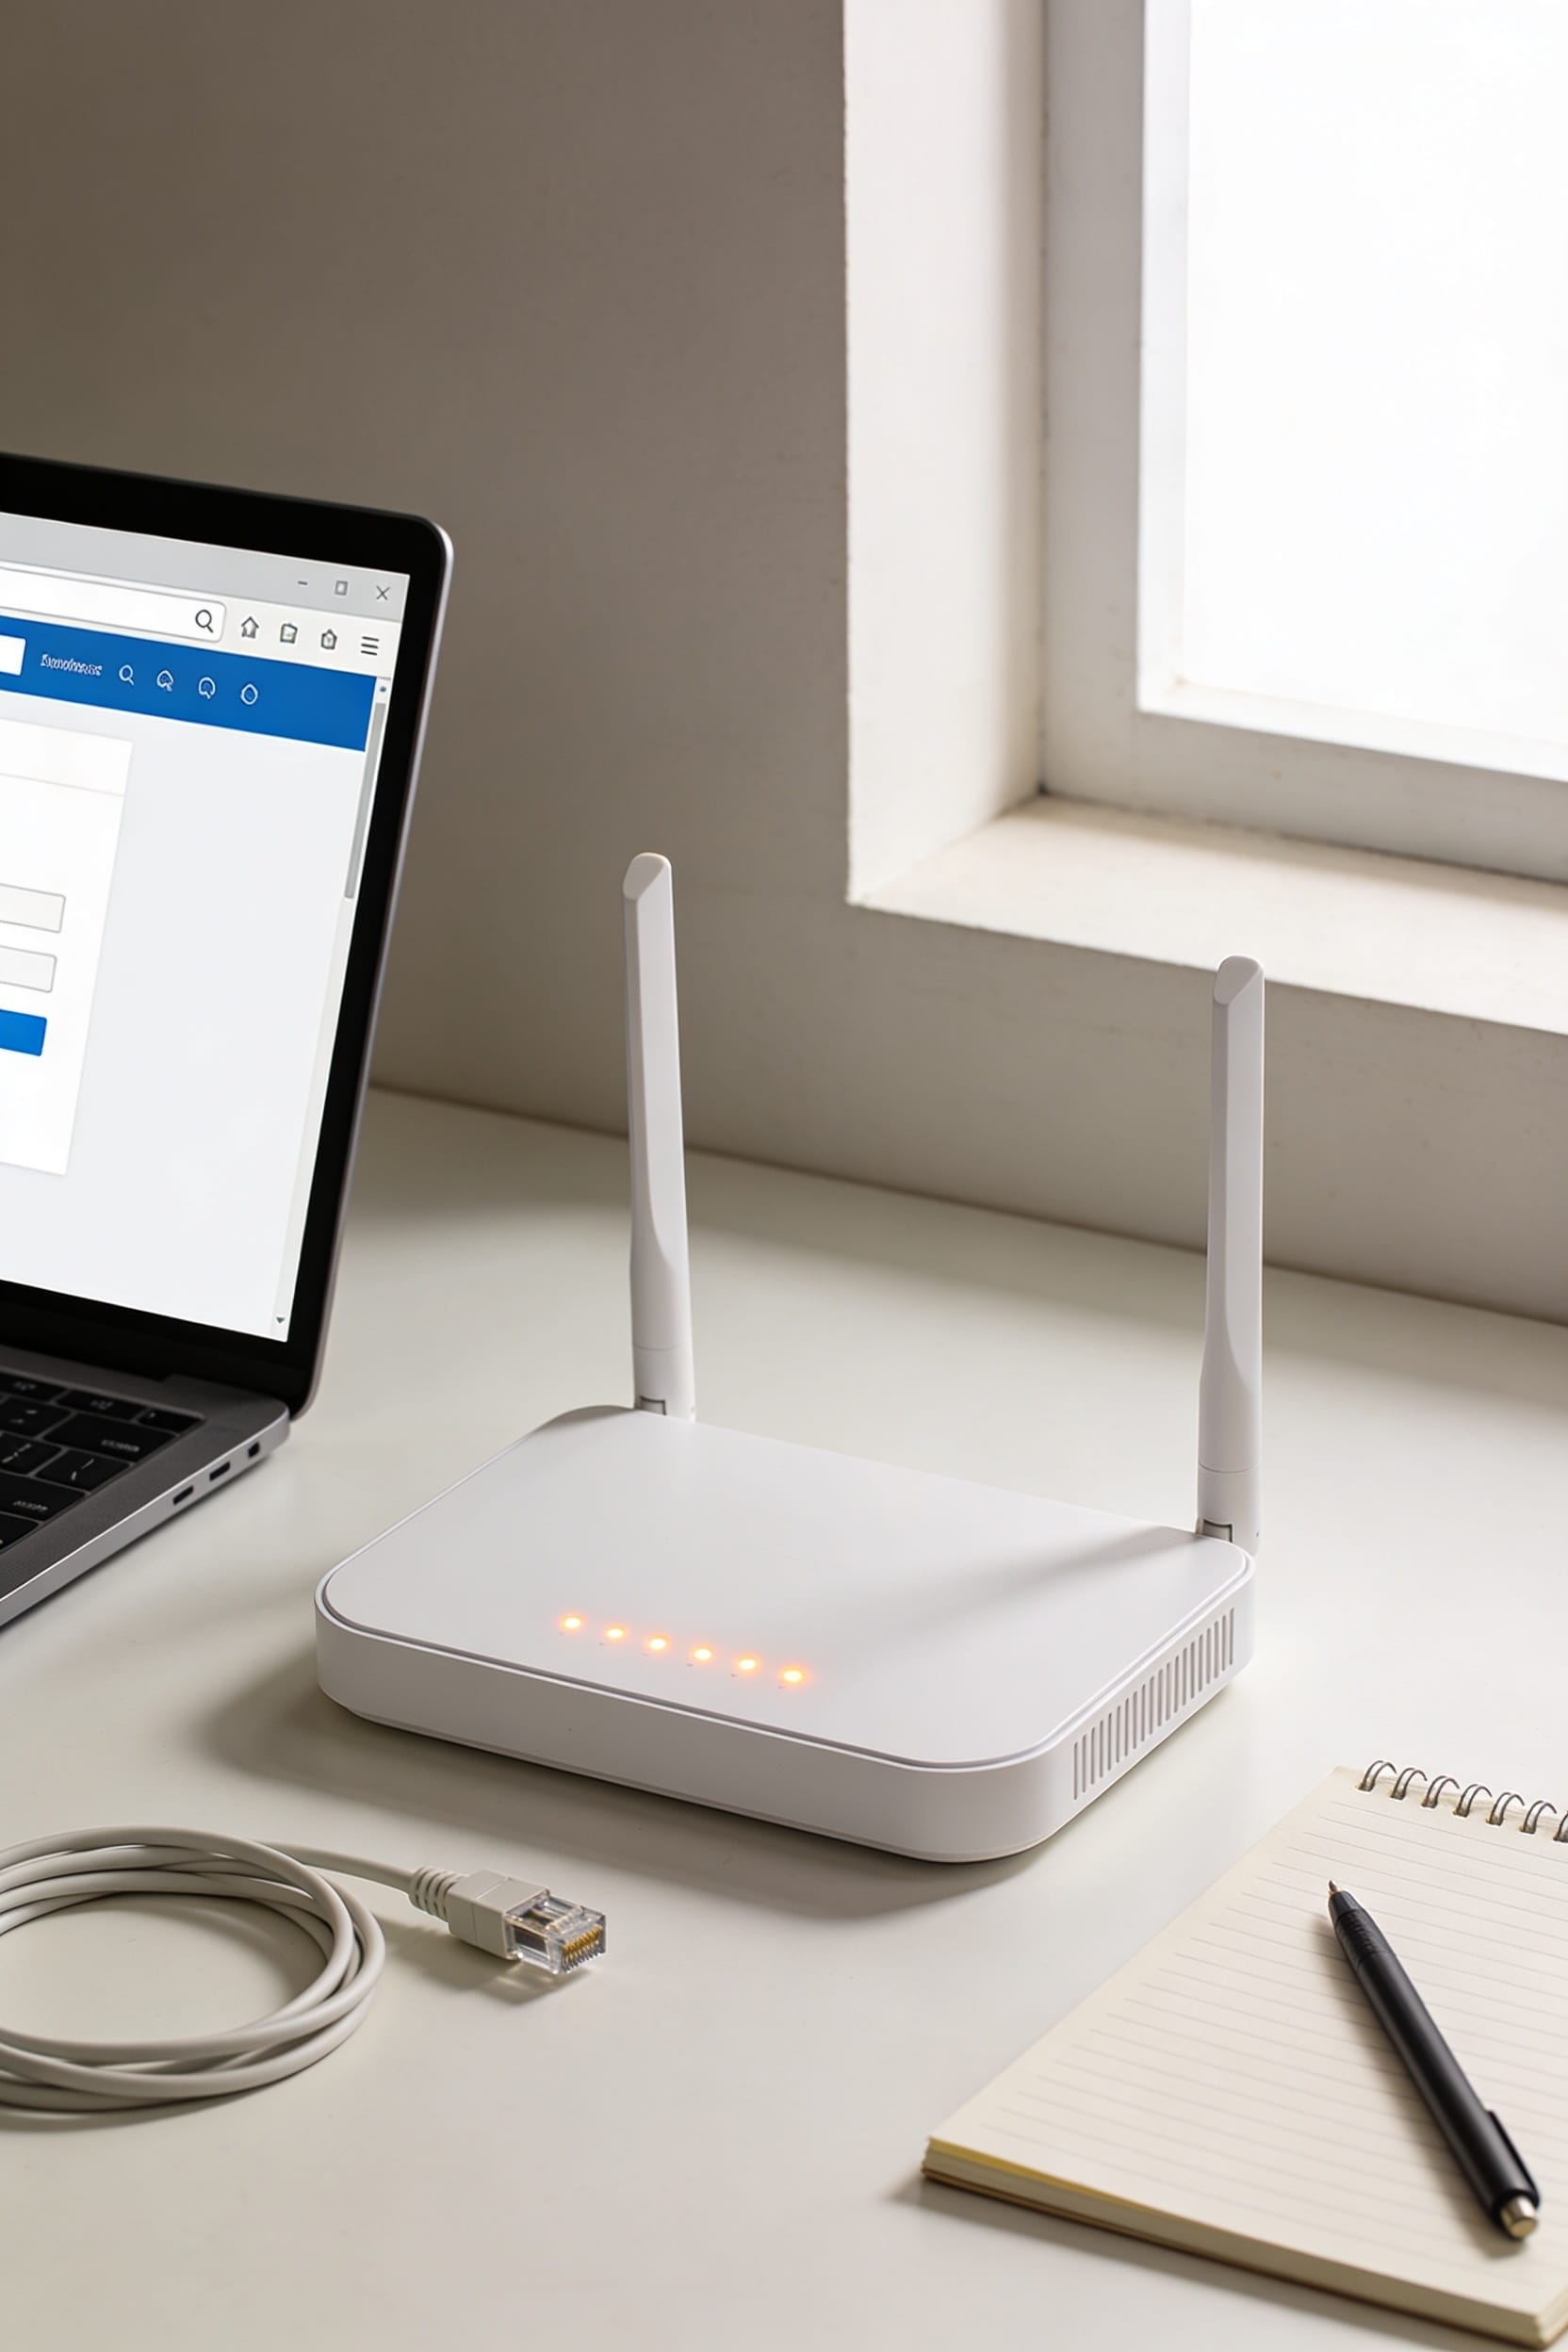
Grab your router’s IP address and those login credentials you just wrote down—you’re about to boot up your browser and head straight into the control panel where all the magic happens. Open Chrome, Firefox, Safari, or whatever browser alternatives you prefer. Type that IP address into the address bar like you’re searching for something, then hit Enter. Your router’s login page should pop up almost instantly. Can’t access it from your computer? No problem. Most routers work fine with mobile shortcuts too—just pull up your phone’s browser and enter that same IP address. You’ll land on the same login screen. Either way, you’re seconds away from changing passwords, adjusting Wi-Fi names, and basically becoming the ruler of your home network.
Log In With Your Username and Password
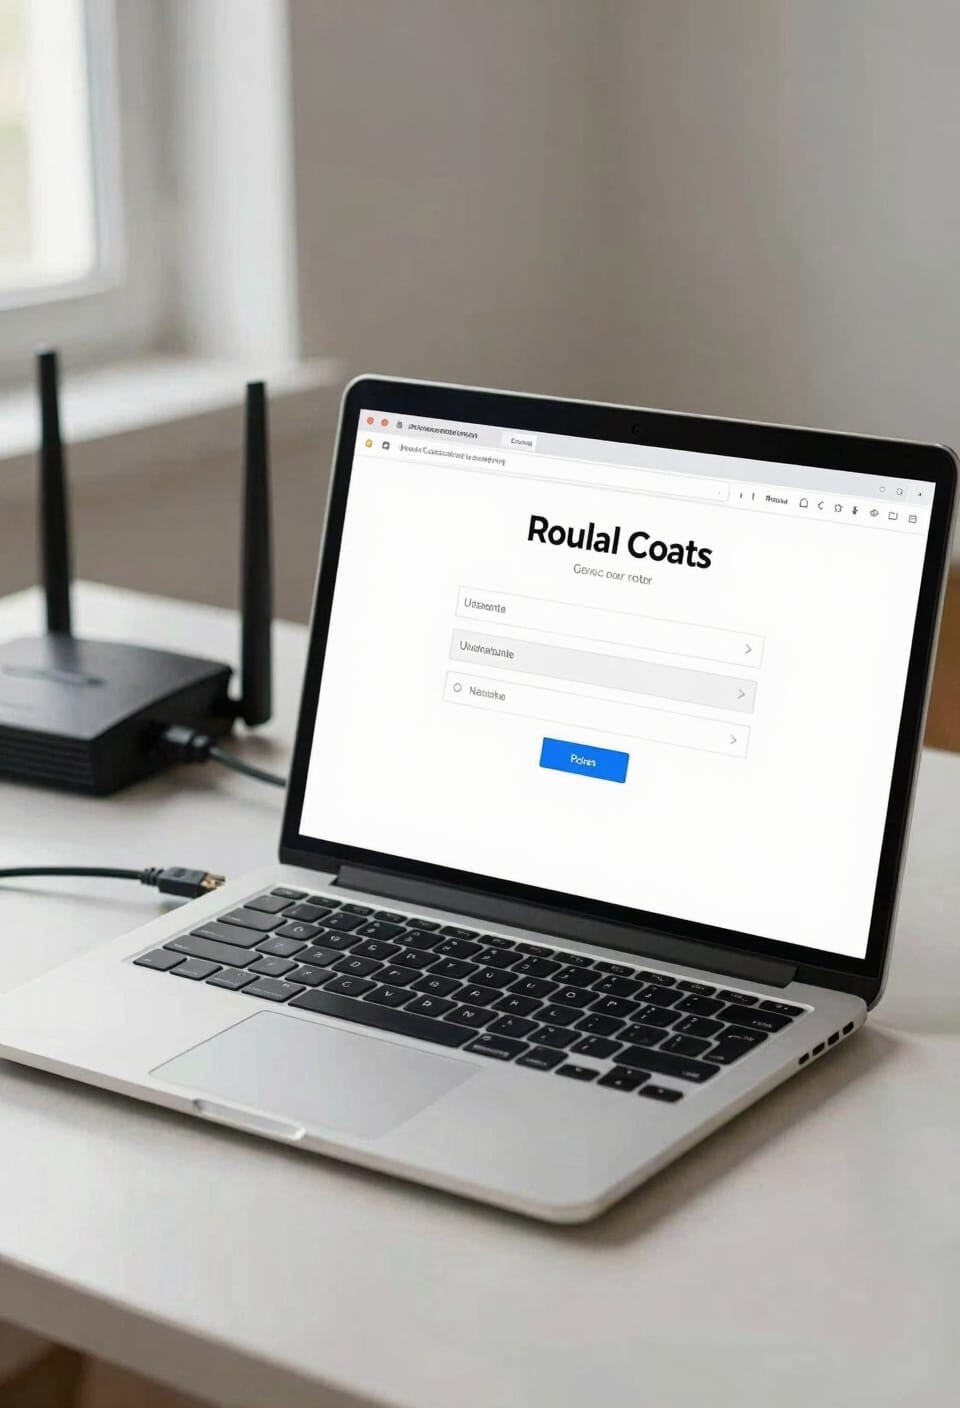
Enter those username and password details you found on your router’s label or in the manual. Type them carefully—I’ve definitely fumbled this more times than I’d like to admit. Most routers use “admin” for both fields, but yours might be different, so double-check before you start guessing.
Now, some routers offer two factor authentication, which adds an extra security layer by requiring a second verification method. It’s worth enabling if your model supports it. Your login session starts the moment you’re authenticated, so you’ll want to work quickly once you’re in.
If you use a password manager to store your credentials, now’s the time to save these details. Watch for login timeout warnings—most routers kick you out after inactivity. Don’t panic; just log back in and you’re golden.
Understand Your Router’s Control Panel Layout
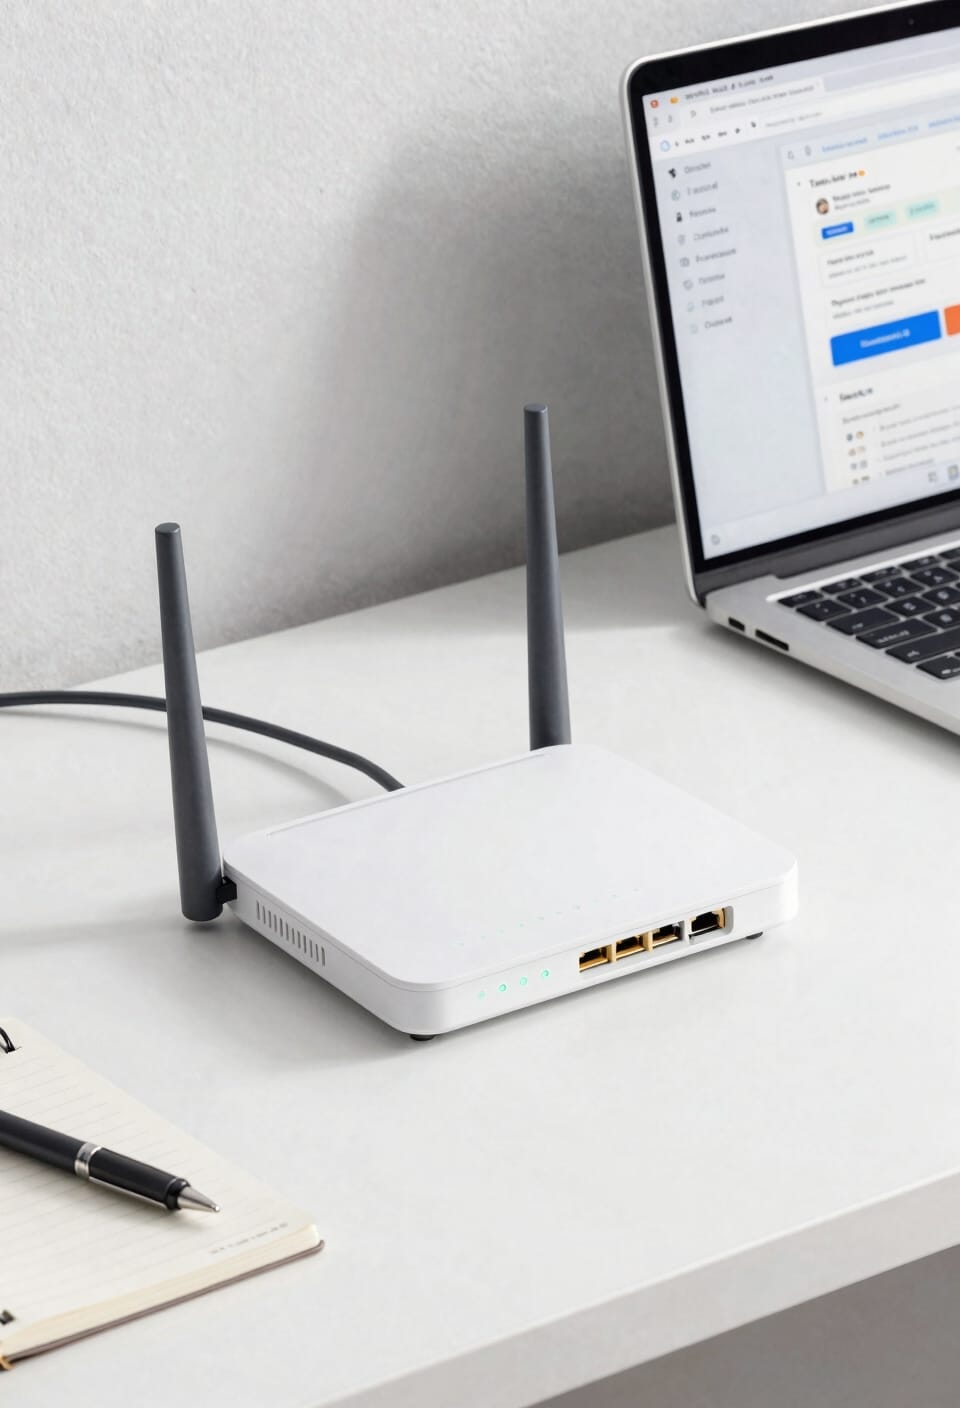
Once you’ve logged in, you’ll find yourself staring at your router’s control panel—basically the command center where all the Wi-Fi magic happens. The menu organization varies by brand, but you’re typically looking at tabs or sections like Wireless, Security, and Advanced Settings. Each area controls different aspects of your network. Icon meanings matter too. You’ll spot WiFi symbols, lock icons for security, and gear symbols for general settings. Don’t panic if it looks intimidating—most routers use similar layouts. Look for a dashboard that summarizes your connection status first. From there, you can navigate to whatever you need to adjust. The key is understanding that everything’s grouped logically, so you won’t need to hunt randomly.
Secure Your Router First: Update These Settings
Before you start tweaking Wi-Fi names or inviting friends to connect, secure your router’s foundation—because a compromised router is like leaving your front door unsecured while you’re worried about the windows.
First, change that default password. I know it’s tempting to skip this, but hackers know “admin/admin” faster than you can say “cybersecurity.” Next, disable remote management, which lets you access your router from outside your network—convenient, yes, but also risky if someone finds your credentials.
Enable automatic backups of your settings so you’re not starting from scratch if something goes wrong. Update your router’s firmware, too. It’s that software running the show, and manufacturers patch security holes regularly.
Finally, pick WPA3 encryption (or WPA2 if WPA3 isn’t available). This scrambles your Wi-Fi data so snoops can’t intercept it.
Change Your Wi-Fi Name and Password
Now that you’ve locked down your router’s foundation, it’s time to swap out the generic Wi-Fi name (what’s called your SSID, or the network identifier that shows up when you scan for available networks) and password that came from the factory.
Here’s the thing: a custom SSID makes your network feel like yours, and a strong password keeps unwanted neighbors off your bandwidth. Look for the Wireless or Wi-Fi settings section in your router’s admin panel. Change that default name to something memorable but not revealing—avoid broadcasting your street address, obviously.
Create a password that’s at least 12 characters long mixing letters, numbers, and symbols. While you’re in there, consider enabling SSID masking to hide your network name and setting up a guest network for visitors.
Can’t Access Your Settings? Try These Fixes
Sometimes you’ll run into a wall when you’re trying to log into your router’s admin panel—that’s the control center where all the settings live. Here’s the thing: I’ve been there, staring blankly at a login screen that won’t accept my credentials.
First, double-check you’re using the right IP address. Clear your browser cache, then try a different browser altogether. Still stuck? Check your router’s sticker for forgotten credentials you might’ve overlooked.
If you’ve forgotten your password entirely, use mobile diagnostics through your router’s companion app if available. No luck? Look for the reset button on your router—hold it for ten seconds to restore firmware defaults, though this erases your settings.
Contact your manufacturer if nothing works. They’ll walk you through it.
Save Your Router Settings and Log Out
After you’ve tweaked your router settings—whether you’ve changed your Wi-Fi password, adjusted security protocols, or tinkered with port forwarding (which is basically telling your router to redirect certain internet traffic to specific devices on your network)—you’ve got to actually save those changes, or they’ll vanish like they never happened.
Most routers prompt you to save before you exit. Look for a button labeled “Save” or “Apply.” Don’t skip this step. Once you’ve saved, consider backing up your configurations—essentially creating a digital copy of all your settings. This backup lets you restore everything quickly if something goes sideways.
Now log out. Seriously. Leaving your router session open is like leaving your front door unsecured. You’ll face automatic session timeout eventually, but don’t rely on it. Close that browser tab and move on.
Frequently Asked Questions
How Often Should I Update My Router’s Firmware and Where Do I Find Updates?
I’d recommend checking for updates monthly through scheduled checks. You’ll find them in your router’s settings under firmware or system updates. I also subscribe to vendor alerts from the manufacturer’s website to stay informed about critical security patches.
What’s the Difference Between 2.4ghz and 5GHZ Wi-Fi Bands and Which Should I Use?
Like choosing between a wide road and a fast highway, 2.4GHz offers better range and wall penetration, while 5GHz provides superior speed with less interference. I’d recommend 5GHz for streaming and 2.4GHz for coverage.
How Do I Create a Guest Network Separate From My Main Wi-Fi Network?
I’ll guide you to your router’s wireless settings where you’ll find a guest network option. Enable it, set a separate password, and configure guest isolation to keep it separate from your main network. You can also enable a captive portal for added security.
What Port Forwarding Settings Do I Need to Enable for Specific Applications?
Did you know 80% of port forwarding misconfigurations cause security vulnerabilities? You’ll need app-specific port mapping in your router’s settings. I’d recommend checking NAT traversal options first—they’re safer than manual forwarding and reduce security implications considerably.
How Can I See Which Devices Are Connected to My Network and Remove Unknown Ones?
I’ll access my router settings, navigate to the connected devices section, review the device list, and identify unknown devices by their MAC addresses or names. I can then select and remove any unfamiliar connections to secure my network.
Conclusion
All right, here’s the thing: I once spent three hours troubleshooting my network before realizing I’d never changed my default password. It’s like leaving your front door unlatched and wondering why you’re cold. You’ve got the keys now. Change those credentials, secure your network, and you’ll sleep better knowing you’re actually in control of your own WiFi. That’s worth the ten minutes.