As an Amazon Associate, we earn from qualifying purchases. Some links on this site are affiliate links at no extra cost to you. Our recommendations are based on thorough research and editorial judgment.
How to Set Up a Wired Home Network
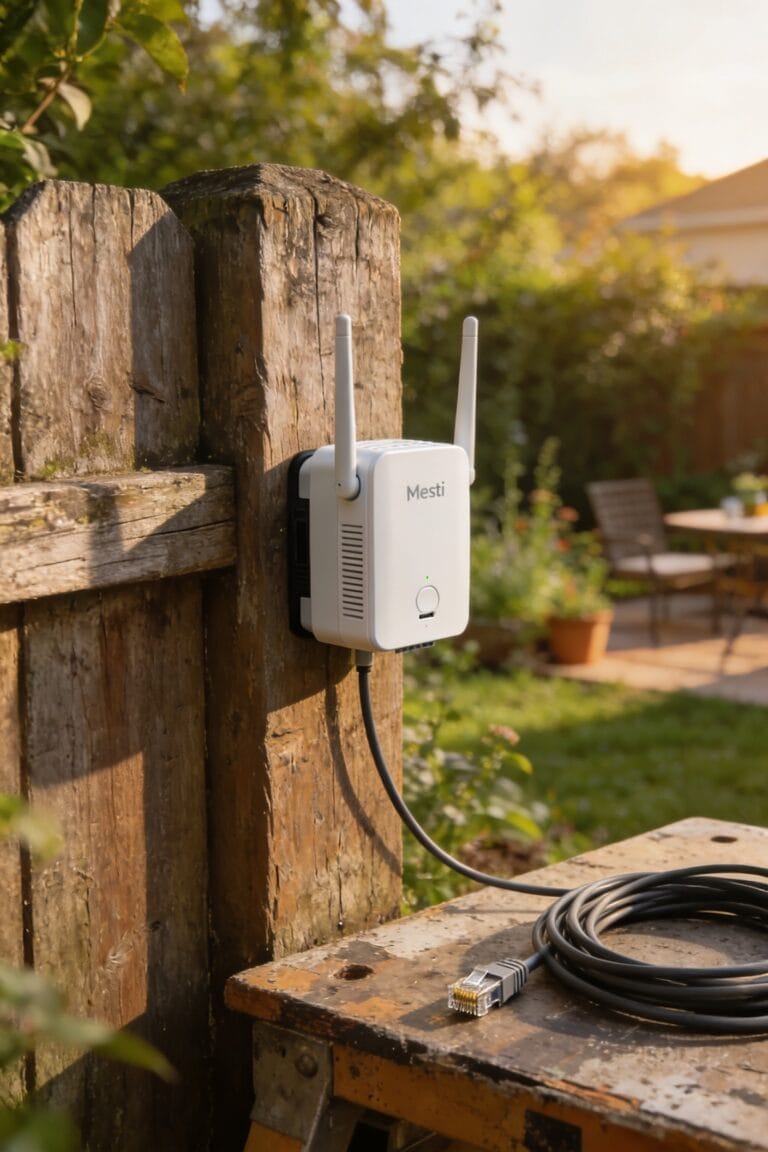
you’ll want to map out where you need Ethernet ports—that’s just cables that plug into walls for super-fast internet—then run them from a central hub near your modem through your walls to each room. Strip the cable ends, crimp connectors onto them, and plug everything into your router and a switch, which basically acts like a power strip for network cables. Test each port with a laptop to make sure you’ve got working connections, and you’re golden. Stick around if you want the step-by-step breakdown that’ll turn you into a wiring wizard.
Key Takeaways
- Plan your network layout by marking all locations needing Ethernet ports and identifying a central hub near your internet entry point.
- Use Cat6 cable with proper installation tools including punchdown tools, wire strippers, crimpers, and fish tape for in-wall routing.
- Install single gang boxes securely at each port location, avoiding existing wiring and plumbing using a multi-detection stud finder.
- Route cables through walls using conduit and fire-rated caulk for protection, running two cables per location when possible for redundancy.
- Terminate cables with keystone jacks using T568B wiring order, connect to central switch, and test all ports with patch cables.
Map Your Ethernet Network Layout
Before you start drilling holes or buying cables by the handful, you’ll want to map out where everything’s going to live. I’d grab a floorplan—or sketch one yourself if you’re feeling creative—and mark every spot that needs an Ethernet port. Think bedrooms, office, living room, anywhere you’ll plug in a device directly to the network. Don’t forget about future proofing rooms like kids’ spaces or that gaming corner you’re planning. Identify your central hub location too, ideally near where your internet enters the house. Create a labeling scheme for your cables so you’re not playing mystery detective later. Run two cables to each location when possible. This whole exercise takes thirty minutes and saves you hours of regret.
Gather Materials and Tools
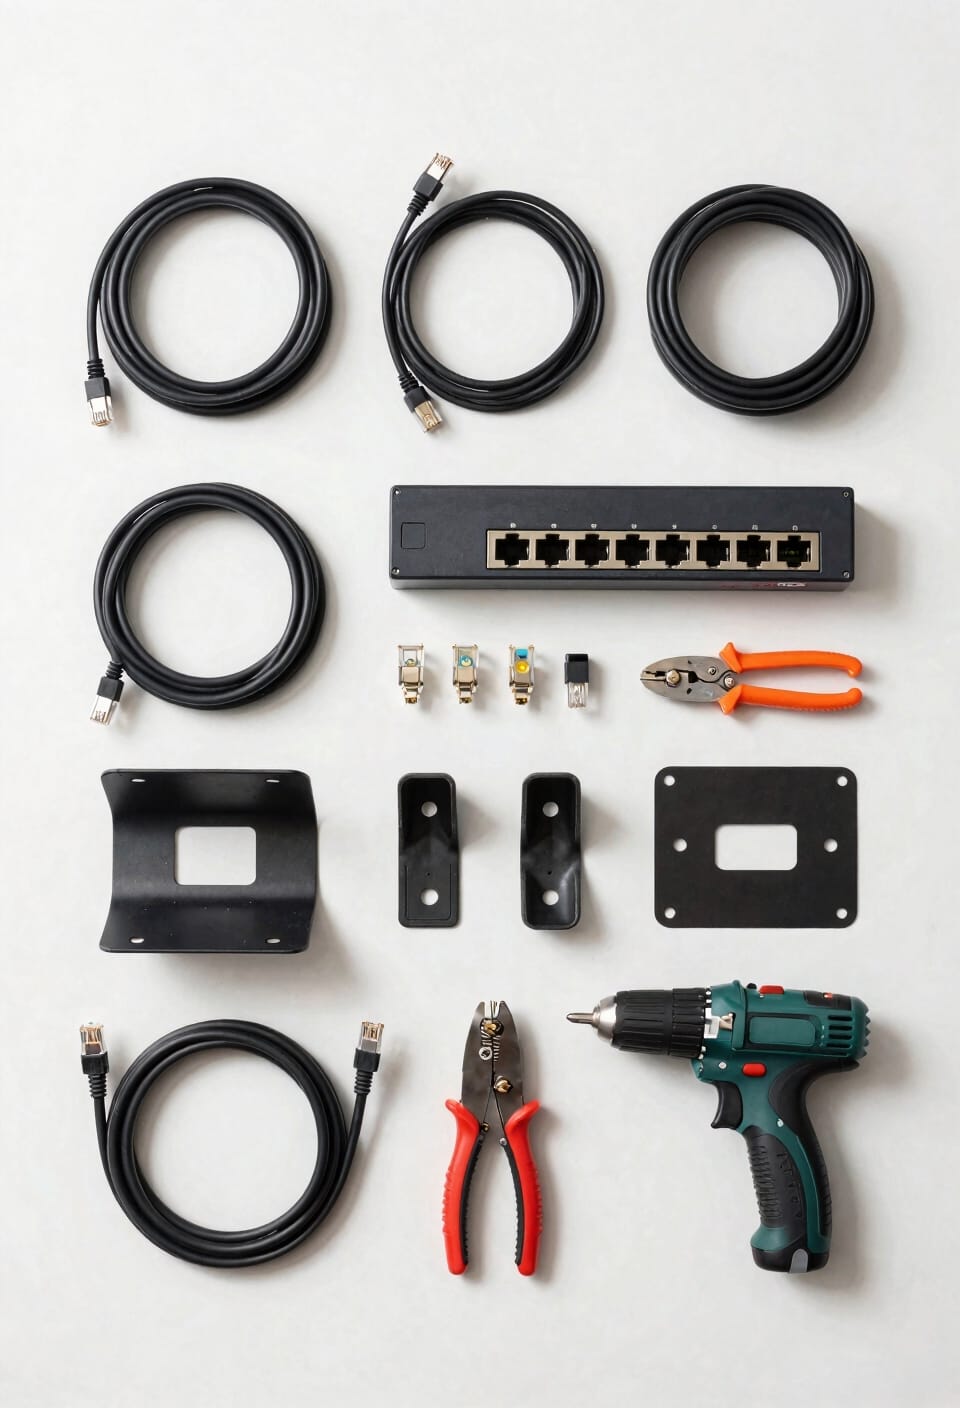
Now that you’ve got your blueprint locked in, it’s time to stock up on the actual stuff—and I’m not talking about showing up at the hardware store and winging it. You’ll want Cat5e or Cat6 cables (the latter’s faster, though honestly, most homes won’t notice). Grab RJ45 connectors, keystone jacks, and a punchdown tool for terminating cables properly. Don’t forget wall plates, single gang boxes, and an Ethernet switch. I’d shop online for bulk cable—usually cheaper—and grab safety gear like work gloves and eye protection. You’ll also need fish tape, electrical tape, and patch cables. Getting everything upfront saves you from annoying return trips and keeps your momentum going strong.
Cut Outlet Holes and Install Boxes
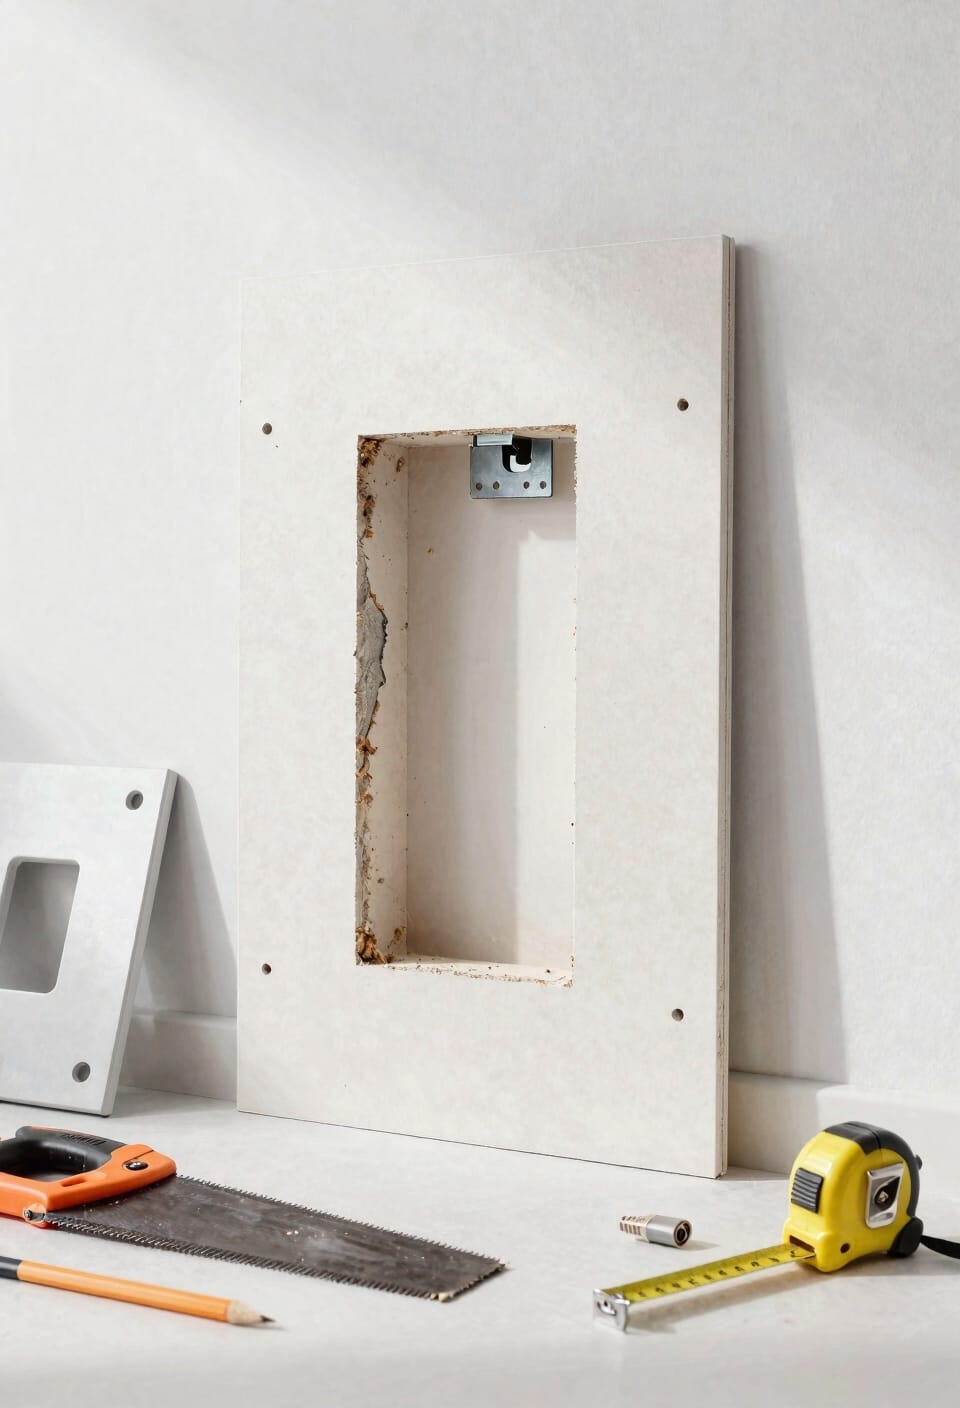
Time to break out the drill and start making your mark—literally—on your walls. You’ll want to measure twice, drill once, and try not to look too proud when you nail it on the first shot. Install single gang boxes at each location by securing the clamps tight against the drywall. Make sure you’re drilling away from existing wiring to avoid electrical interference and potential fire safety hazards. If you’re unsure where pipes or wires run, grab a stud finder that detects them too. Cut your hole for the plastic grommet in the distribution room where cables centralize. Leave the wall plates off for now—you’ll install them after running cables through. Think of these boxes as your network’s anchor points. Get them solid, and everything else becomes way easier.
Run Ethernet Cable Through Walls
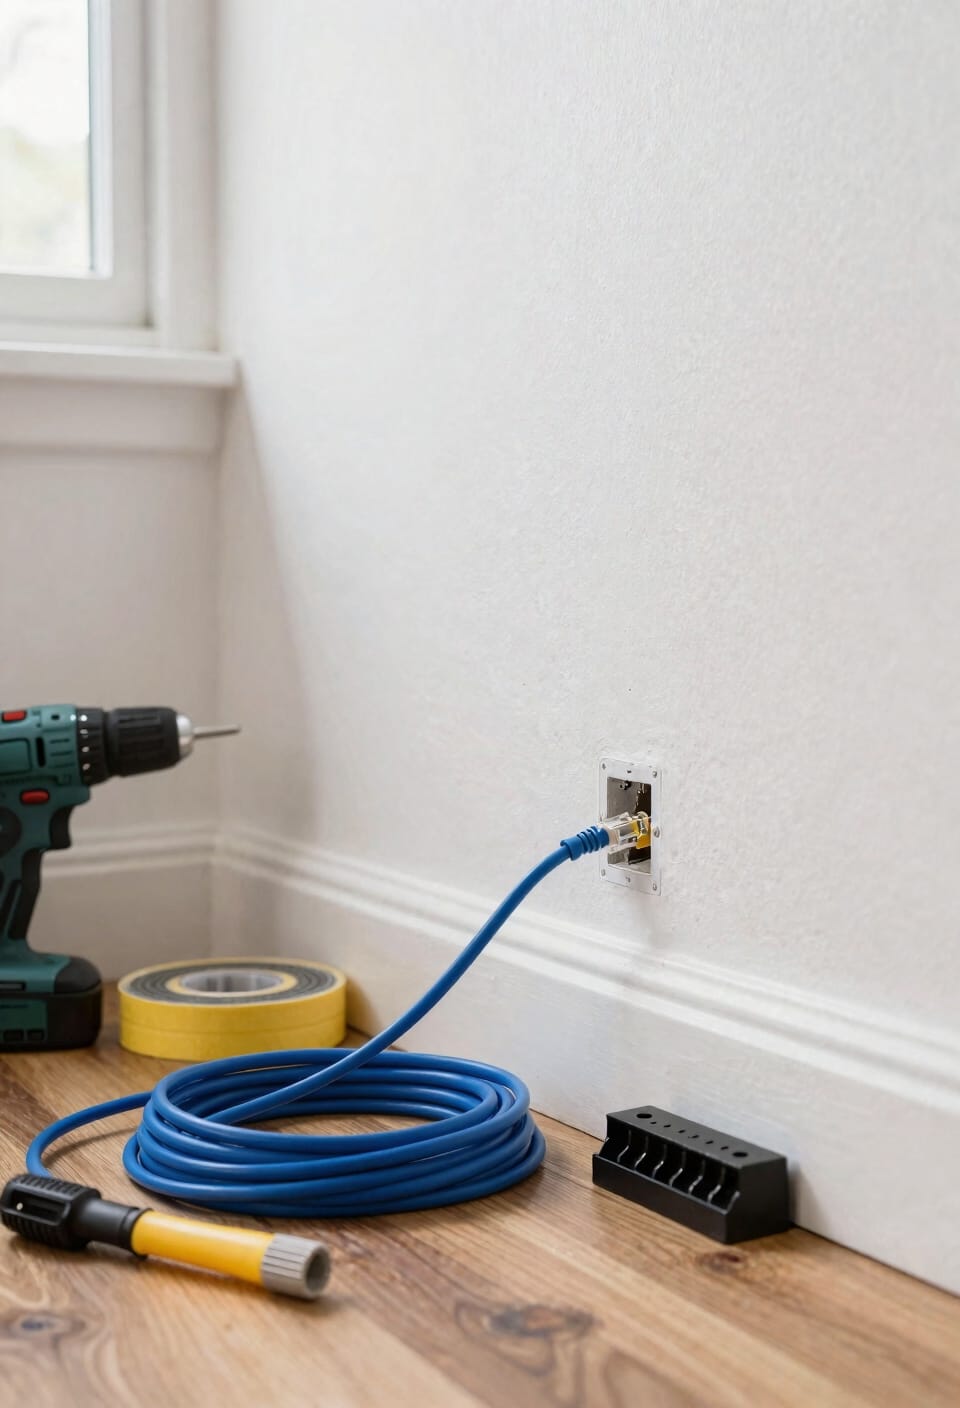
With your boxes anchored in place, the real fun begins—threading cables through your walls like you’re performing some kind of networking magic trick.
Now here’s the thing: you’ll want to run two cables per location if you can manage it. Future-you will thank present-you. Fish your cables using an electrician’s snake and string, taping the Ethernet to the string as you pull it through. In wall conduit protects cables from damage and keeps things organized.
Once cables are through, firestopping techniques matter—seal gaps around cables with fire-rated caulk so flames don’t spread between floors. I know it sounds paranoid, but building codes exist for reasons.
Measure twice, pull once. You’ve got this.
Strip and Crimp Your Cable Ends
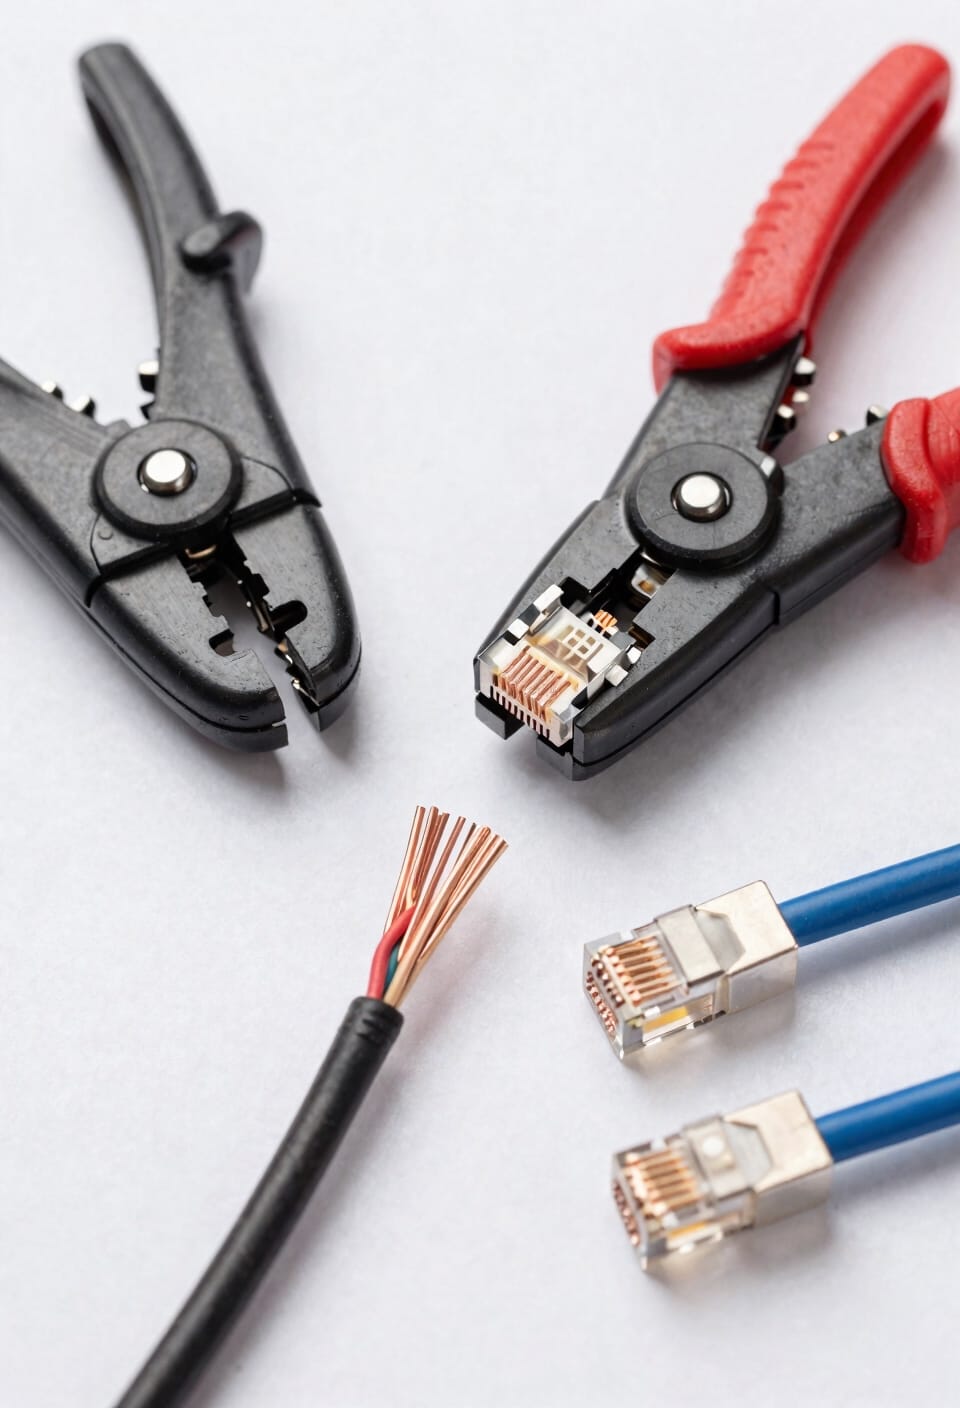
Once those cables are snaking through your walls and poking out of your boxes, it’s time to prep the ends so they actually do something useful. I’m going to strip about two inches of wire insulation from each cable end using my stripper tool. You’ll expose eight individual colored wires twisted together inside. Now comes the fiddly part—separating and arranging those wires in T568B order, which is basically the universal standard that makes everything talk to each other. This matters because wire tension and proper arrangement determine whether your connection actually works. Once they’re arranged, I’ll push them into either a keystone jack or RJ45 plug using my punchdown tool. It looks violent, but that’s exactly what you want—a solid, permanent connection that won’t flake out on you later.
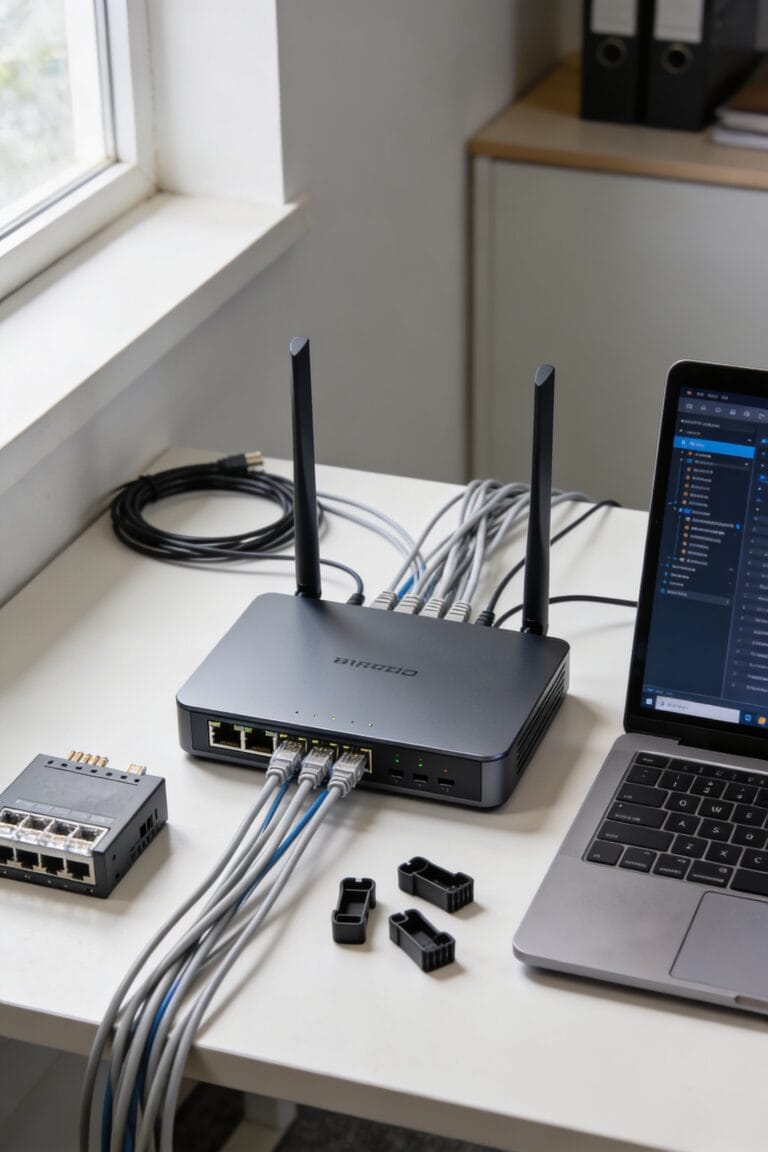
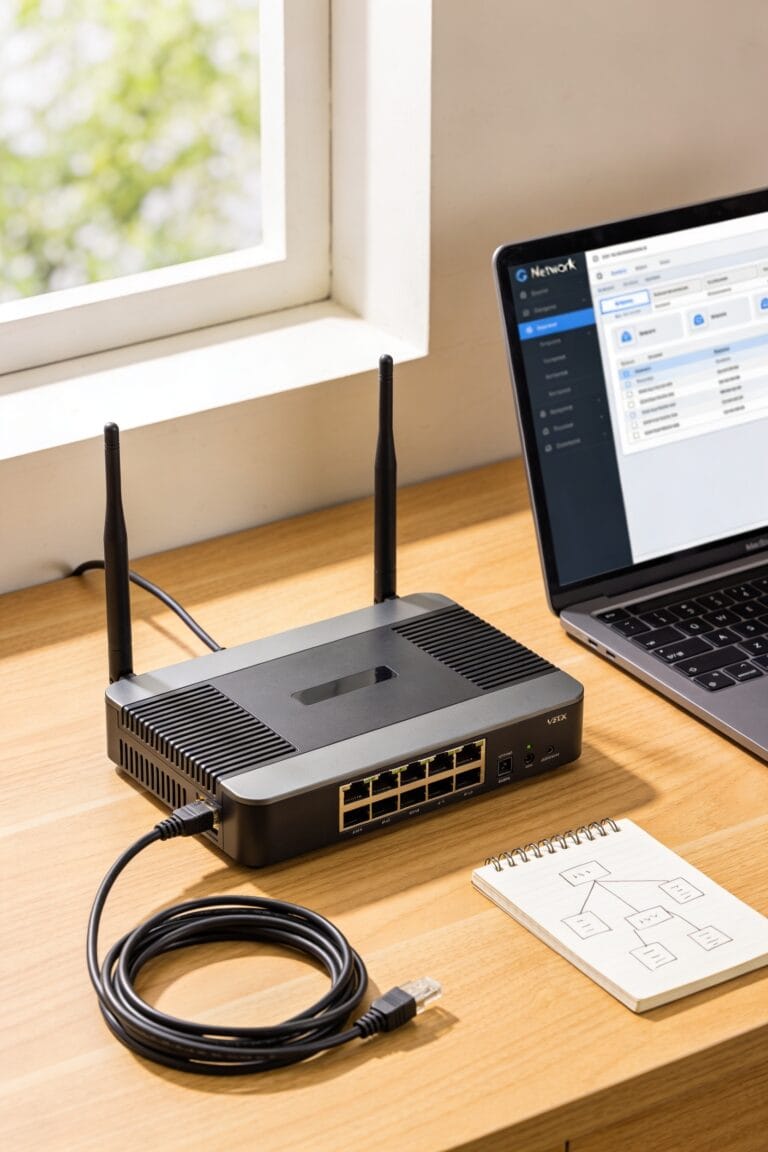
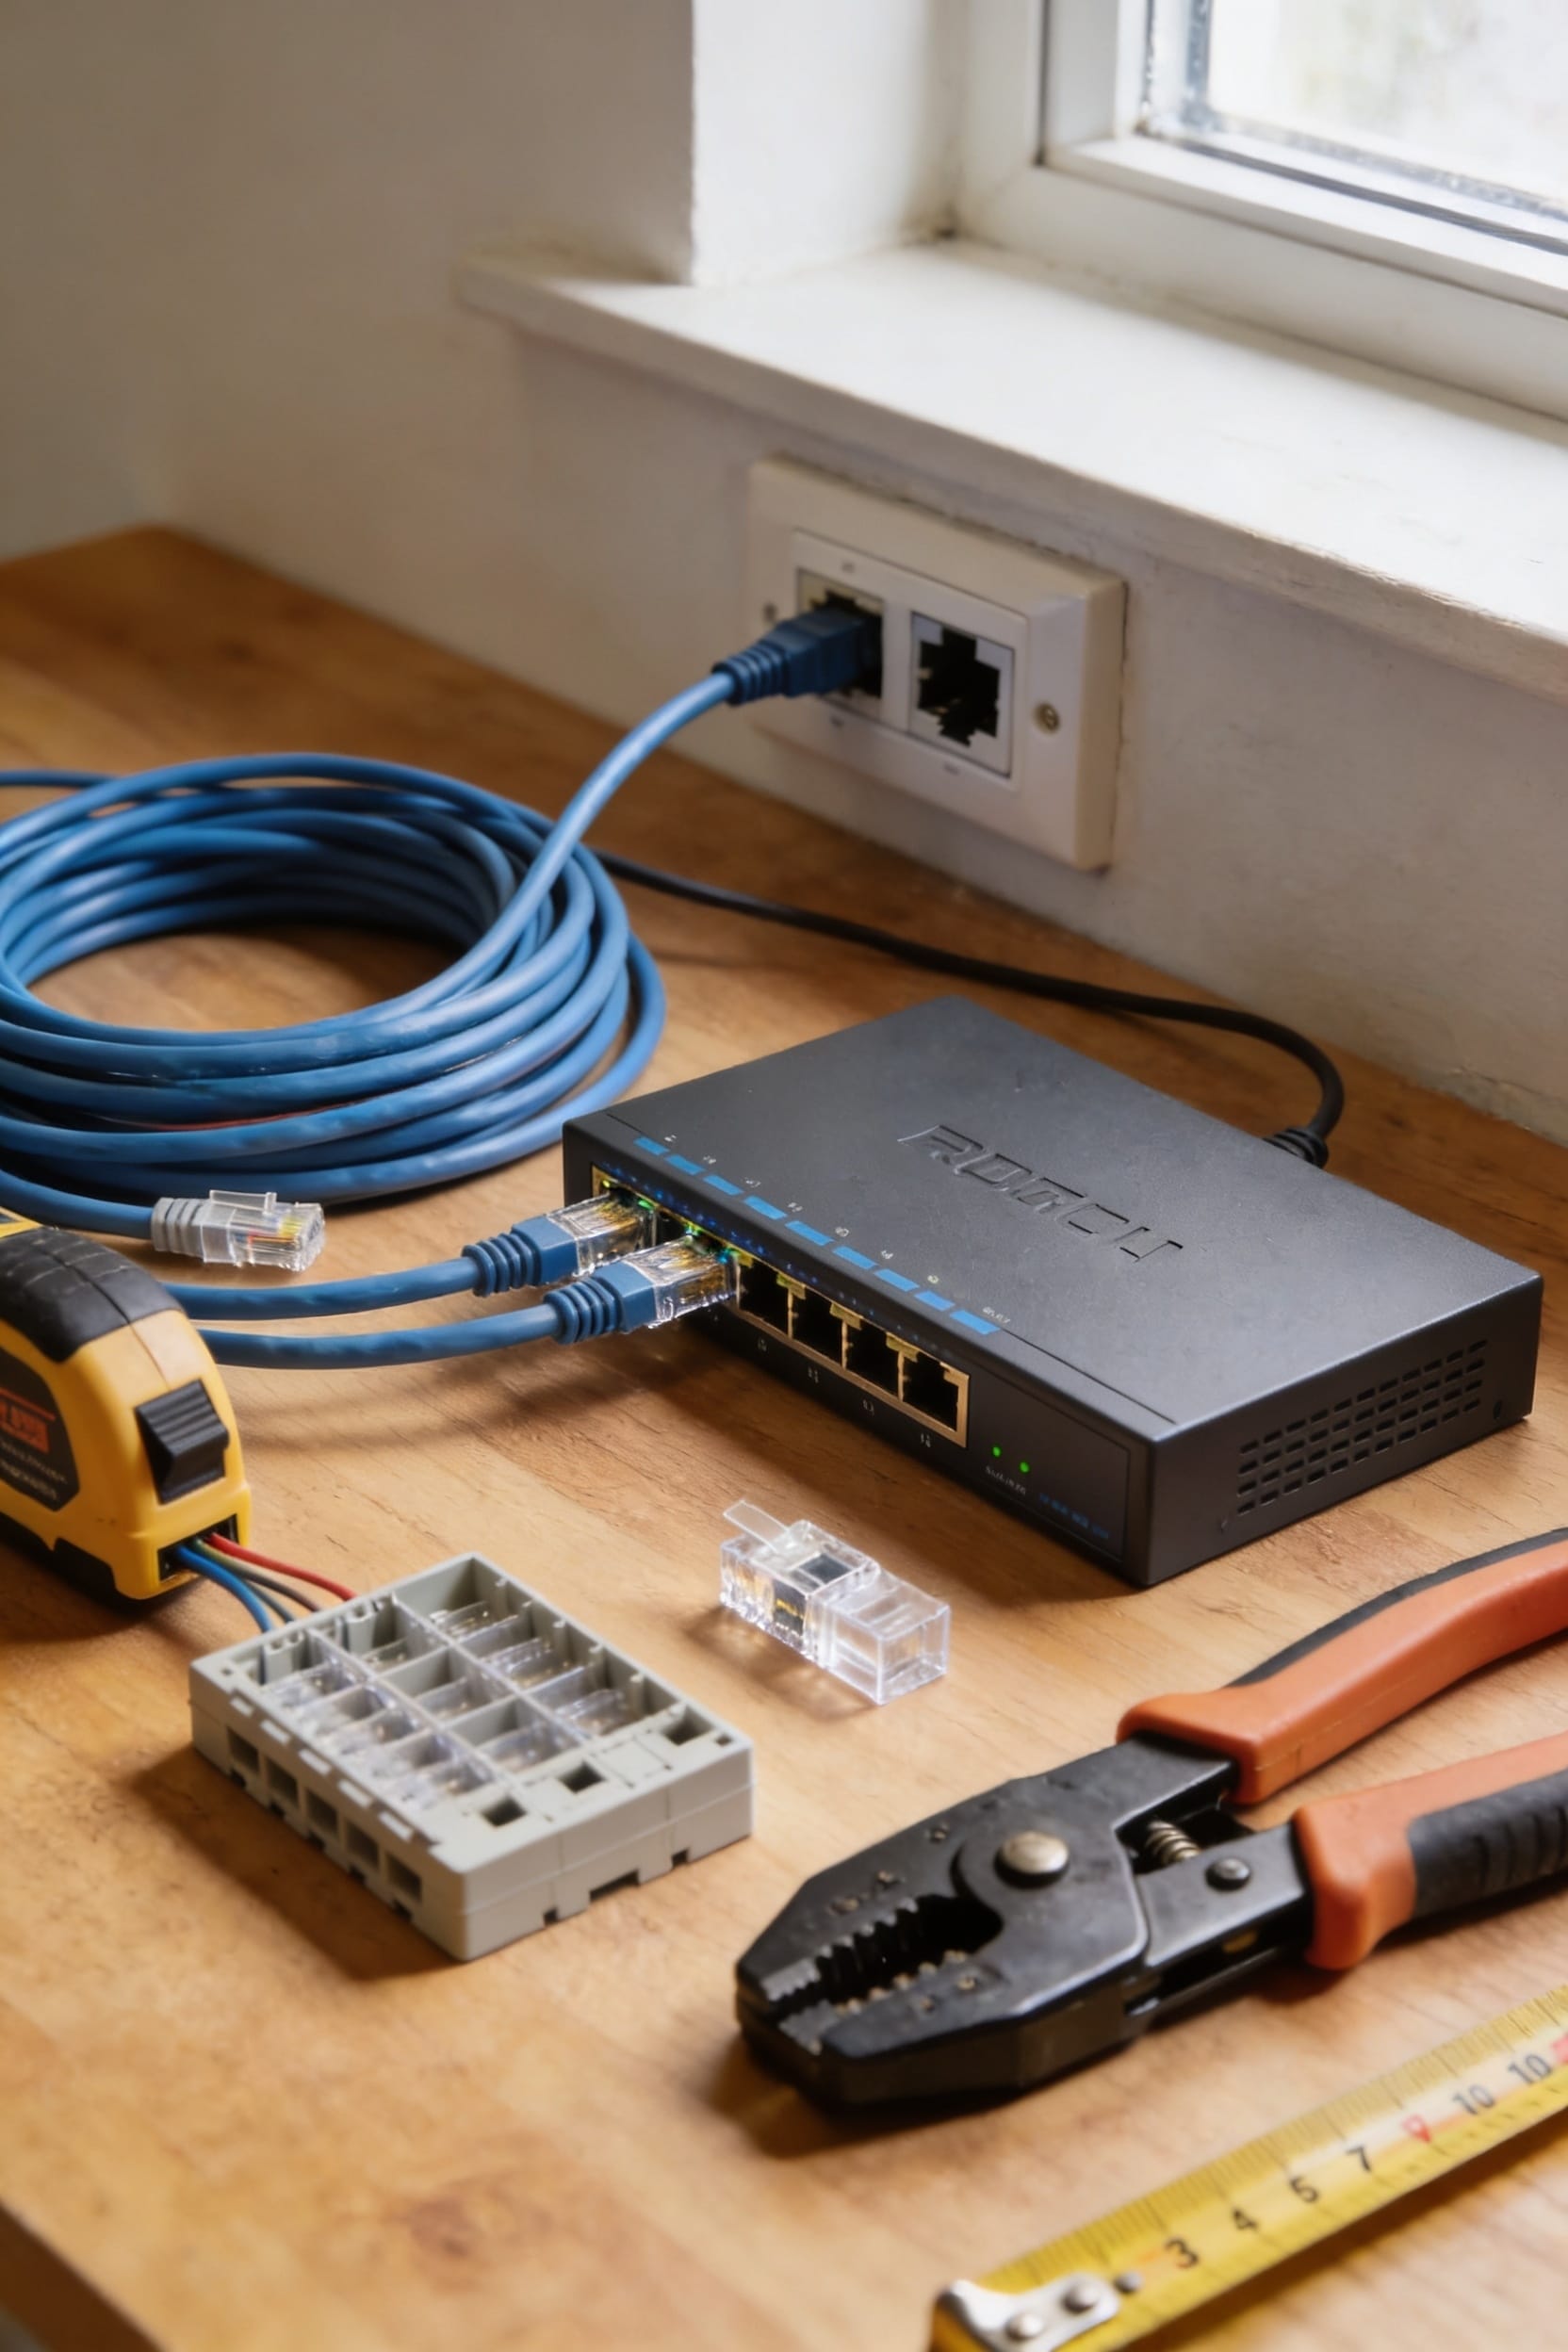
Connect Modem, Router, and Switch
All right, now that your cables are dressed and ready to go, let’s connect the actual brains of your network—the modem, router, and switch. Your modem placement matters more than you’d think. Keep it central and well-ventilated; these things run hot. Plug your cable modem or fiber ONT directly into your router’s WAN port using a patch cable. Then connect your router to the switch with another patch cable. From there, your switch becomes the hub where all those wall jacks you’ve been running actually do something useful. Consider switch redundancy if you’re feeling fancy—basically, having a backup switch means one failure won’t kill your whole wired network. It’s overkill for most homes, but it’s the kind of thing that makes you feel like a network wizard.
Test Each Connection for Link Lights
You’ve probably got that moment now where you’re staring at your freshly installed wall jacks and wondering if any of this actually works—and that’s where link lights come in. Link verification is your friend here. Those little LED indicators on your switch and wall plates will tell you everything. Grab a laptop, plug in a patch cable—that’s just a short Ethernet cord—and watch for that light to glow. Green means you’re golden. No light? Time for cable diagnostics. Check your connections at both ends, make sure nothing’s loose, and try a different port. Run through each wall jack methodically. It’s tedious, sure, but you’ll sleep better knowing your network’s actually wired up right. Trust me on this one.
Fix Dead Ports and Loose Connections
Now, if that link light didn’t show up—or worse, some of them did and others didn’t—you’ve got a detective job on your hands. Start by checking your connections physically. Tighten screws on wall plates and patch cables where they connect to the switch. Loose connections kill signals faster than you’d think. Next, inspect your keystone jacks—those little connector blocks inside your wall plates. If one’s damaged or corroded, you’ll need to replace keystone carefully by popping it out and snapping a new one in. Test again with a different patch cable too, since bad cables happen. Most dead ports turn out to be simple fixes: something wasn’t seated properly or a single wire got pinched during installation.
Frequently Asked Questions
Can I Use Wireless Mesh Systems Alongside Wired Networks for Better Coverage?
Yes, I’d recommend mesh integration for your hybrid deployment. You can connect mesh nodes to your wired network’s switch or router, creating seamless coverage. This combines Ethernet reliability with wireless convenience throughout your home.
What’s the Difference Between Cat5e, Cat6, and Cat6a Cables for Home Use?
Cat5e handles Gigabit speeds but has Cat5e limitations for demanding uses. Cat6 offers better shielding and faster speeds. Cat6a provides futureproofing benefits with superior performance, though it’s overkill for most home needs today.
How Do I Hide Ethernet Cables Behind Walls Without Cutting Into Studs?
I’ll tell you the secret: you don’t have to hide them at all. I use in wall raceways for concealment between studs, or surface mounted conduits along baseboards. They’re visually cleaner than you’d expect.
Should I Label Cables and Ports for Easier Troubleshooting and Maintenance?
I’d absolutely recommend labeling cables and ports. You’ll dramatically improve maintenance speed when troubleshooting issues, and the labeling benefits become clear when you’re trying to identify which cable goes where during repairs or upgrades.
What Security Measures Protect Wired Networks From Unauthorized Access or Intrusion?
I’ll guard your network like Fort Knox. You’ve got to implement network segmentation, separating devices into secure zones. Physical locks on your distribution room and patch panels are absolutely critical—they’re your first defense against any intruder.
Conclusion
You’ve mapped your network, you’ve run your cables, you’ve crimped your connectors. Now you’re testing each port, checking for those green link lights that tell you everything’s working. You’ve troubleshot the dead connections and tightened the loose ones. You’ve built something solid—something that’ll handle your streaming, your gaming, your work-from-home grind. That’s worth feeling proud about.