As an Amazon Associate, we earn from qualifying purchases. Some links on this site are affiliate links at no extra cost to you. Our recommendations are based on thorough research and editorial judgment.
How to Set Up Port Forwarding on Your Router
port forwarding lets internet traffic reach a specific device on your home network by mapping an external port to an internal one. You’ll need your router’s IP address (usually 192.168.1.1), login credentials, and your device’s static local IP. Then you’re basically telling your router, “Hey, when someone knocks on this door, send them to that room.” Set a static IP first, create the rule with your ports and protocol, save it, and test with an online port checker. If it doesn’t work, your firewall or ISP might be blocking it—but there’s more to unpack here.
Key Takeaways
- Locate your router’s IP address via command prompt’s Default Gateway, then log in through a web browser with admin credentials.
- Assign a static IP address to your device to prevent address changes that would break the port forwarding mapping.
- Create a port forwarding rule by specifying the external port, internal IP address, internal port, and protocol (TCP/UDP).
- Test your configuration using online port checking tools with your public IP and port number to verify external accessibility.
- If testing fails, check device firewall settings, confirm the application listens on the correct port, and restart your router.
Verify Your Prerequisites Before You Start
Before you plunge into your router’s settings and start punching in numbers, let me save you some frustration—I’ve learned this the hard way. Here’s the thing: skipping the prep work is like trying to assemble IKEA furniture without reading the instructions. You’ll waste an hour and probably end up with extra screws.
First, create a network checklist. You’ll need a static IP address—that’s a fixed address your device keeps instead of getting a random one—plus confirmation from your ISP about your public WAN IP. That’s your external internet address. Identify which ports and protocols your service actually needs. TCP, UDP, or both? Get this stuff down before logging in. Trust me, knowing what you’re working with beats fumbling around in the router admin panel later.
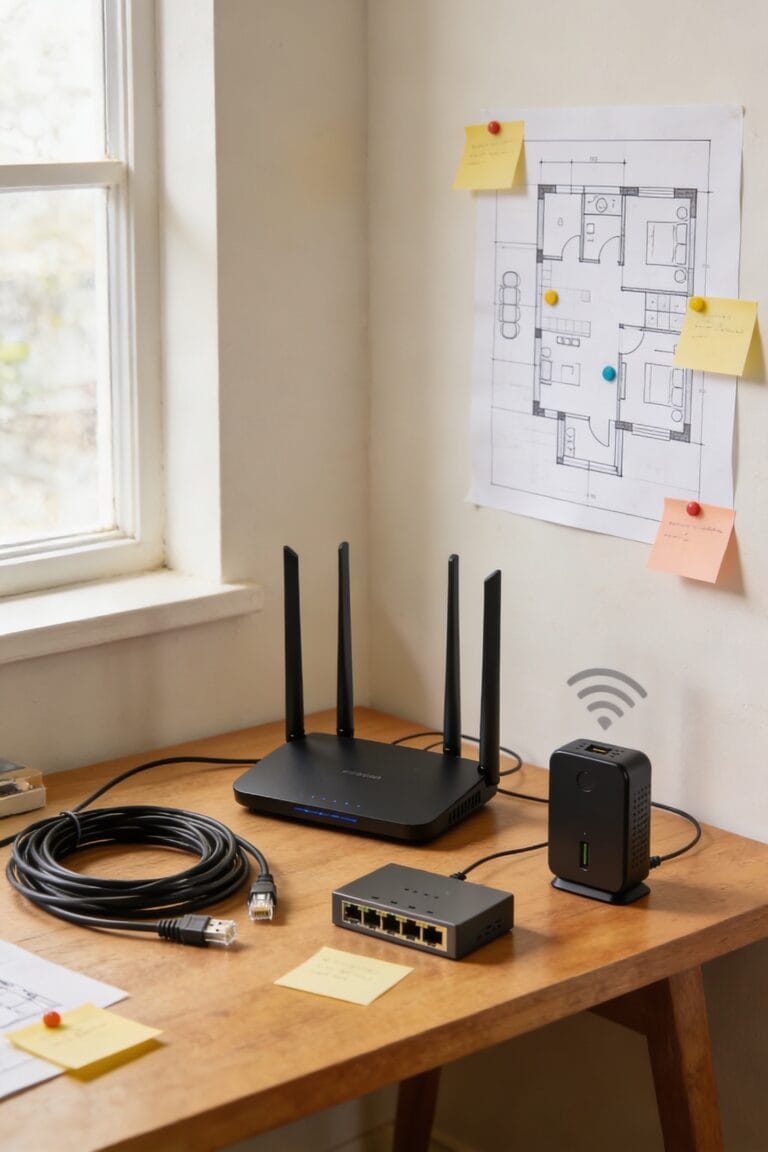
Find Your Router’s IP Address
Your router’s IP address is basically the home address of your router on your local network—it’s the number you’ll type into your browser to actually get inside and make changes. Here’s the thing: finding it is dead simple. Open your command prompt and type “ipconfig.” Look for the line that says “Default Gateway”—that’s your gateway lookup result right there. You’ll see something like 192.168.0.1 or 192.168.1.1. That’s your router’s address. If command prompt makes you nervous, try a Router Detector tool for automatic router discovery instead. It’ll scan your network and find your router faster than you can say “why didn’t I do this sooner?” Once you’ve got that address, you’re ready to log in.
Log Into Your Router’s Admin Panel

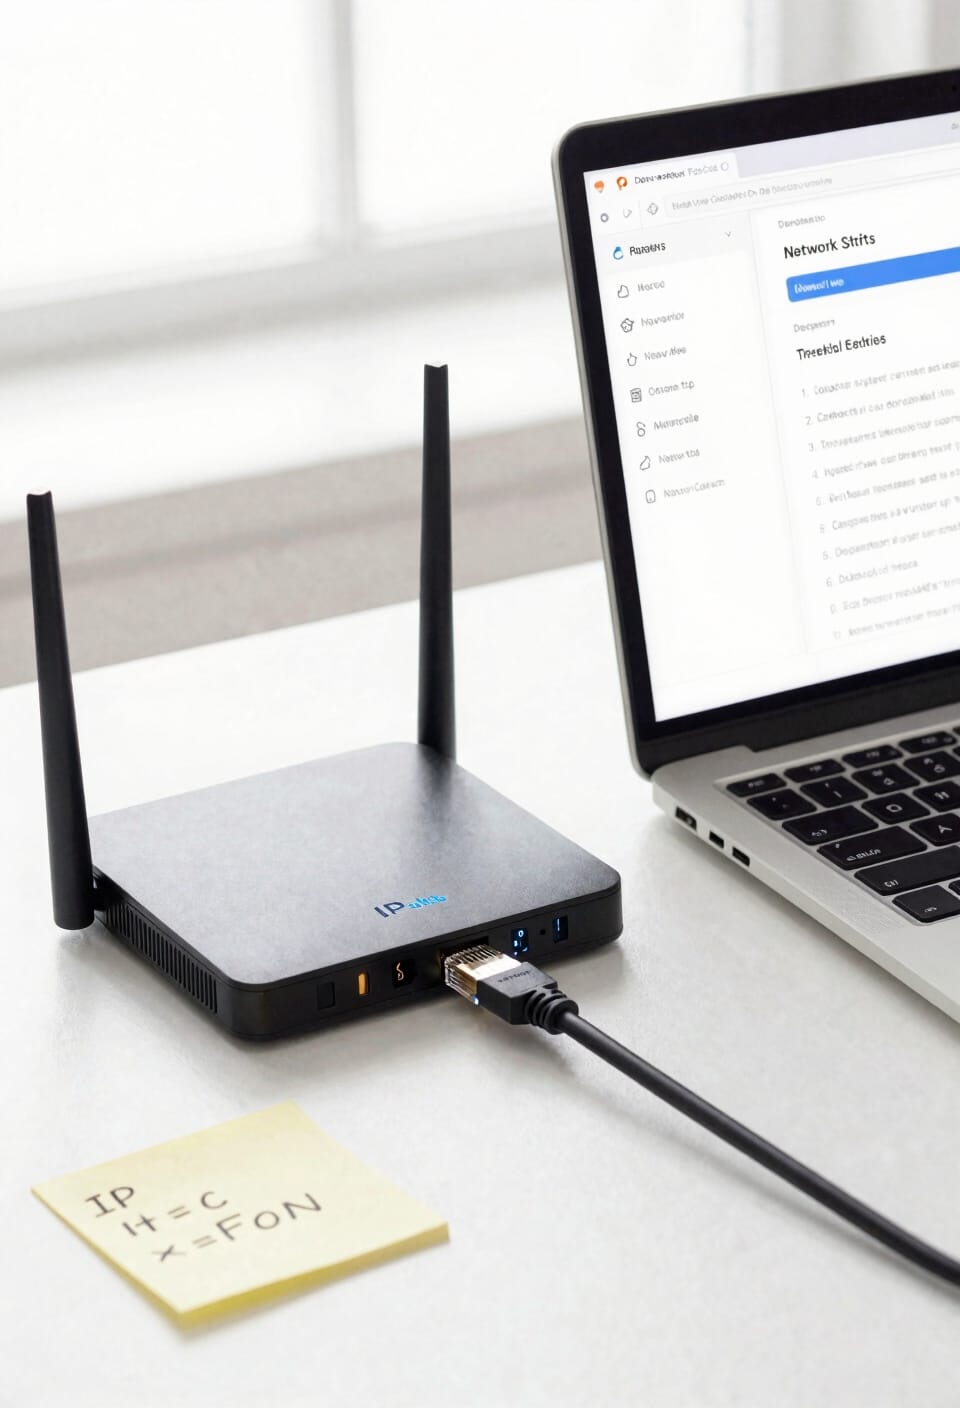
Now that you’ve got your router’s IP address in hand, it’s time to actually log in and access the admin panel—that’s the control center where all the port forwarding magic happens. Type that IP address into your browser’s address bar, and you’ll see a login screen. Enter your default credentials—usually “admin” for both username and password, though yours might differ if you’ve changed them before. Don’t panic if you see an SSL certificate warning; that’s just your browser being cautious about the connection. Click through it anyway. Once you’re in, look for sections labeled “Advanced,” “Port Forwarding,” or “Virtual Server.” You’re close now—next comes the actual setup.
Assign a Static IP to Your Device
One thing that’ll trip you up if you skip this step is that your router might refuse to forward ports to a device that’s constantly changing its IP address—and that’s exactly what happens when you let DHCP (that’s the system that automatically hands out addresses to devices on your network) do its thing. You need to lock your device into a single IP address instead.
Now, here’s where it gets easy. Head into your router’s settings and look for DHCP reservations or static lease options. You’re basically telling your router, “Hey, whenever you see this device hostname, always give it the same IP address.” Alternatively, you can manually set a static IP directly on your device through network settings. Either way, pick something outside your DHCP pool—like 192.168.1.100—and you’re golden.
Identify the Correct Port and Protocol for Your Service
Before you can actually set up the forwarding rule in your router, you need to know exactly what port and protocol your service is using—because throwing darts at the dark hoping something sticks won’t work here. A protocol is basically the language your device and the internet use to talk to each other; the main ones you’ll encounter are TCP and UDP. TCP is reliable but slower, while UDP is faster but doesn’t guarantee delivery. Service discovery tools can help you identify what your specific application needs. Once you’ve nailed down your protocol mapping—matching your service to its correct port and protocol—you’re ready to move forward. Check your device’s documentation or run a quick online search for “[your service name] default port.” This five-minute task saves you hours of troubleshooting frustration later.
Recommended Products

Navigate to Port Forwarding Settings
With your port and protocol locked in, you’re ready to actually tell your router what to do with that information—and that means logging into your router’s settings and finding the port forwarding section.
Now, here’s where router interfaces come into play. Open your browser, type your router’s IP address (usually 192.168.1.1 or 192.168.0.1), and log in with your admin credentials. Once you’re in, look for the Advanced settings or Administration tab—different routers hide this stuff in different spots, so poke around if needed.
What you’re hunting for is Port Forwarding or Virtual Server. Some routers call it something else entirely, honestly. These access controls let you decide which devices get traffic and which don’t. Find that section, click it, and you’re ready to add your rule.
Create Your Port Forwarding Rule
Now you’re actually adding the rule—the instructions that tell your router exactly where to send incoming traffic. You’ll fill in a few fields: give your rule a descriptive name, select whether you’re using TCP, UDP, or both (the protocols that handle how data gets delivered), then enter your device’s internal IP address and the port number you’re forwarding.
Here’s where user permissions matter—make sure you’ve got admin access before proceeding. Most routers let you match external and internal ports, which keeps things simple. For network security, avoid forwarding to random ports unless necessary. Leave the public IP blank, and you’re golden. Hit save, and your rule’s live. That’s it.
Recommended Products

【WiFi to Ethernet or Ethernet to WiFi convert】Industrial Mini 2.4GHz WiFi Module/Mini WiFi Router/Wireless Ethernet Bridge/Repeater (small size); Can achieve WiFi to...
Save and Apply Your Configuration
Once you’ve filled in all those fields and double-checked that everything looks right, you’ll want to save your configuration—and I can’t stress this enough, because I’ve definitely forgotten this step before and spent twenty minutes wondering why nothing was working. Most routers will ask you to confirm your changes through confirmation prompts, which is your chance to catch any mistakes before they go live. Hit that save button and wait for the router to apply the settings. Some routers let you backup profiles, which is honestly smart if you’re tinkering with multiple port forwarding rules. Once you see that success message, your rule is active. Now test it to confirm everything’s actually working.
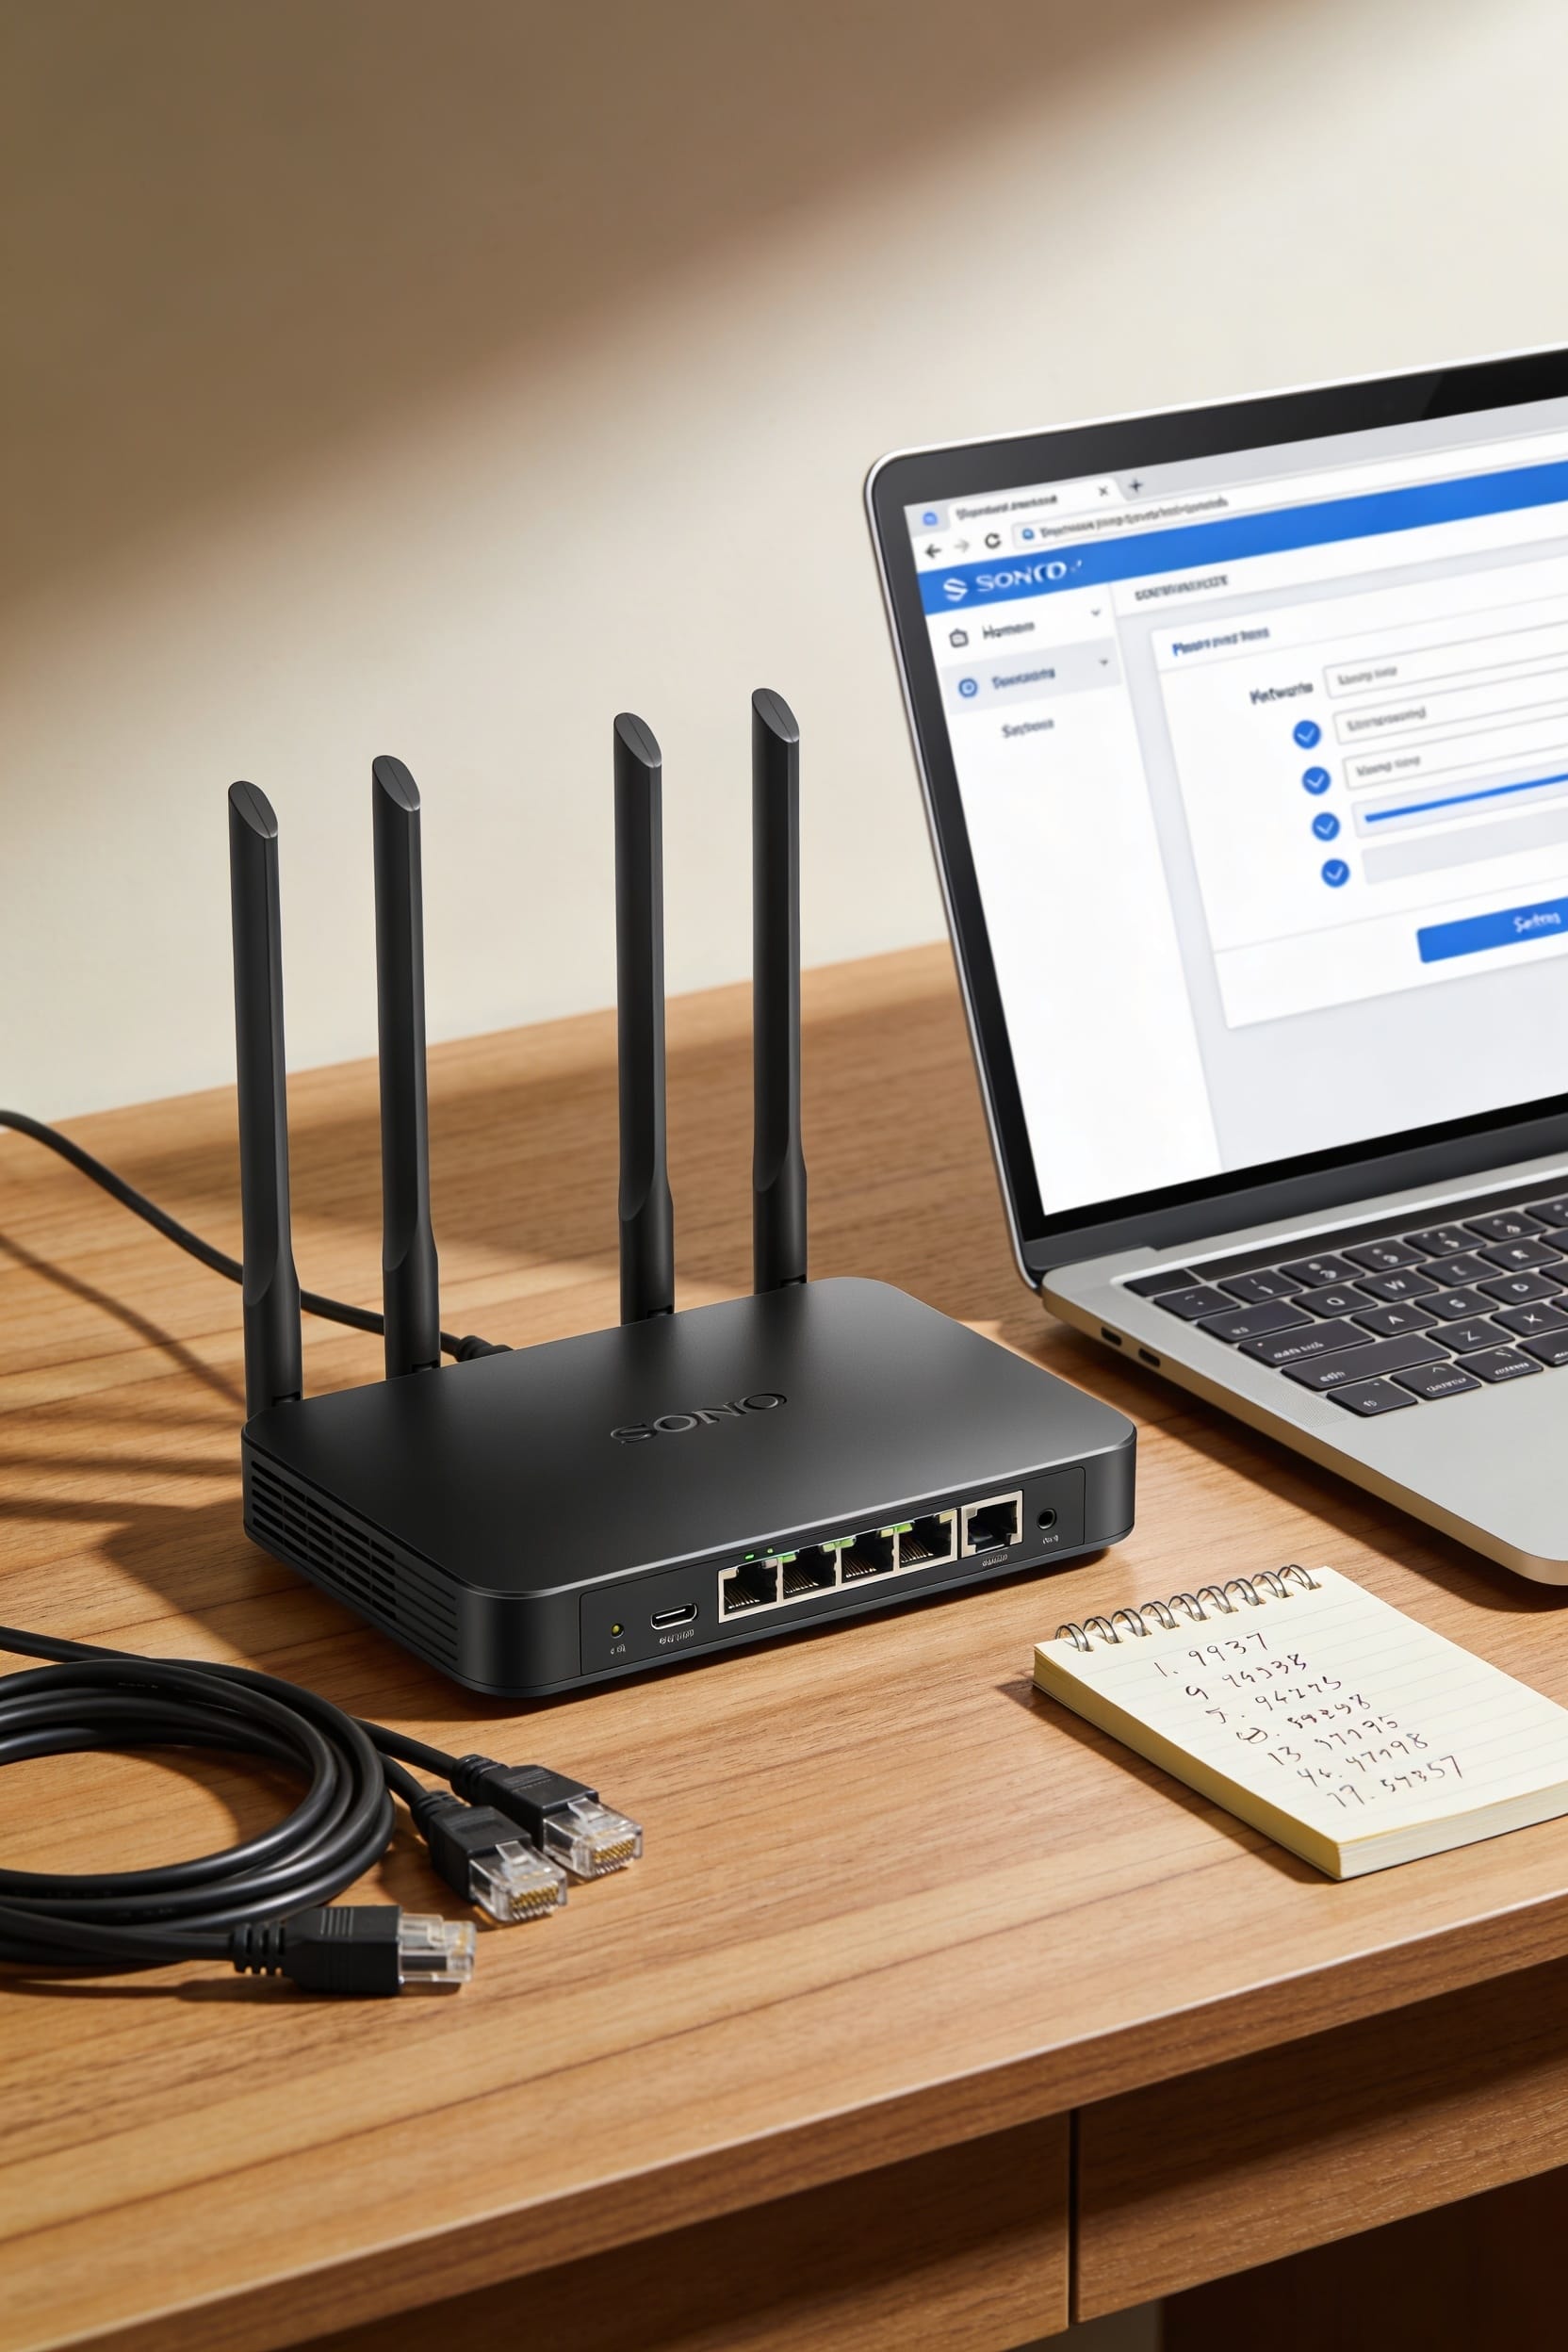
Test Your Port Forward With Online Tools
The best way to know if your port forwarding actually works is to test it from outside your network, and I’d recommend doing this right after you save those settings while everything’s still fresh in your mind. I like using portchecker.co for online diagnostics—it’s straightforward and gives you quick results without any fuss. You’ll enter your public IP address and the port number you forwarded, then the tool checks if it’s reachable from the internet. That’s your external verification right there. If the test shows your port is open and accessible, you’re golden. If it fails, double-check your settings. Sometimes routers need a quick restart to apply changes properly. Trust me, this five-minute test beats troubleshooting later.
Recommended Products

[ Upgraded IP Analog Camera Tester ] WANLUTECH 8K IP camera tester has 7 inch touchscreen, 1280x800 resolution. It supports testing max 8K 32MP 4K 12MP IP cameras, and CVBS analog camera test. The IP camera tester supports batch activation of DH, Hik cameras and modification of IP addresses, passwords, etc. Support IPC Test /IP Discovery/Rapid Video/RTSP Play /Quick OVIF/Hik DH test tool/Client APK. Support 1 channel BNC input and 1 channel BNC looped output, NTSC/PAL (Auto adapt). Support CVBS loop test, the tester send and receive color bar generator signal, check BNC cable

[ IP Camera Tester ] WANLUTECH IP camera tester with PoE, it support max 90W POE power output, temporarily powers the high-power PTZ camera or other devices supported by the IEEE 802.3af/at/bt standard protocol. DC15V power intput. It has 8 inches touch screen. Support IP Discovery/Quick OVIF/IPC test/Rapid Video, auto view the video, create testing report. It has a gigabit SFP optical fiber module port, support insert SFP optical fiber module, for optical fiber network testing

48 spectrum color patches to ensure color uniformity during photography
Troubleshoot If Your Port Isn’t Responding
If your port checker tool comes back with a big red X instead of that satisfying green checkmark, don’t panic—I’ve been there, and it’s usually fixable. First, double-check your port forwarding rule. I can’t tell you how many times I’ve typed a number wrong and spent an hour wondering why nothing worked.
Next, look at firewall conflicts. Your device’s firewall might be blocking the connection even though you’ve forwarded the port on your router. Toggle it off temporarily to test.
Your ISP might also be blocking that port, especially common ones like 80. Call them and ask—they’re usually helpful about this stuff.
Finally, restart your router. I know it sounds ridiculous, but it genuinely fixes things.
Recommended Products

Ubiquiti Networks networks networks Unifi security Gateway Pro 4-Port (USG-PRO-4)

Strong Motor, Power for Your Woodworks: With 630W 5.3 Amp motor, this trim router provides sufficient power & smooth operation for woodworking projects, no excessive vibration. Air vent prevents overheat and motor burnt-out during prolonged use. Replacement brushes for extended lifespan & consistent performance over time
【10 PCS Router Templates】 Eight size suitability. Provide router bushing set eight sizes includes 5/16" OD - 1/4" ID; 3/8" OD - 9/32" ID; OD 7/16" - ID 11/32"; OD 1/2" - ID 13/ 32"; OD 5/8" - ID 17/32"; OD 51/64" - ID 5/8"; OD 3/4" -ID 21/ 32" OD 1" - ID 7/8".
Frequently Asked Questions
Recommended Products

REDEFINING WI-FI ROUTERS: With powerful Wi-Fi 7 performance, lightning-fast wired connections, brand-new design, and easy-to-use touchscreen and LED screen. All WiFi routers require a separate modem.

The UniFi Switch delivers the forwarding capacity to simultaneously process traffic on all ports at line rate without any packet loss | Up to 3 fan levels

PROFESSIONAL-GRADE MOTOR: Achieve a quality finish and smooth routing with a powerful 15 Amp motor
Can I Forward Multiple Ports to the Same Internal Device Simultaneously?
Yes, you can forward multiple ports to the same internal device simultaneously. I’d create multiple mappings for different services or use service grouping if your router supports it, assigning each port its own forwarding rule.
Is Port Forwarding a Security Risk, and How Can I Minimize Vulnerabilities?
Yes, port forwarding exposes your device to internet traffic. I’d recommend you use strong authentication, employ network segmentation, disable unused ports, and keep firmware updated to minimize vulnerabilities effectively.
Will Port Forwarding Affect My Internet Speed or Network Performance?
Notably, I’ve found port forwarding doesn’t materially affect your speed. It won’t increase latency impact or reduce bandwidth allocation. Performance depends on your connection quality, not forwarding rules themselves.
How Do I Remove or Disable a Port Forwarding Rule I Created?
I’ll navigate back to my router’s Port Forwarding section, locate the rule I’ve created, and select delete rule or disable mapping options. Then I’ll save changes to remove it completely.
Can I Access My Device Locally Using the Same Forwarded External Port?
I’d recommend enabling local loopback or hairpinning setup on your router—it’s not always enabled by default. This feature lets you access your device locally using the same forwarded external port instead of the internal IP address.
Conclusion
Look, you’ve just mastered something that over 60% of home network users never bother learning. Port forwarding isn’t magic—it’s just telling your router where to send incoming traffic. You’ve got this skill now, and it opens up remote access, gaming servers, whatever you need. Test it, troubleshoot if needed, and you’re golden. Your network’s officially more useful than it was an hour ago.